Home
Ricoh
Printer Accessories
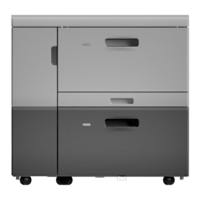
LCIT RT5100
Ricoh LCIT RT5100 User Manual
4
of 1
of 1 rating
90 pages
Give review
Manual
Specs
To Next Page
To Next Page
To Previous Page
To Previous Page
Loading...
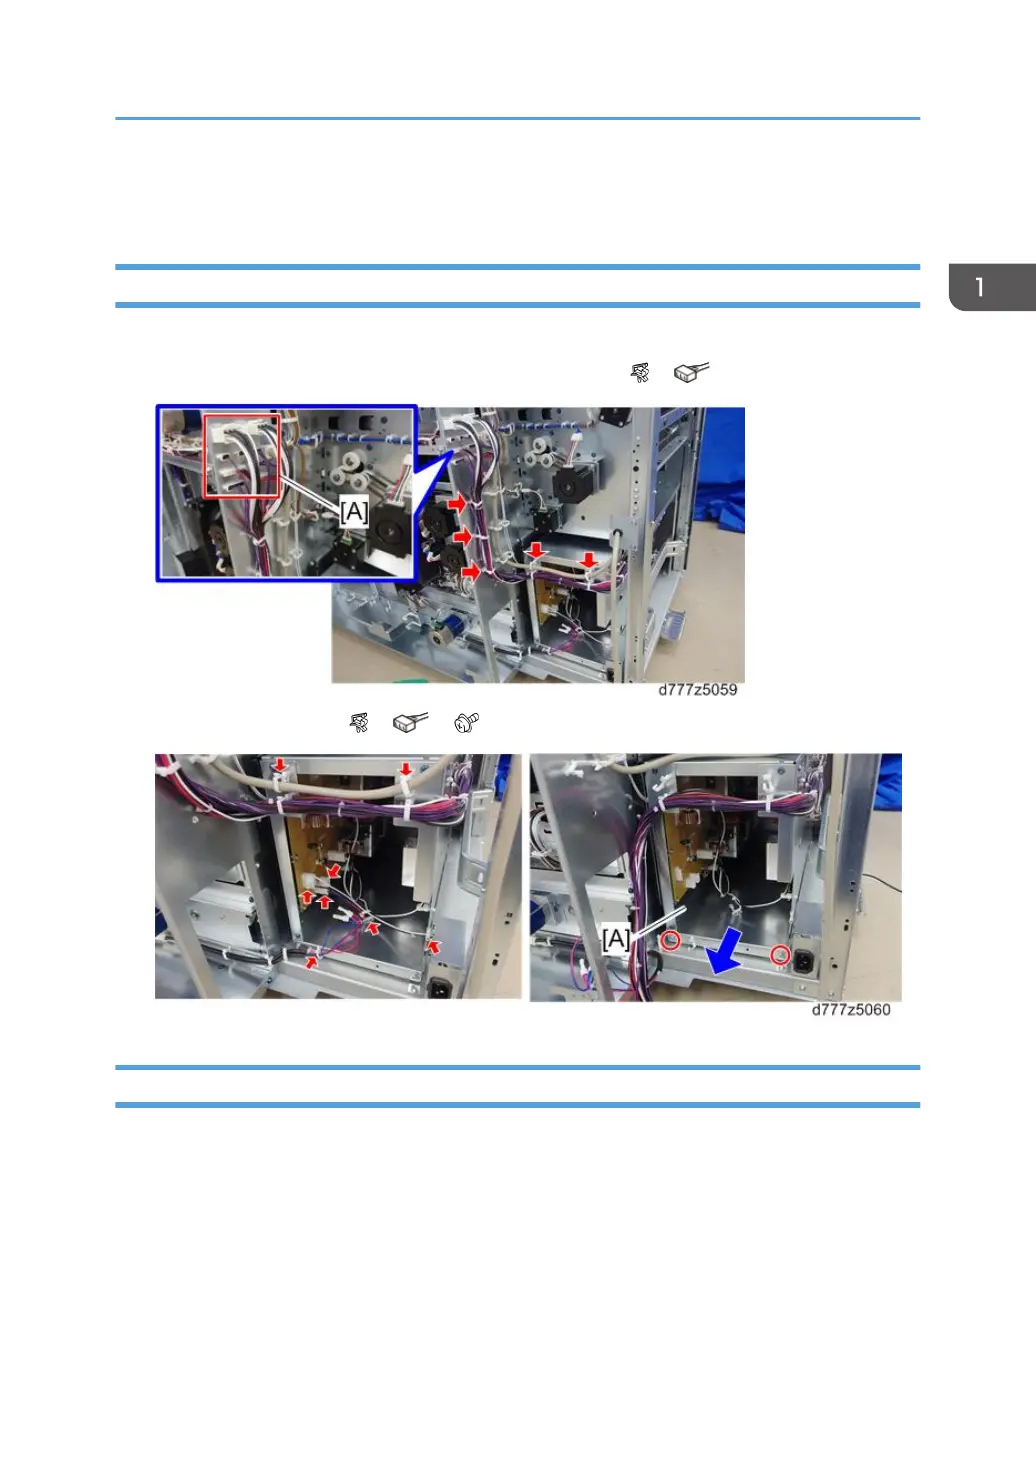
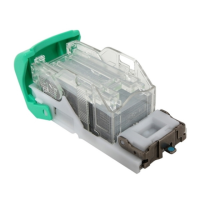
PSU Box
PSU box
1.
Remove the rear right and left covers (page 8 "Rear Right Cover", page 8 "Rear Left Cover").
2.
Open the five clamps and disconnect the nine connectors [A](
x5,
x9).
3.
Pull out the PSU box [A] (
x5,
x3,
x2).
PSU1, 2
1.
PSU box (page 81 "PSU box")
2.
Open the six clamps.
PSU Box
81
82
84
Table of Contents
Revision History
3
Safety, Conventions, Trademarks
4
Conventions
4
Common Terms
4
Warnings, Cautions, Notes
5
Responsibilities of the Customer Engineer
5
Reference Material for Maintenance
5
The Aim of Anti-Tip Components and Precautions
5
Table of Contents
6
Replacement and Adjustment
9
Exterior Covers
9
Right Upper Cover
9
Right Lower Cover
9
Rear Right Cover
10
Rear Left Cover
10
Left Top Cover
11
Center Top Cover
12
Right Top Cover
12
Front Corner Cover
13
Rear Corner Cover
14
Front Door
15
Upper Inner Cover
15
Lower Inner Cover
17
Tray Front Cover (Tray 1, 2)
17
Paper Feed Unit (Trays 1, 2)
18
Paper Tray
18
Paper Feed Belt Unit
18
Paper Feed Belt
21
Paper End Sensor
24
Paper Feed Sensor
25
Transport Roller Unit
27
Float/Separation Fan Duct
28
Float Fan
29
Re-Installation
29
Separation Fan
29
Re-Installation
30
Float Fan Shutter Solenoid
30
Paper Upper Limit Sensor 1, 2
30
Main Paper Remaining Sensor
31
Sub Paper Remaining Sensor
32
Paper Lower Limit Sensor
33
LCIT Paper Length Sensor 1 and 2
34
Tray Upper Limit Sensor
35
Side Fences (Front, Rear)
37
Common Procedure for Removing the Side Fences (Front, Rear)
37
Side Fence (Front)
40
Side Fence (Rear)
43
Paper Size Sensors
46
Side Fan
47
Side Fan Shutter Solenoid
49
Rear Side
50
Main Board
50
Tray 1 Pickup Belt Motor
50
Re-Installation
51
Tray 1 Grip Motor
52
Re-Installation
53
Tray 2 Pickup Belt Motor
53
Tray 2 Grip Motor
54
Suction Fan 1, 2 (Tray 1, 2)
55
LCIT Lift Motor (Tray 1, 2)
56
Bypass Transport Motor 2
57
Re-Installation
58
Transport Motor Cooling Fan
59
Re-Installation
60
Vertical Feed Unit
61
Re-Installation
64
Tray 1 Vertical Transport Motor 1
65
Tray 1 Vertical Transport Motor 2
65
Tray 1 Transport Sensor
66
Tray 1 Vertical Transport Sensor
68
Tray 2 Vertical Transport Motor 1
69
Tray 2 Vertical Transport Motor 2
70
Re-Installation
70
Tray 2 Vertical Transport Sensor
71
Tray 2 Transport Sensor
72
Vertical Transport Exit Motor
74
Re-Installation
75
Bypass Transport Sensor 2
76
LCIT Exit Motor
76
LCIT Exit Roller Contact Motor
77
Re-Installation
78
LCIT Exit Sensor
78
LCIT Exit Roller Contact Sensor
79
Vertical Transport Unit Cooling Fan
80
Vertical Transport Unit Cooling Fan Re-Installation
81
PSU Box
83
Psu1, 2
83
PSU Cooling Fan 1, 2
85
Interlock Switch
86
AC Drive Board
87
Fuses on the PSU and AC Drive Board that Can be Replaced
88
4
Based on 1 rating
Ask a question
Give review
Questions and Answers:
Need help?
Do you have a question about the Ricoh LCIT RT5100 and is the answer not in the manual?
Ask a question
Ricoh LCIT RT5100 Specifications
General
Brand
Ricoh
Model
LCIT RT5100
Category
Printer Accessories
Language
English
Related product manuals
Ricoh LCIT PB3170
34 pages
Ricoh M15
146 pages
Ricoh 7000
4 pages
Ricoh E-25C
187 pages
Ricoh SR3130
50 pages
Ricoh CS4010
30 pages
Ricoh TCRU/ORU
184 pages
Ricoh MP CW2201sp
52 pages
Ricoh Aficio C3000
292 pages
Ricoh IM 4000 Series
400 pages
Ricoh IM 2500 Series
400 pages
Ricoh IM 3000 Series
400 pages