• For details about these settings, see SmartDeviceMonitor for Client Help.
Using as a Network Printer
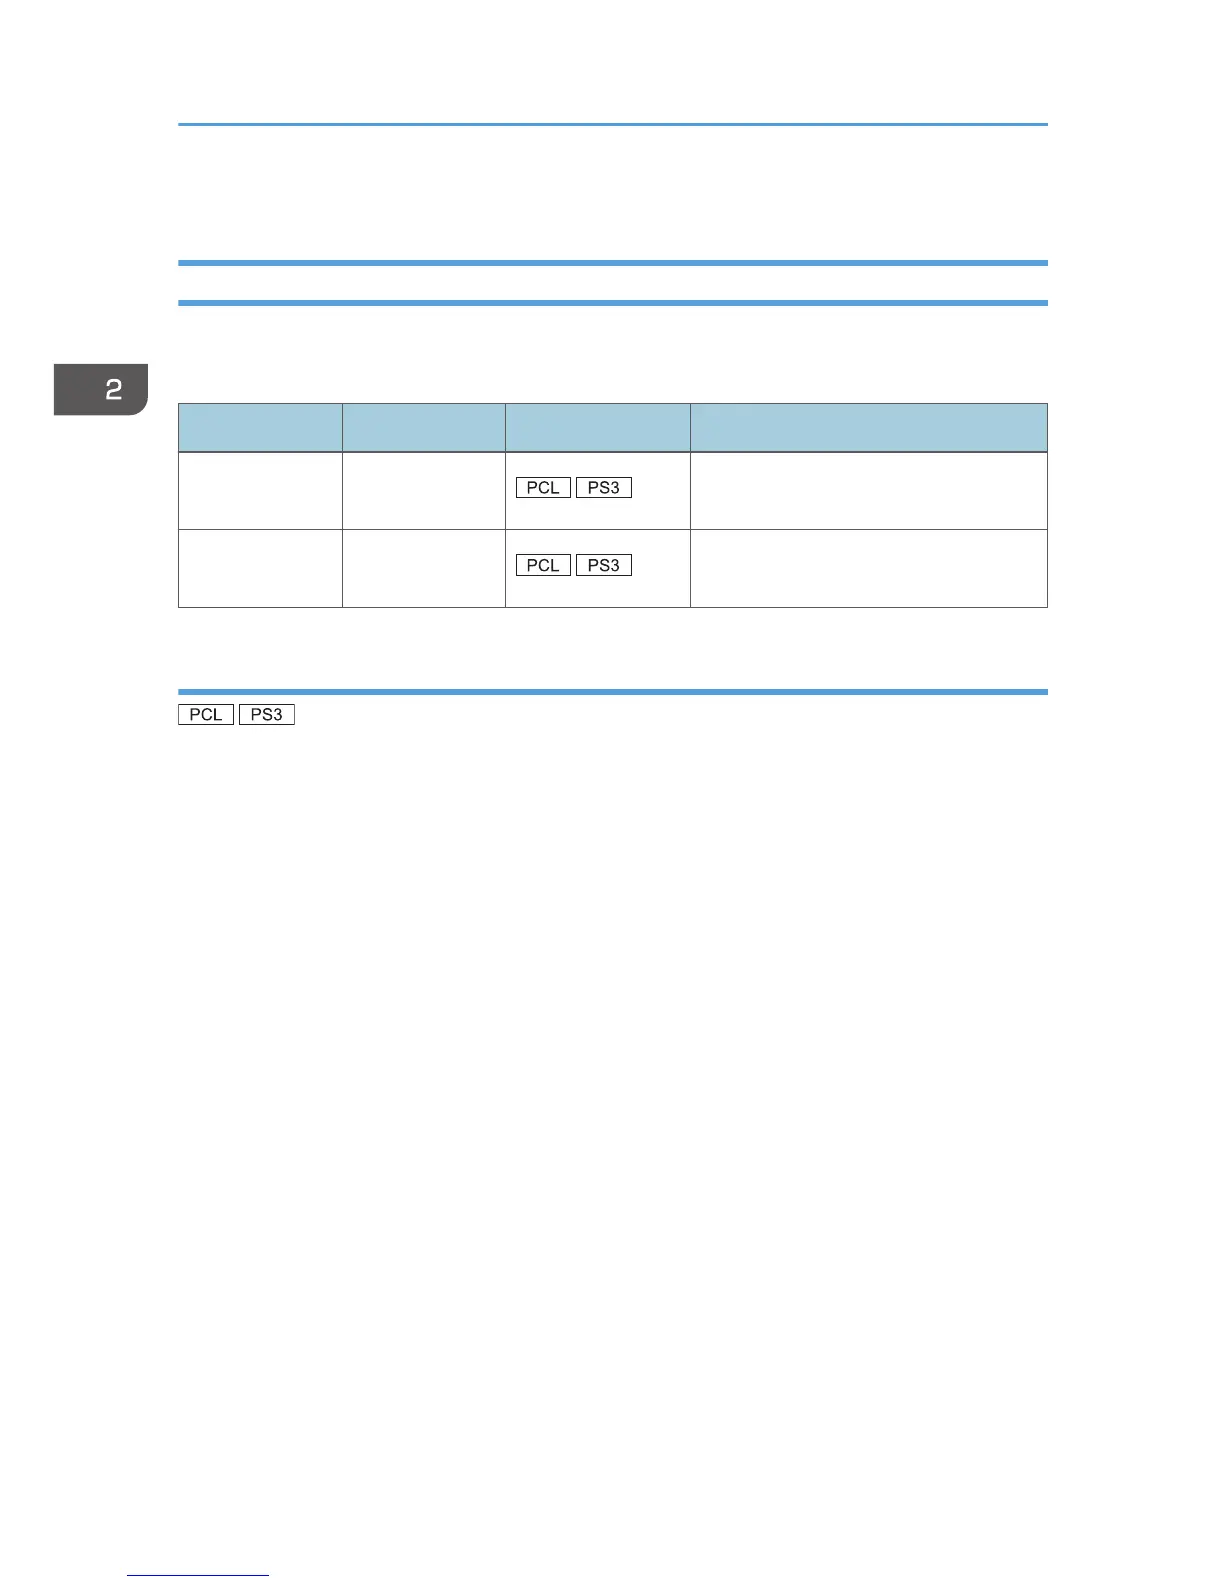
Describes the driver installation procedure for each print server. See the installation procedure for the
print server you are using.
Server OS Client OS Printer Driver Type Reference
Windows Server Windows
page 26 "Using Windows print
server"
NetWare Windows
page 27 "Using NetWare print
server"
Using Windows print server
1. Quit all applications. (Do not close this manual.)
2. Insert the provided CD-ROM into the computer's CD-ROM drive.
If the [AutoPlay] dialog box appears, click [Run SETUP.EXE].
If you are using a computer that is running Windows 8 or Windows Server 2012, click the drive
and CD-ROM names when these appear in the upper right corner of the screen, and then click
[Run SETUP.EXE].
3. Select an interface language, and then click [OK].
For details about the languages supported in the printer drivers, see page 6 "Supported
languages".
4. Click [PCL Printer Driver] or [PostScript 3 Printer Driver].
5. The software license agreement appears in the [License Agreement] dialog box. After
reading the agreement, click [I accept the agreement.], and then click [Next].
6. Select a printer driver you want to use, and then click [Next].
7. Select [Specify a new port], and then click [Next].
8. Select [Network Printer], and then click [Next].
9. Double-click the computer name you want to use as a print server in the [Browse for
Printer] window.
10. Select the machine you want to use, and then click [OK].
11. Select the [Printer Name:] check box of the machine model you want to use.
12. Configure the user code, default printer, and shared printer as necessary.
2. Installing the Printer Driver
26
 Loading...