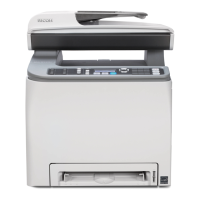
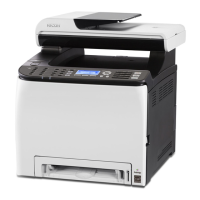
RICOH SP C250SF/SP C252SF Color Multifunction Printers
Getting Started Guide
12
Select Wireless Configuration Method
PBC (WPS) Method PIN Method Manual Method
PBC (WPS) Method
Again, this method is recommended when your router has a WPS button. When
using this method, optimum security for the devices is automatically configured,
based on the connection environment. As such, it cannot be assumed that the
configured security setting is the most secure.
To connect using the PBC (WPS) Method, proceed as follows:
1. Press [User Tools].
2. Scroll [
] to [Network Settings], and press [OK].
Note: If prompted for password, enter via numeric keypad, and press [OK].
3. Scroll [
] to [Wi-Fi Configuration], and press [OK].
4. Scroll [
] to [WPS], and press [OK].
5. Select [PBC], and press [OK].
Display reads, “Connect in PBC?”
6. Press [Yes].
Display reads, Please push the [AP] within 2 minutes (WPS button on the router). After you press
the WPS button, display then reads, PBC Executing….
7. Firmly press the router’s [WPS], within two minutes
Note:
• Connection succeeded: Display reads: Connection to AP has Succeeded. Press [Exit] [User
Tools].
• Connection failed: Display reads: Connection to AP has Failed, press [Exit]. Restart the machine,
check that the router is working properly, and then try again. If the problem persists, contact 1-
800-RICOH38 (742-6438), option #1.
• Check wireless connection status: Press [User Tools][Network Settings][Wi-Fi Config-
uration][Wi-Fi Status]. Display should read, Connected. To exit, press [Clear/Stop]. Note: Also
see Appendix A: Check Wi-Fi Connection Status
.
• Confirm printer’s IP address: Press [User Tools][Network Settings][IPv4 Configuration][IP
Address]. Write the IP address down. To exit, press [Clear/Stop]. The printer’s IP address is also on
the Configuration Report. See Appendix B: Print Configuration Report
.
8. Next, install Network Printer/Scanner Drivers. See 3.2 Network Quick Install.
 Loading...
