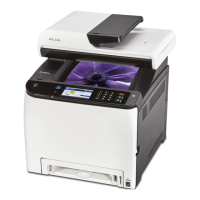
RICOH SP C250SF/SP C252SF Color Multifunction Printers
Getting Started Guide
9
STEP 2
Connect Printer
This section explains how to connect the printer to your computer based on the
setup method you selected in 1.2 Choose Setup Method.
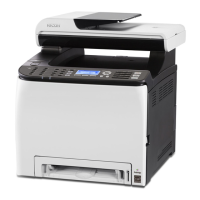
2.1 USB Connection
A USB cable directly connects the printer to your computer. Even if the computer that you are connecting
to is networked, you can still connect the printer according to the procedures outlined below.
To make a USB connection, proceed as follows:
1. Turn printer power switch Off.
2. Insert USB cable (rectangular plug) firmly into computer’s USB port.
3. Before inserting the USB cable (square plug) into the printer’s USB port, install the
USB Printer/Scanner drivers. See 3.1 USB Quick Install.
Note: During software installation, you will be prompted to connect the USB cable
(square plug) to your printer, and turn the printer on.
2.2 Network Connection
Network connections include wired and wireless…
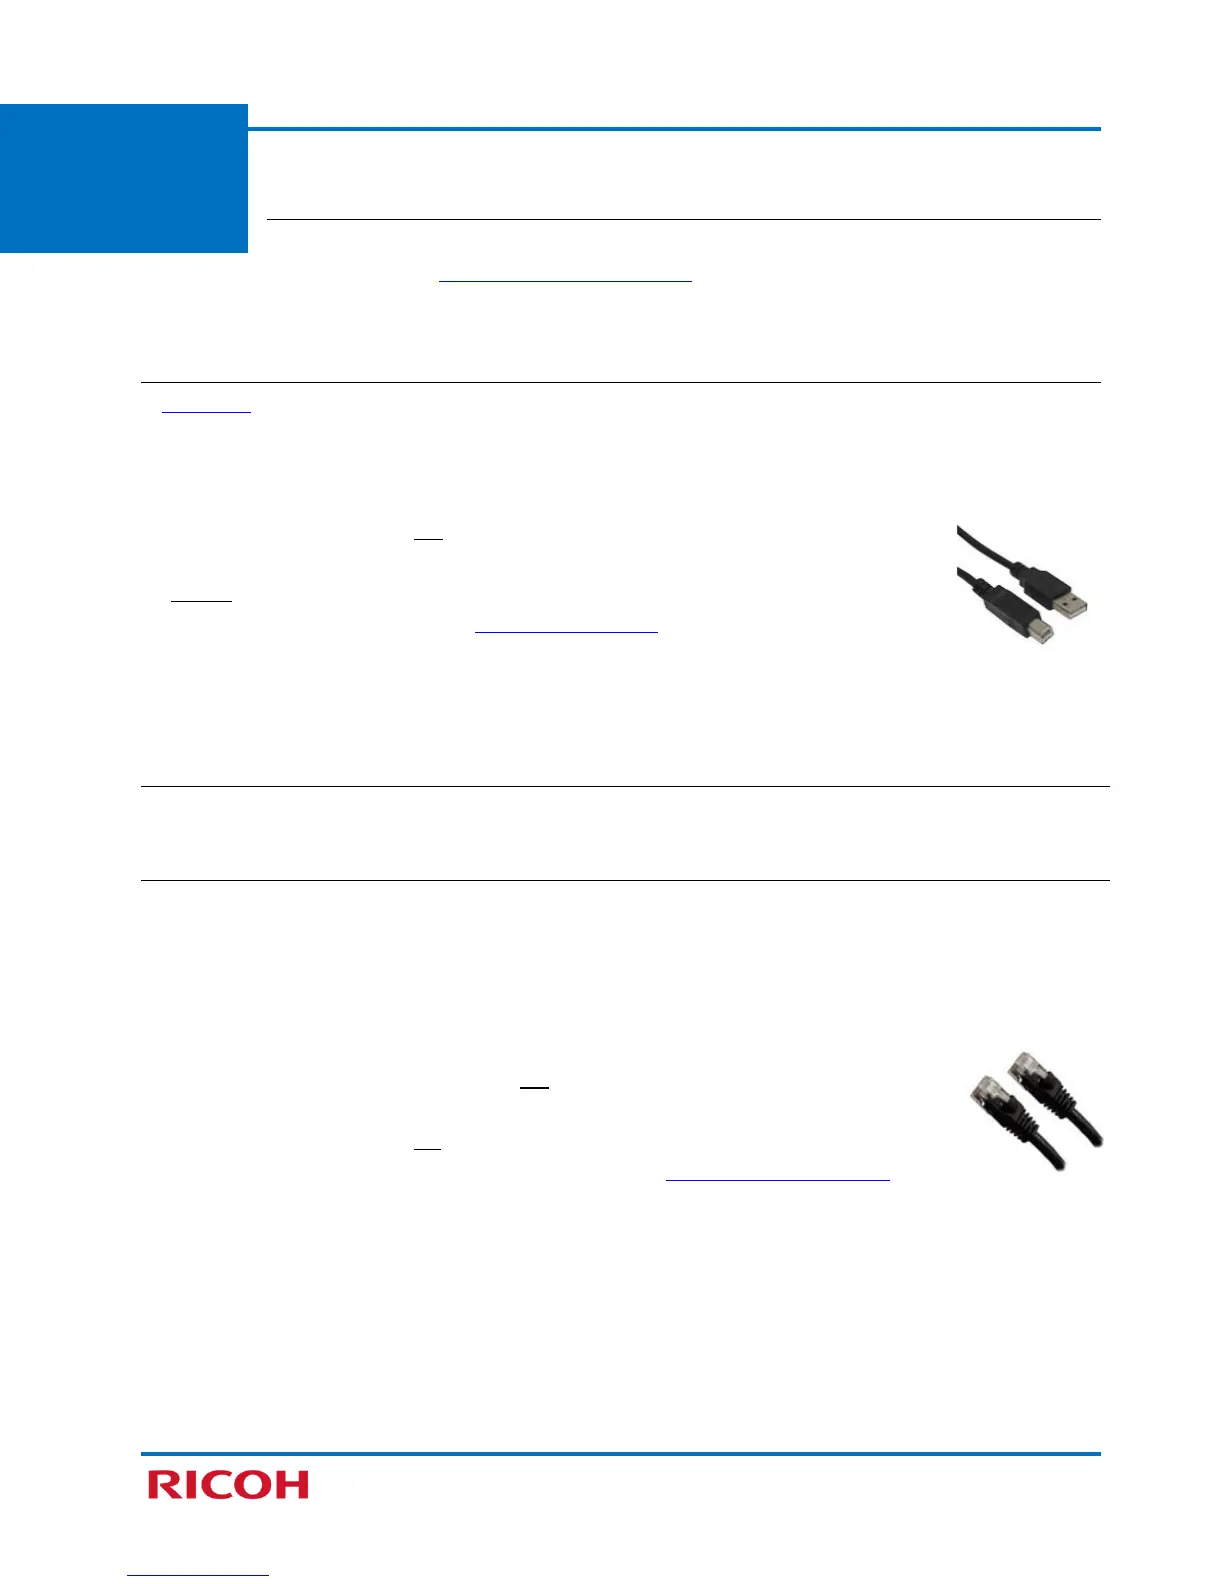
2.2.1 Wired (Ethernet) Connection
In a wired configuration, a network (Ethernet) cable connects the printer to your network hub (router)
or switch.
Important: The printer cannot connect to a wired (Ethernet) network and wireless LAN simultaneously.
To make a wired connection, proceed as follows:
1. Confirm that printer’s power switch is Off.
2. Plug network cable into printer’s Ethernet port.
3. Turn printer power switch On.
4. Next, install the Network Printer/Scanner drivers. See 3.2 Network Quick Install.
 Loading...