RICOH SP C250SF/SP C252SF Color Multifunction Printers
Getting Started Guide
13
PIN Method
You can enable wireless communication by registering the device’s PIN through the router’s web page.
This method is used when the wireless router supports WPS, but does not have a dedicated WPS
button. In order to successfully connect using this method, you need the device’s PIN (instructions
below) and the router’s URL/IP address. You’ll need to log in to the router’s web page, so have your
user name and password ready. Once logged in, you can enter the device’s PIN, thus establishing the
printer as a client on your wireless LAN.
Important:
• For assistance with the router web page URL/IP address and login credentials, please contact your Wi-Fi
installer, corporate Help Desk or router manufacturer.
• NETGEAR’S router web page is used for illustration purposes.
To connect using the PIN Method, proceed as follows:
1. Confirm that there is no network cable connected to the printer.
Note: If you have just removed the cable, restart the machine.
2. Get PIN
a. Press [User Tools].
b. Scroll [
] to [Network Settings], and press [OK].
Note: If prompted for password, enter via numeric keypad, and press [OK].
c. Scroll [
] to [Wi-Fi Configuration], and press [OK].
d. Scroll [
] to [WPS], and press [OK].
e. Scroll [
] to [PIN], and press [OK].
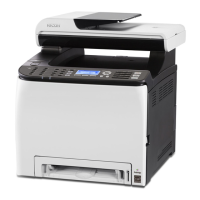
f. Write down [PIN]. Do not exit screen.
2. Enter PIN via Router Web Page
a. Launch web browser from computer connected to router.
b. Enter router URL/IP address, e.g., http://www.routerlogin.net.
c. Enter User Name.
d. Enter Password.
e. Press [OK].
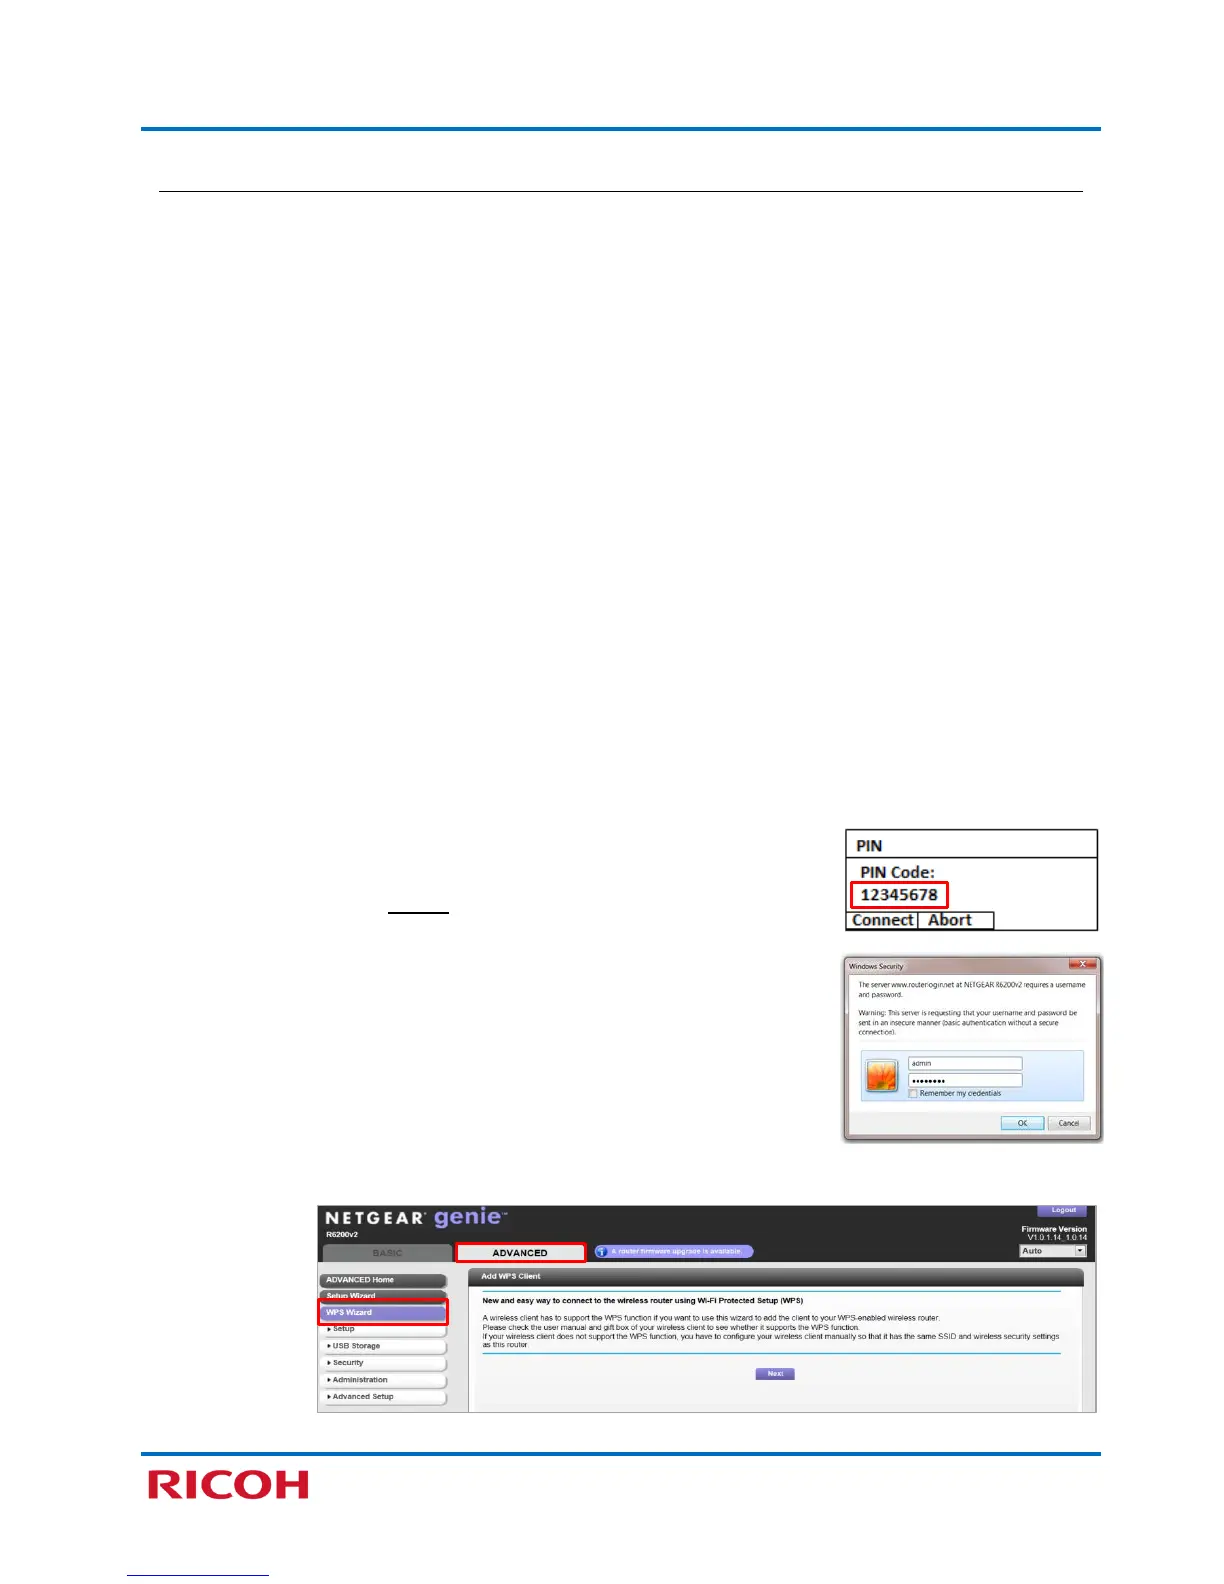
Note: For NETGEAR routers, adding a WPS client (such as a printer)
is performed through the [ADVANCED] tab [WPS Wizard], as
shown below.
 Loading...