30
Jun. 2005
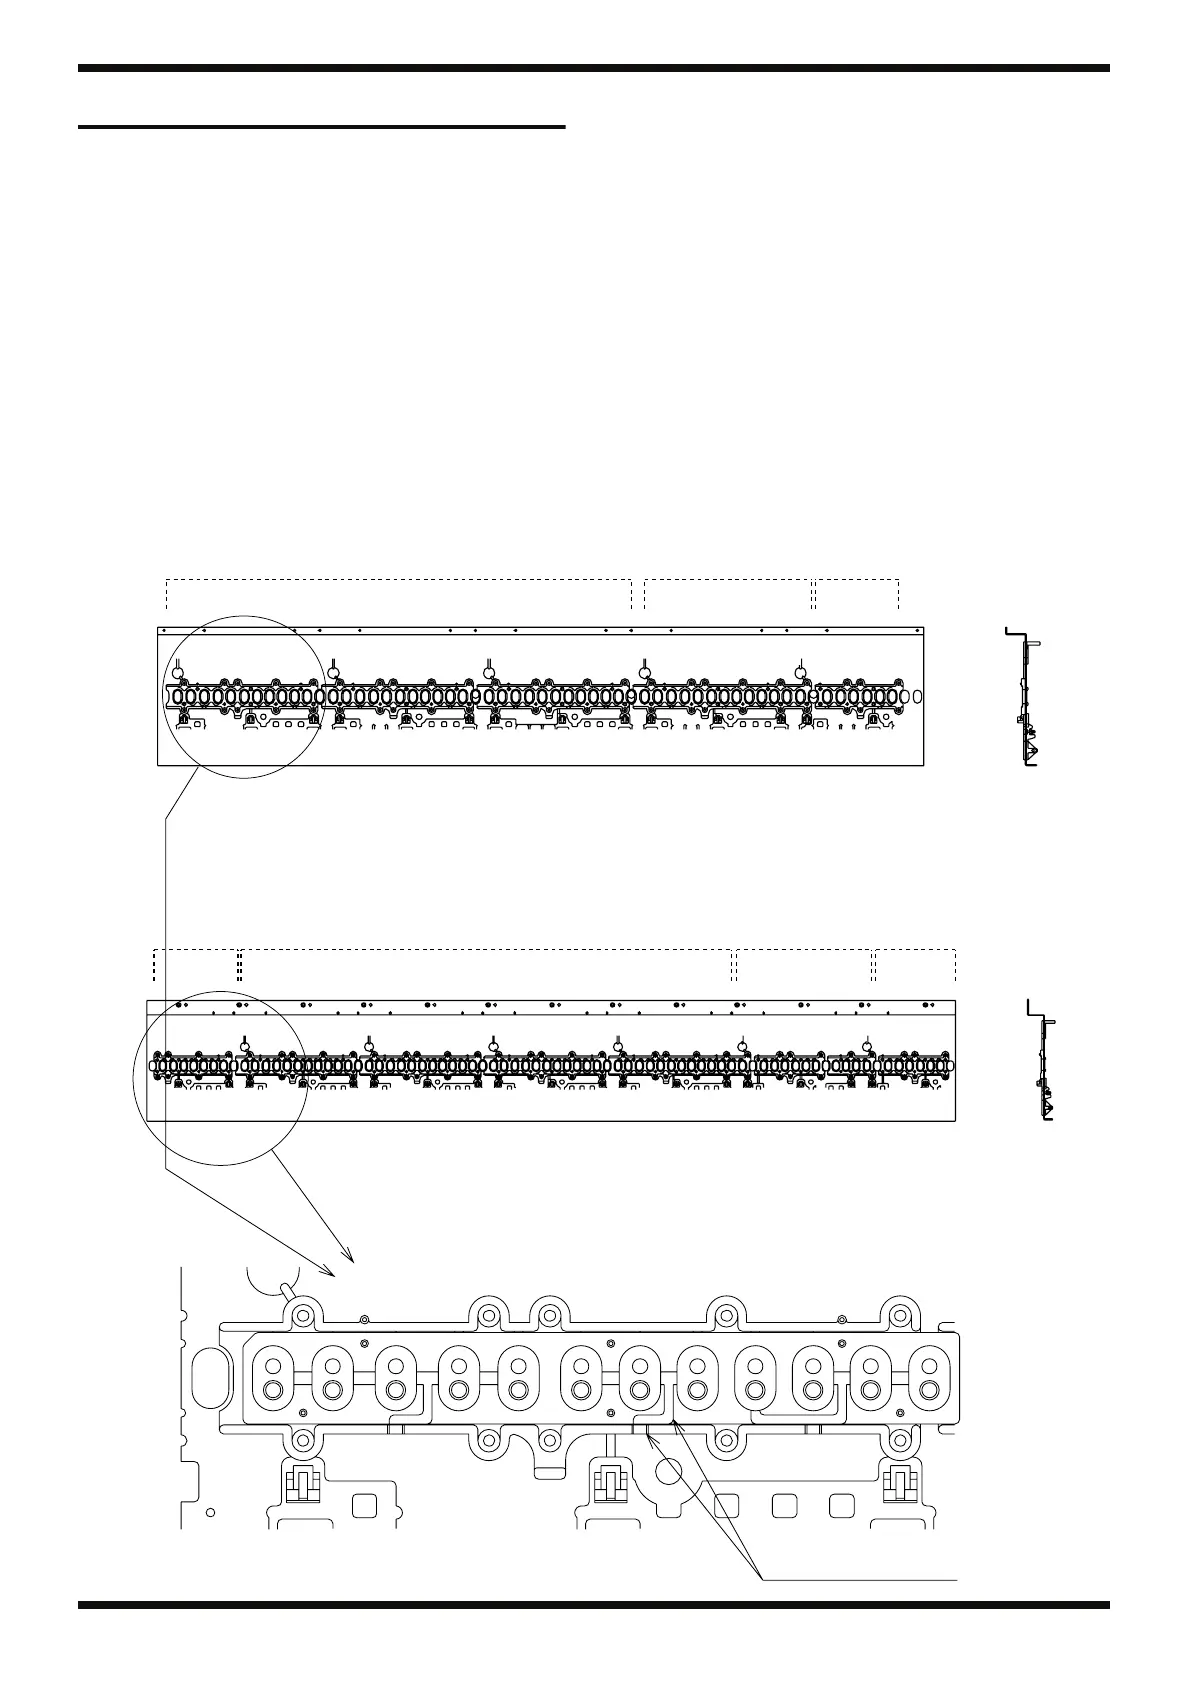
KEYBOARD DISASSEMBLY
Attaching the RUBBER SWITCHES
and the circuit board
To fasten the SK-9 circuit board, be sure to use SCREW M3x10 VWH TAPTITE
B ZC (P/No. 40233545).
SK-956 only part
1. Turn the chassis over as shown in fig.1.
Next, place 3 pieces of RUBBERSWITCH 12P in turn, on the chassis from
the left end (the bass side of keyboard), aligning them with the long holes
provided on the chassis.
At this point, be sure that the air-escape grooves of each
RUBBERSWITCH are positioned at the respective air-escape grooves on
the chassis.(See fig.2)
Then on the right side (the high note area), place RUBBER SWITCH 13P
in the same way.
SK-976 only part
1. Turn the chassis over as shown in fig.1.
Next on the left side (the low-note area of the keyboard), place RUBBER
SWITCHES on the chassis in the order of 8PL, 12PL (four pieces), 13P,
and 7PH.
At this point, be sure that the air-escape grooves of each RUBBER
SWITCH are positioned at the respective air-escape grooves on the
chassis. (See fig.2)
fig.keyboard-3e
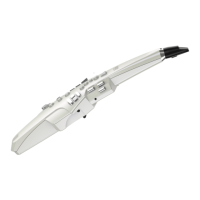
Upper Keyboard (SK-956 KBD ASSY)
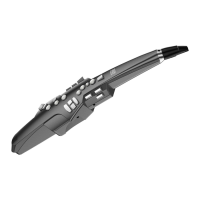
Lower Keyboard (SK-976 KBD ASSY)
Air-escape groove
Left Side
Right Side
Fig.1
Fig.1
Fig.2
Left Side
Right Side
13P 7HPRUBBER SWITCH 12Px3
8PL 13P 7HPRUBBER SWITCH 12Px4