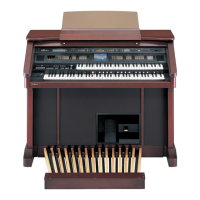
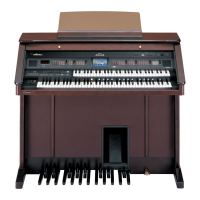
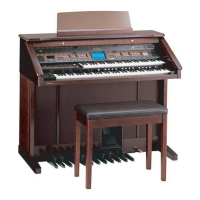
62
Jun. 2005
fig.test-led-p
4. Damper Pedal, foot switches of the expression pedal.
4.Other LEDs check.
1. Part Balance LEDs and Registration lamps start blinking:
fig.test-led-c
2. Press the [Drums/SFX] button to advance to the next item.
5.Sound check
1. The following display will appear.
fig.test-sound
2. Press the following Lower section buttons to check the effect sound and
the panning etc.
3. Press the [Drums/SFX] button to advance to the next item.
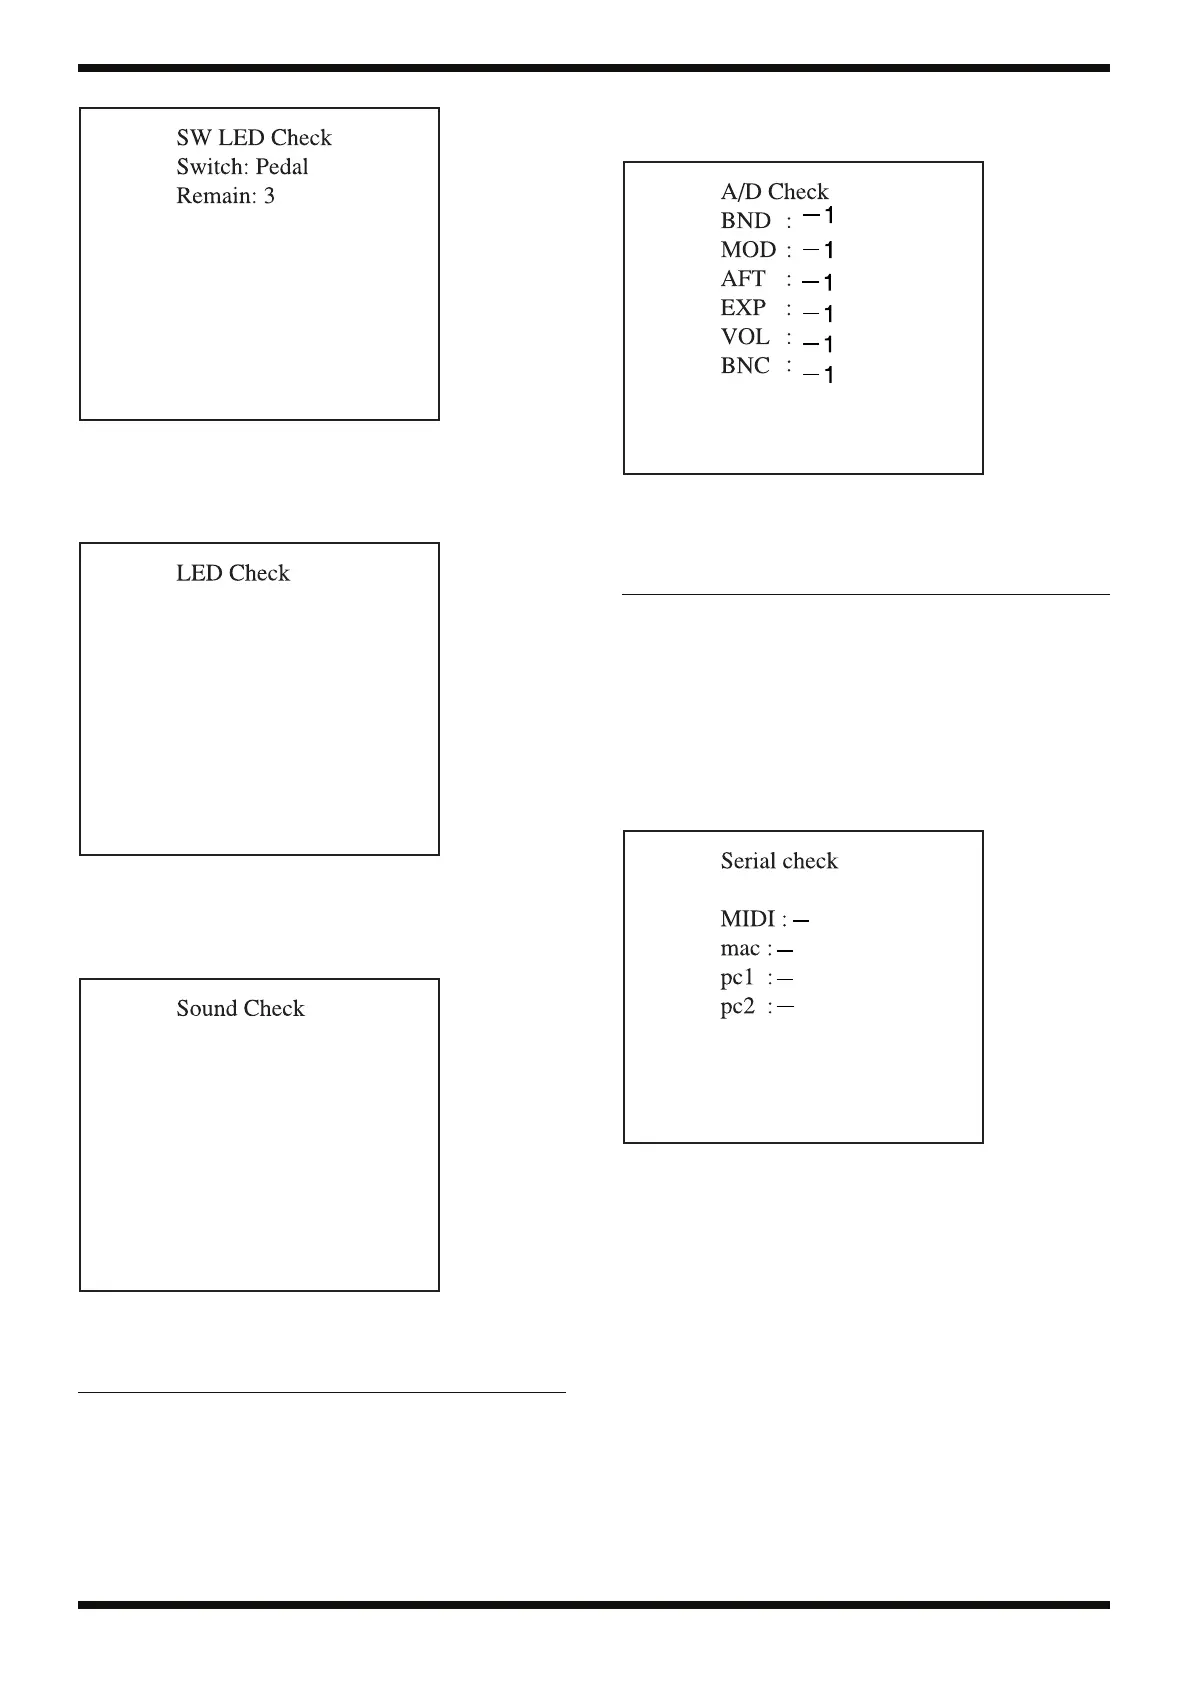
6.A/D check
1. The following display will appear.
fig.test-ad
2. Slowly move the bender, the bender vibrato, the aftertouch of the Upper
Keyboard, the expression pedal, Master Volume and Brilliance.
If there is no problem, “OK” will appear in the LCD.
7.Serial interface check
The following display will appear.
fig.test-serial
MIDI operation check
1. Set the computer switch to the MIDI position.
Then, using a MIDI cable, connect between the MIDI In and the MIDI
Out.
2. If the test result is “OK”, the LCD will indicate “OK” as follows.
BUTTON SOUND
[Full1] PAN-L 220Hz sine wave panning left
[Full2] PAN-R 220Hz square wave panning right
[Full3] CENTER 220Hz sine wave panning center
[Lower1] Chorus
[Lower2] Reverb
INDICATION of LCD Names of the operators
BND Bender Right and Left
MOD Bender Vibrate (Modulation)
AFT Aftertouch of Upper Keyboard
EXP Expression Pedal
VOL Master Volume
BNC Brilliance
 Loading...