59
AT-80SL
100/230/240-V specifications
fig.update110-05.eps
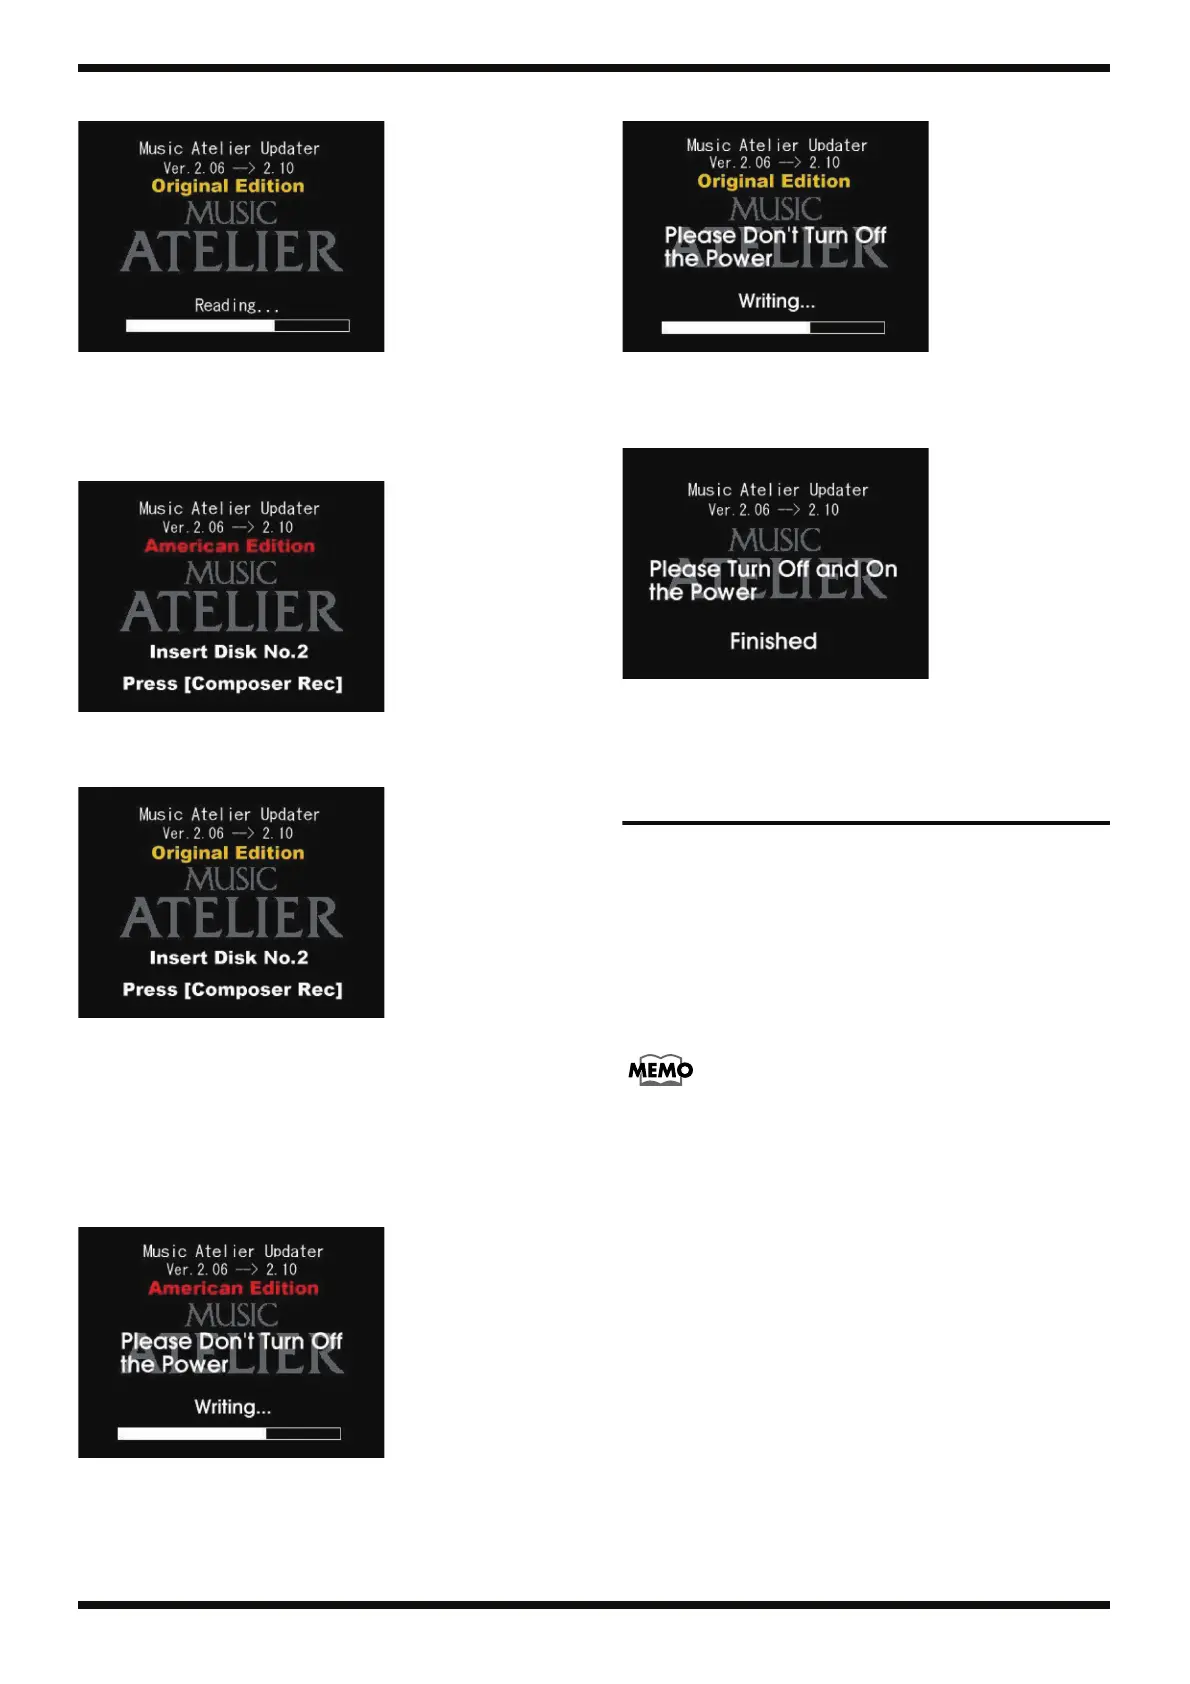
After a short while, the corresponding screen shown below appears.
117-V specifications
fig.update110-06.eps
100/230/240-V specifications
fig.update110-07.eps
6. Insert the second update disk.
Reading of the second disk starts.
Repeat this procedure for the third and subsequent disks, until the
seventh disk has been read in.
When all seven disks have been read in, the corresponding screen shown
below is displayed.
117-V specifications
fig.update110-09.eps
100/230/240-V specifications
fig.update110-08.eps
When the screen shown below appears, the update operation has
finished.
fig.update110-11.eps
7. Switch off the power to the AT-80SL.
A factory reset is carried out automatically at the next startup.
TEST MODE
Items Required
• Oscilloscope
• Video Monitor which equips NTSC & PAL
• Touch pen (P/No.00900545)
• 3.5inch 2HD and 2DD formatted blank disk
• Computer Test Cable (P/No.17049906)
• Video Pin Cable
• MIDI Cable
To format the disk, after turning on the power, insert it to the FDD and press
[Registration] on the touch screen, select [LOAD] on the menu, press [Utility],
select [Disk Format] and press [OK] on the confirmation dialogue box.
1. Entering test mode
1. After turning on the power, press the [Drums/SFX] button while holding
down the [Reset] and [Play] button to enter the Test Mode.
The following display will appear, and you will enter test mode.
You can check version number in this display.
 Loading...