26
Mar.2004
fig.test710_70
Basic operation in Test mode
Basic operation of the controls will be as follows.
[8] To the next test screen
[1] To the previous test screen
[SHIFT]+[8] Forcibly move to the next test screen
[SHIFT]+[1] Forcibly move to the previous test screen
[MENU] Select test items
When you enter the test item select screen, the LCD display will show as
follows.
fig.test563_70
Use the [VALUE] dial, [INC][DEC] buttons, or [CURSOR] up/down buttons
to select a test item, and press the [ENTER] button.
Test items
Test the following twenty items.
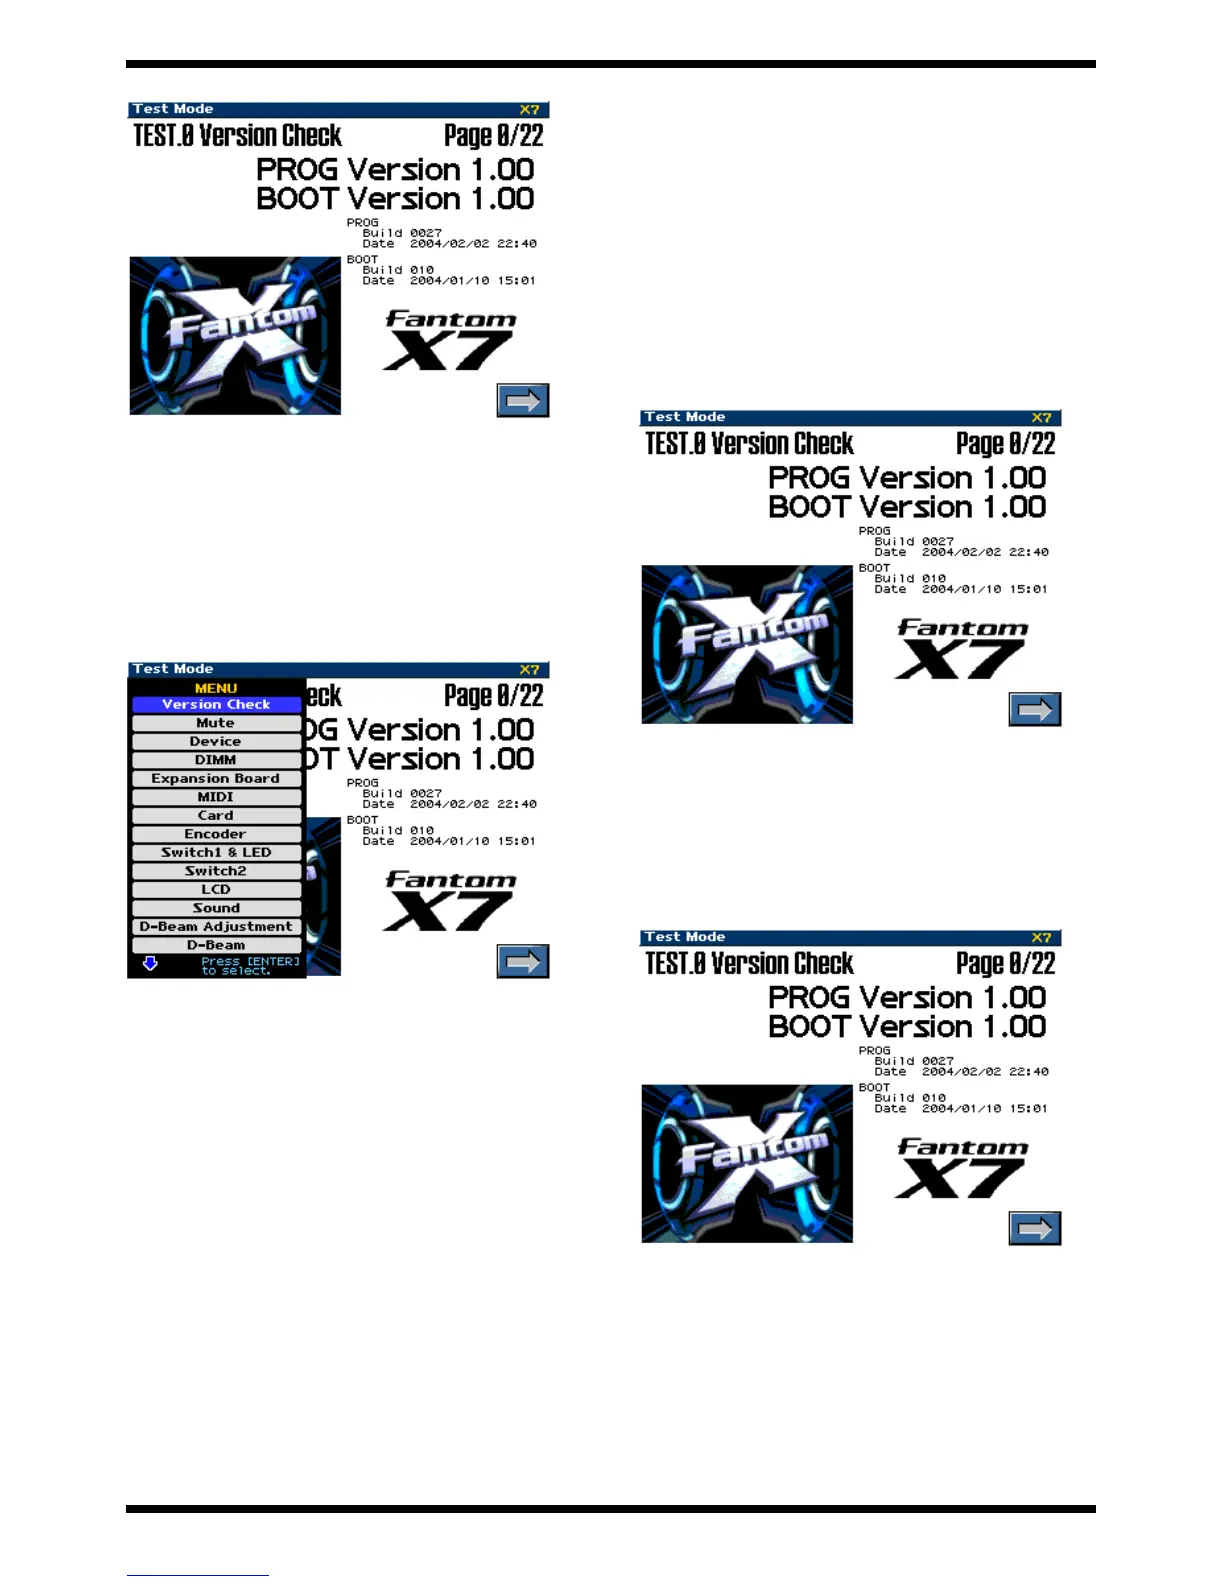
0. Version Check
1. Mute
2. Device
3. DIMM
4. Expansion Board
5. MIDI Test
6. Card
7. Encoder Test
8. Switch1 & LED Test
9. Switch2
10. LCD Test
11. Sound Test
12. D-Beam Adjustment
13. D-Beam
14. Pad Adjustment
15. Pad Velocity Test
16. Pad Aftertouch Test
17. A/D Test
18. Keyboard Test
19. USB
20. Noise Test
21. Factory Reset
22. Completed
0. VERSION check
When you enter Test mode, you will begin from the VERSION check item.
fig.test710_70
The LCD display shows the program version number.
All LEDs will light.
Press the [8] button to proceed to the next test item.
1. MUTE test
This tests the mute circuit on the jack board.
The LCD display will show as follows, and a built-in demo song will begin
playing.
fig.test710_70
Verify that an audio signal is being output from the [PHONES] jack and the
[OUTPUT A L/R] jacks.
Then verify that the audio signal is muted while you press the [4] button.
Press the [8] button to proceed to the next test item.
 Loading...