22
Changing the Tones
You can change the tone used for each clip, and edit its multi-eect.
Tones and Track Types
By loading a tone or sample into a project, you can change the tone
used by a clip.
The contents that can be loaded depend on the track type (p. 18).
Tone/sample source
(where loaded from)
Track type
Tone Drum Kit Looper
Kit Instrument
Built-in preset tones
(PRESET)
( ( (
—
Tone/sample used by each project
(PROJECT)
( ( ( (
Sample le on SD card
(WAVE FILE)
(
—
( (
Sound le on SD card
(SOUND FILE)
( (
— —
& For operations where the track type is “looper,” refer to “Loading Samples”
(p. 33).
About sample les
Sample les (in .wav format) must be placed in the ROLAND/MV/
SAMPLE folder of the SD card.
MEMO
Both the loaded samples (tones, drum instruments and vocal takes) and
recorded vocals use the memory in this unit. As this unit only has a certain
amount of memory, you should delete any samples or vocal takes you don’t
need to free up memory (p. 39, 44).
Check the amount of memory used in “U.SmplUsage” on the MEMORY INFO
screen (p. 44).
About sound les
Sound les (sound packs (.SDZ) / .SVZ les) saved on an SD card can be
loaded into a project.
Sound packs and other sound les are distributed via Roland Cloud.
For more about Roland Cloud, refer to the Roland website.
https://www.roland.com/
* Please be aware that in some countries or regions, it might not be possible to
use Roland Cloud at this time.
* When loading an SDZ/SVZ le, save the le in the ROLAND/SOUND folder of
the SD card.
NOTE
About user licenses
User license data is associated with a sound pack (.SDZ).
When a sound pack is imported into the unit, this unit can use only sound packs
that were downloaded by that user in accordance with the user license data. At
this time, the message “Install License” appears, conrming whether or not you
install license data in the unit (this message appears only the rst time).
Sound packs whose user license data is dierent cannot be used. If you attempt
to install a sound pack that has dierent user license information, the message
“License Error” appears.
If you want to delete the user license data in the unit, for example if you are
selling the unit, execute FACTORY RESET (p. 43). When you execute FACTORY
RESET, the system settings return to their factory-set state.
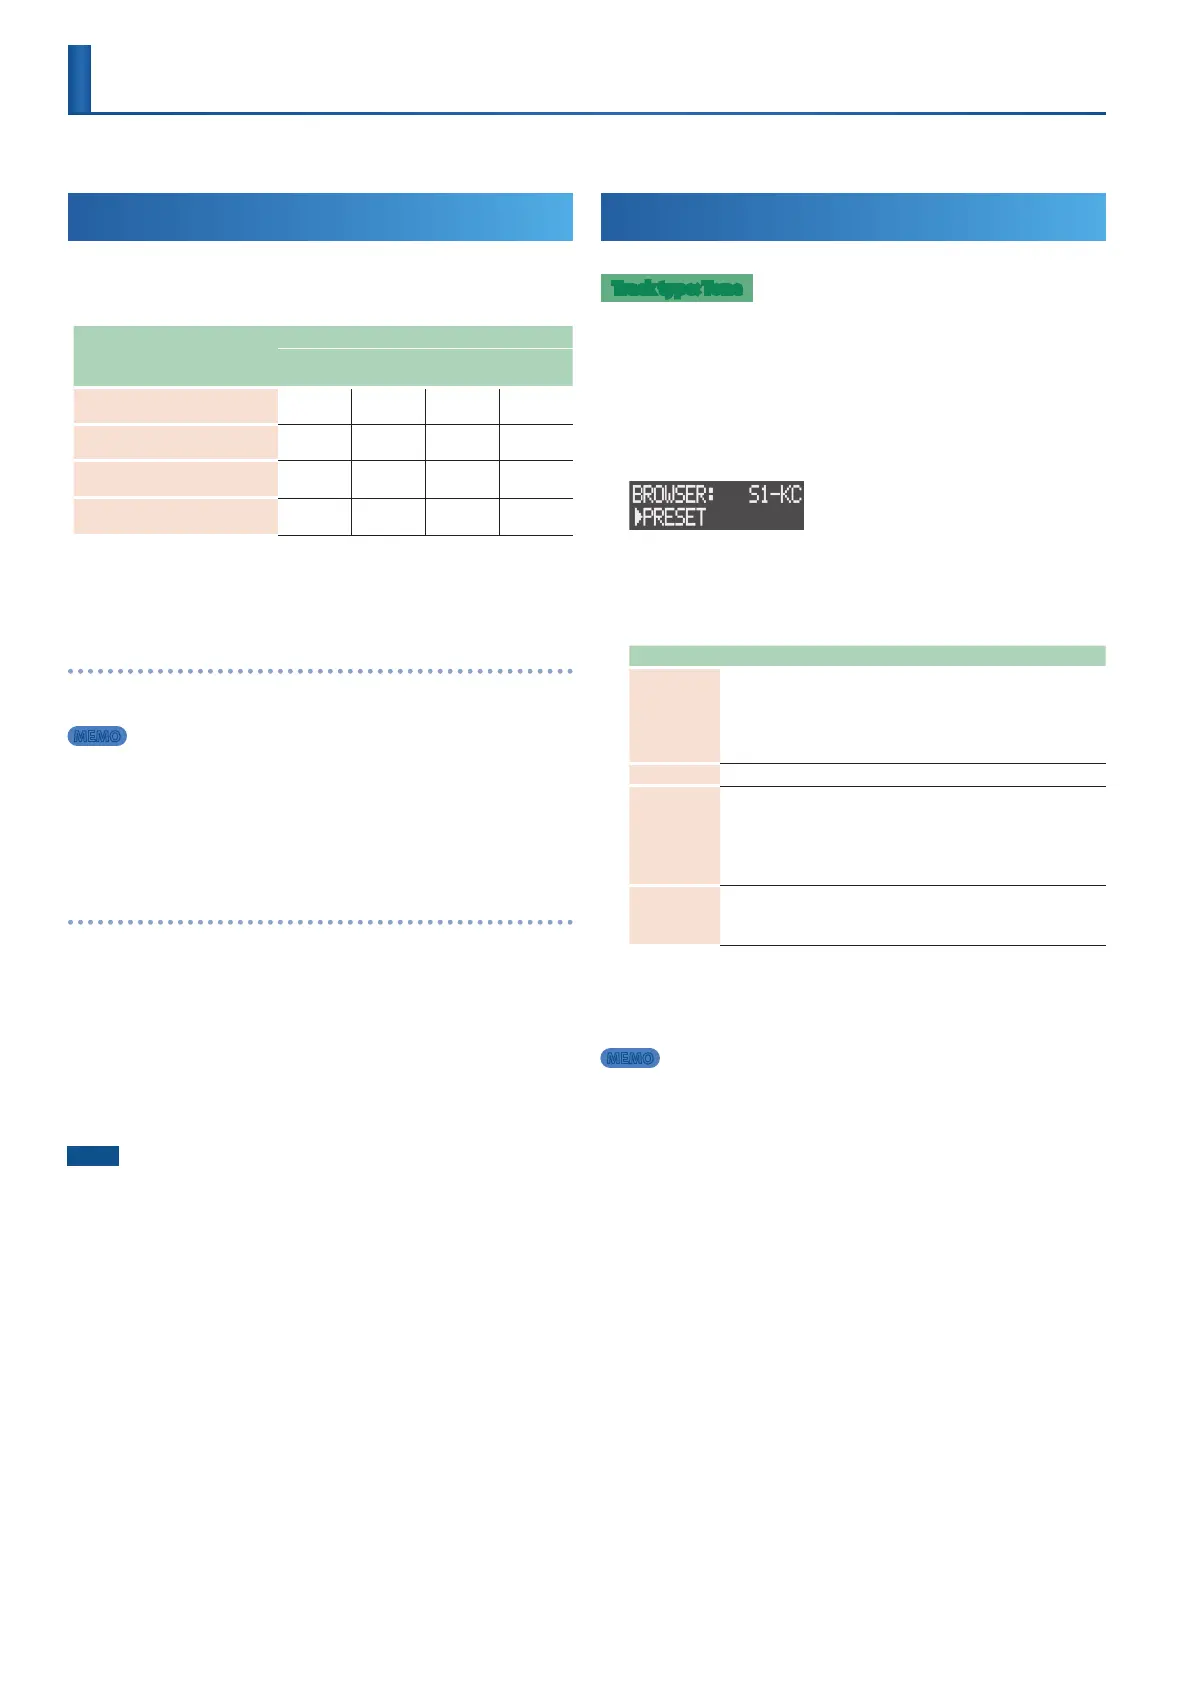
Changing the Tones
Track type: Tone
Here’s how to change a tone.
1. Follow the steps in “Selecting a Clip” (p. 19) to select the
clip with the tone you want to change.
2. Press the [VALUE] dial.
The BROWSER screen appears.
3. Use the [VALUE] dial to select the load source for the tone,
and then press the [VALUE] dial.
4. Use the [VALUE] dial to select the tone.
Load source Operation
PRESET
Select a category and then select the tone.
5 Select “All Number” for the category. The tones are displayed
in numerical order. Select “All Alphabet” to show the names in
alphabetical order.
5 Press a pad to preview its tone.
PROJECT Select a project and then select a clip that uses a tone.
WAVE FILE
Select a sample le.
Selecting a preset le (.svz) displays the sample list. Select a sample
from the list.
5 Folders are shown with the “F:” prex.
5 Press the [LOAD] button to preview the sample le.
SOUND FILE
Select an SDZ/SVZ le to display the tone list. Select a tone from the
list.
5 Folders are shown with the “F:” prex.
5. Press the [VALUE] dial.
The tone is changed.
MEMO
You can change all of the tones for all clips on the same track at once.
Press the [EDIT] button in step 2, and then press the [KICK]–[INST 2] buttons.
If “Copy Sound All?” is shown in step 5, use the [VALUE] dial to select “OK,” and
then press the [VALUE] dial.
 Loading...