Playing the XPS-10
15
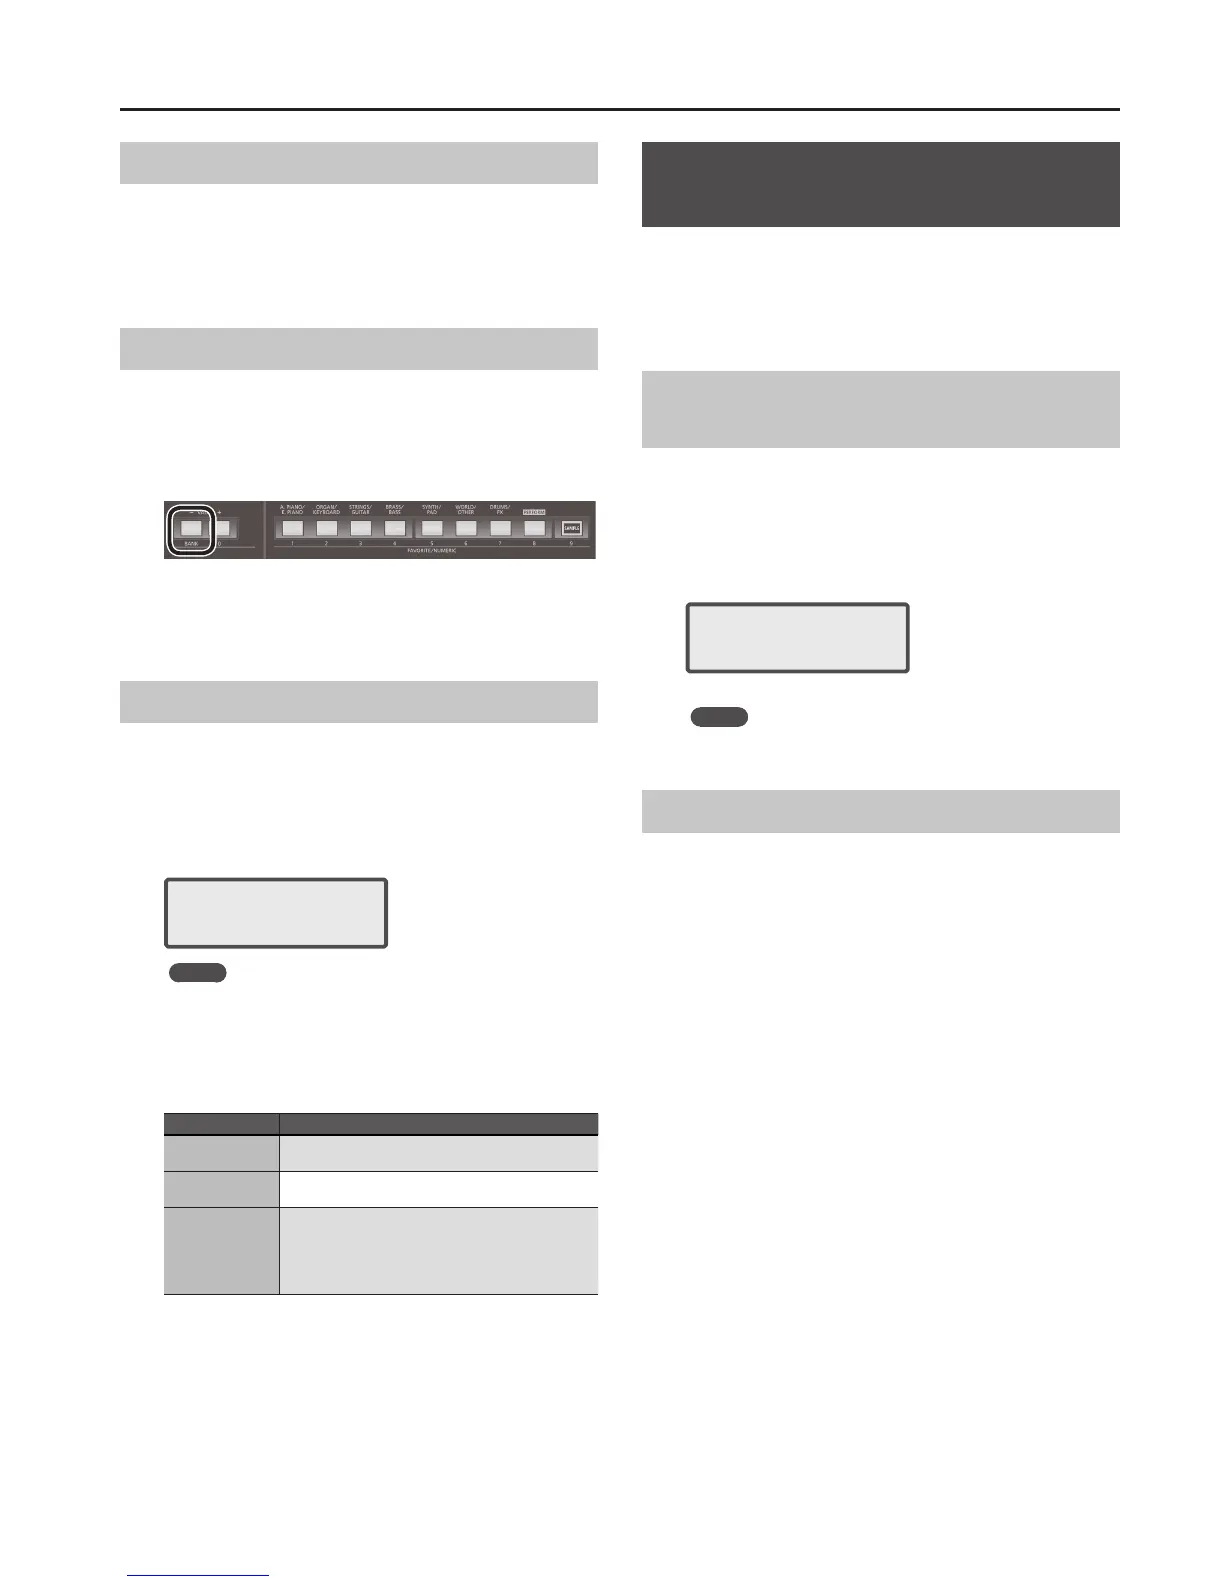
Invoking Registered Tones
1. Press the [FAVORITE/NUMERIC] button so it’s lit.
Now you can press one of the buttons [0] to [9] to switch to a Favorite.
2. Use buttons [0] to [9] to select Favorites.
The registered tones or settings are selected.
Switching Favorite Banks
When you play live, it is useful to assign a dierent bank to each song and
congure it with tones or other setting.
1. Press the [FAVORITE/NUMERIC] button so it’s lit.
2. Press the VALUE [-] (BANK) button so it’s lit.
The button from [0] to [9] that corresponds to the currently selected Bank
blinks.
3. Press one of the buttons [0] to [9].
The Bank corresponding to the button you pressed will be selected.
Viewing or Removing a Favorite
Here’s how to view or remove the Favorites you’ve registered.
1. Press the [MENU] button.
The Menu screen appears.
2. Use the CURSOR [
K
] [
J
] buttons to select “FAVORITE UTIL,”
and press the [ENTER] button.
FAV:[ENT]:Remove
0-0:88StageGrand
MEMO
You can also access the FAVORITE UTILITY screen by holding down the
[SHIFT] button and pressing the [FAVORITE/NUMERIC] button.
The currently selected Favorite will be displayed.
Indicates the Favorite number and the registered content.
You can perform the following operations in the FAVORITE UTILITY screen.
Operation Explanation
CURSOR [
K
] [
J
]
buttons
Change the displayed Favorite number.
[SHIFT] + CURSOR
[
K
] [
J
] buttons
Change the displayed Favorite bank.
[ENTER] button
Removes the displayed Favorite.
A conrmation screen will appear; when you press the
[ENTER] button once again, the Favorite will be
removed. If you decide not to remove it, press the [EXIT]
button.
3. Press the [EXIT] button to exit the FAVORITE UTILITY
screen.
Playing with a Dierent Tone for Each
Hand (SPLIT)
The “Split” function enables you to play with a dierent tone for each hand.
After selecting a tone for the right hand, press the [SPLIT/DUAL] button to
divide the keyboard into two sections. Next, select a tone for the left hand.
If you press the [SPLIT/DUAL] button to make it light, Split turns on.
If you press the [SPLIT/DUAL] button several times to make the button go
dark, Split turns o.
Changing the Point Where the Keyboard Is
Divided (the Split Point)
When you are using the Split function, follow these steps to change the
split point.
1. When the [SPLIT/DUAL] button is lit, hold down the
[SPLIT/DUAL] button and press the key where you want to
set the split point.
The pressed key becomes the split point.
<SPLIT POINT>
C 4
The UPPER section starts from the split point.
MEMO
When the screen of step 1 is displayed, you can use the VALUE [-] [+]
buttons to change the split point.
Exchanging the Two Tones in Split/Dual Mode
When Split or Dual (p. 14) are on, here’s how to exchange the two selected
tones.
1. Hold down the [SHIFT] button and press the [SPLIT/DUAL]
button.
The upper (part 1) and lower (part 2) sounds are exchanged.
 Loading...