PART NAMES AND FUNCTIONS
OPERATING
PARTS
CARRIAGE
MECHANISM
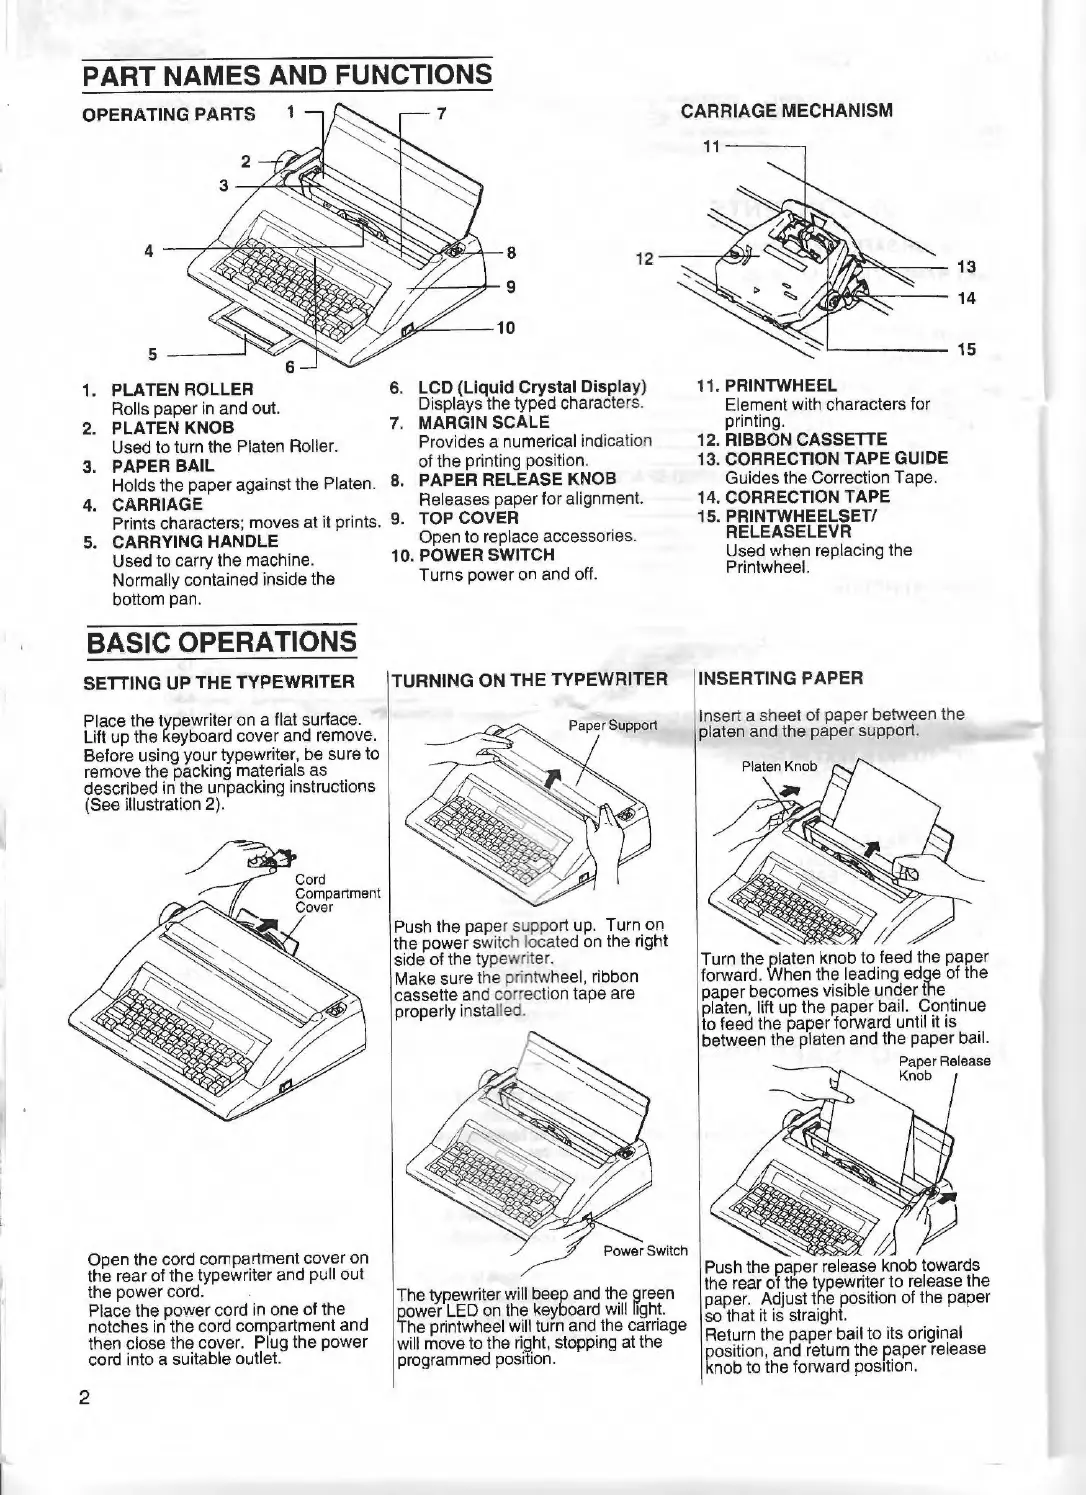
1. PLATEN ROLLER
Rolls paper in and out.
2. PLATEN KNOB
Used
to
turn the Platen Roller.
3. PAPER BAIL
~~..!,.--8
..,£...,,:__---,~
9
6. LCD (Liquid Crystal Display)
Displays the typed characters.
7. MARGIN SCALE
Provides a numerical indication
of
the printing position.
Holds the paper against the Platen.
8.
PAPER RELEASE KNOB
Releases paper
for
alignment.
TOP
COVER
4.
CARRIAGE
Pr
ints characters; moves at it prints. 9.
Open
to
replace accesso
ri
es.
5. CARRYING HANDLE
Used
to
carry the machine.
Normally contained inside the
bottom pan.
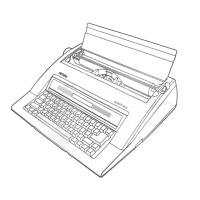
BASIC OPERATIONS
SETTING
UP
THE
TYPEWRITER
Place the typewriter
on
a flat surface.
Lift up the keyboard cover and remove.
Before using
your
typewriter, be sure
to
remove
the
packing materials
as
de
scribed
in
the unpacking instructions
(See illustration 2).
Open the cord compartment cover
on
the rear
of
the typewriter and pull out
the power cord. .
Place the power cord in one
of
the
notches in the cord compartment and
then close the cover. Plug the power
cord into a suitable outlet.
2
10
. POWER SWITCH
Turns power on and off.
TURNING
ON
THE
TYPEWRITER
Paper
Support
Push the pap
er
support up. Turn
on
the power switch located on the right
side
of
the typewriter.
Make sure the printwh
ee
l, ribbon
cassette and corr
ect
ion tape are
properly installed.
The typewriter will beep and the green
power LED on the keyboard will fight.
The printwheel will turn and the carriage
will move to the right, stopping at the
programmed position.
'Jlf
/'l'--""'t:,,:----
13
~~~--
14
11. PRINTWHEEL
Element with characters for
pr
i
nt
ing.
12. RIBBON CASSETTE
13. CORRECTION TAPE
GUIDE
Guides the Correction Tape.
14. CORRECTION
TAPE
15. PRINTWHEELSET/
RELEASELEVR
Used when replacing the
Printwheel.
INSERTING
PAPER
15
Insert a sheet of paper between the
platen and the paper support.
~
Turn the platen knob
to
feed the paper
forward. When the leading edge of the
paper becomes visible under the
platen, lift up the paper bail. Continue
to
feed the paper forward until it is
between the platen and the paper bail.
~
Paper Release
Knob
Push the paper release knob towards
the rear
of
the typewriter
to
release the
paper. Adjust the position of the paper
so that it
is
straight.
Return the paper bail
to
its original
position, and return the paper release
knob
to
the forward position.
 Loading...