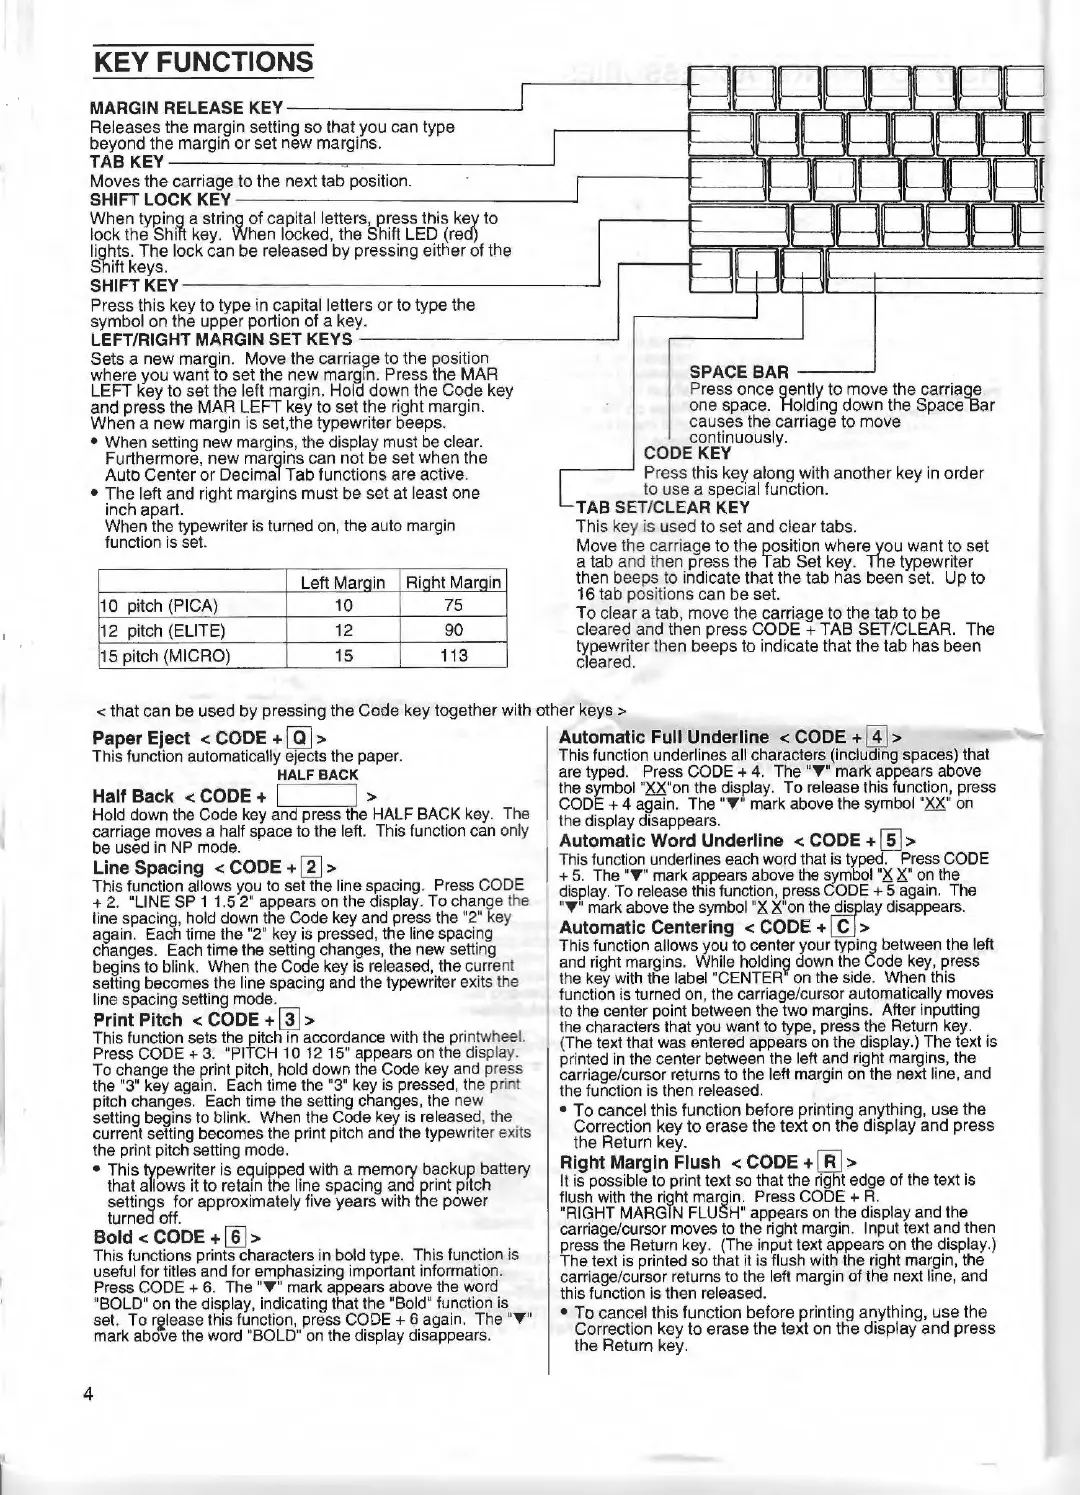
KEY FUNCTIONS
MARGIN RELEASE
KEY---------...J
Releases
the
margin setting so that
you
can type
beyond
the
margin
or
set new margins.
TAB
KEY------~-------_J
Moves
the carriage to
the
next
tab
position.
SHIFT LOCK
KEY----
------
--------l
When ty~ing a string
of
capital letters, press
this
key to
lock
the
Shift key. When locked, the Shift
LED
(rea)
lights.
The
lock
can
be
released
by
pressing either
of
the
Shift keys.
SHIFTKEY--
-
--
----
---------l
Press this key to type in capital letters
or
to type
the
symbol
on
the upper portion of a key.
LEFT/RIGHT MARGIN SET KEYS
_____
_
____
...J
Sets a new margin. Move
the
carriage to
the
position
where
you
want
to
set the new margin. Press the MAR
LEFT
key
to
set the left margin. Hold
down
the
Code
key
and
press the MAR
LEFT
key to set
the
right margin.
When a
new
margin is set.
the
typewriter beeps.
• When setting new margins, the display must be clear.
Furthermore,
new
margins
can
not be set when
the
Auto
Center
or
Decimal
Tab
functi
ons
are active.
•
The
left and ri
ght
margins
must
be set
at
least one
inch apart.
When the typewriter is turned on, the auto margin
function
is
set.
Left Marain
Riaht Marain
10
pitch (PICA)
10
75
12
pitch (ELITE)
12
90
15
pitch (MICRO)
15
113
SPACE BAR
__
__J
Pr
ess once gently
to
move
the carriage
one space. Holding
down
the Space
Bar
causes
the
carriage
to
move
continuously.
CODE KEY
Press this key along with another key in
order
to use a special function.
TAB SET/CLEAR KEY
This
key is
us
ed to set
and
clear tabs.
Move the carri
age
to
the
position where
you
want
to
set
a tab and then press the Tab
Set
key. The typewriter
then bee
ps
to indicate that
the
tab has been set.
Up
to
16 tab
po
sitio
ns
can be set.
To
cl
ea
r a tab,
move
the
carriage to the tab
to
be
cleared and then press
CODE+
TAB
SET/CLEAR. The
typewriter th
en
beeps
to
indicate that
the
tab
has
been
cleare
d.
< that
can
be used by pressi
ng
the
Code
key together with other keys >
Paper Eject < CODE +
(ID
> Autom~ic Full
U_nderline
< CODE +
(I]
>
This function automatically ejects the paper. Thts function underlines all characters (including spaces) that
HALF
BACK
are typed. Press CODE +
4.
The
"T"
mark appears above
Halt Back
<CODE+
~-
-
....,
> the symbol "XX"on the display.
To
release this function, press
Hold down
the
Code key and press
the
HALF BACK key. The C
ODE+
4 again. The
"T
' mark above the symbol "XX"
on
carriage moves a half space to the left. This function can only
th
e display disappears.
be used in NP mode.
Automatic Word Underline < CODE +
[[]
>
Line Spacing < CODE +
~
>
Th
is funct
ion
underl
in
es each word that
is
typed. Press CODE
This function allows you to set the line spacing. Press CODE
+.
5.
The
"T
" mark appears above
the
symbol
"XX"
on
the
+ 2. "LINE
SP
1 1.5 2" appears on the display. To change t
he
d
is
play.
To release
this
function, press CODE + 5 again. The
line spacing, hold down the Code key and press the "2"
ke
y 'T " mark above the symbol "X X"on the
~lay
disappears.
again. Each time the
"2"
key is pressed, the line spacing Automatic Centering < CODE +
l_gJ
>
changes. Each time the setting
ch
anges, the new setting This function allows you to center your typing between the left
begins to blink. When the Code key is released, the current and right margins. While holdin~ down the Code
key
, press
setting becomes the line spacing and the typewriter exits the the key with the label "CENTER on the side. When this
line spacing setting mode. function is turned on, the carriage/cursor automatica
ll
y moves
Print Pitch < CODE +
'al
> to the center point between the two margins. After inputting
Th's f n f t th
·t
h~ d · h h · h
I
the characters
th
at you want to type, press the Return key.
1
u c ,on se s e P
1
c ,n accor ance wit t e pnntw
ee
· (The text that was entered appears on the display.) The text is
Press CODE + 3. "PITCH 1 O 12 15" appears on the display.
To change t
he
print pitch, hold down the Code key a
nd
press printed
in
th
e center between the left and right margins, the
the "3" key again. Each time the "3" key is pressed, the print carriage/curs
or
returns to the left margin on the next li
ne
, and
pitch changes. Each time the setting changes, the
ne
w the function is then released.
setting begins to blink. When
th
e Code key is released, the •
To
cancel this function before printing anything, use the
current setting becomes the pri
nt
pitch and the typewriter exi
ts
Correction key to erase
th
e text
on
the display
and
press
the print pitch setting mode. t
he
Return key.
• This typewriter is equipped with a memory backup battery
Right Margin Flush < CODE +
iRl
>
that allows it to retain the line spacing and print pitch
It
is possible to print text so that the r
igh
t edge of the text is
settings for approximately five years with t
he
power flush with the right margin. Press CODE +
R.
turned off. "RIGHT MARGIN FLUSH" appears
on
the display and the
Bold < CODE +
[§]
> carriage/cursor moves to the right margin. Input text and then
This functions prints characters in bold type. This function is press the Return key. (The input text a
pp
ears on
th
e display.)
useful for titles and for emphasizing important information. The.text is printed so that it is flush with the right margin, the
Press
CODE+
6. The "T" mark appears above the word carnage/cursor returns to
th
e left margin of the next line, and
"BOLD" on the
di
splay, indicating that the "Bold" function is this function
is
then released.
se
t.
To r~lease this function, press CODE+ 6 again. The "T " •
To
cane:el this function before printi
ng
anything, use
the
mark above the word "BOLD" on the display disappears. Correction key
to
erase
the
text on the display and
pr
e
ss
the
Return key.
4
 Loading...