Hardware Installation and Reference Guide Product Installation
ii
It is suitable for mounting on the concrete or non-combustible surface only.
3.3.3 Mounting the Switch on a Table
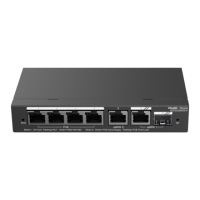
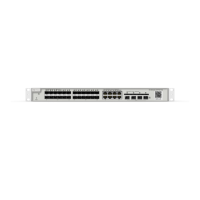
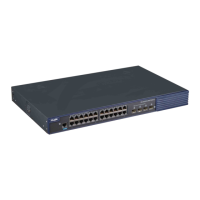
The RG-ES110D-P is used as an example. Place the switch on a table, as shown in Figure 3-2.
Figure 3-5 Placing the Switch on a Table
The device must be installed and operated in the place that can restrict its movement.
3.4 Checking After Installation
Before checking the installation, switch off the power supply so as to avoid any personal injury or damage to the
component due to connection errors.
Check that the ground line is connected.
Check that the cables and power input cables are correctly connected.
Check that all interface cables are laid out inside the equipment room. In the case of external cabling, check that the
lightning resistance socket or network interface lightning protector is connected.
Maintain a minimum clearance of 100 mm (3.94 in.) around the device.
 Loading...