GETTING READY TO SEW
15
2
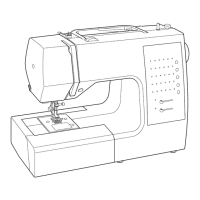
Threading the Upper Thread
A B C
A B C
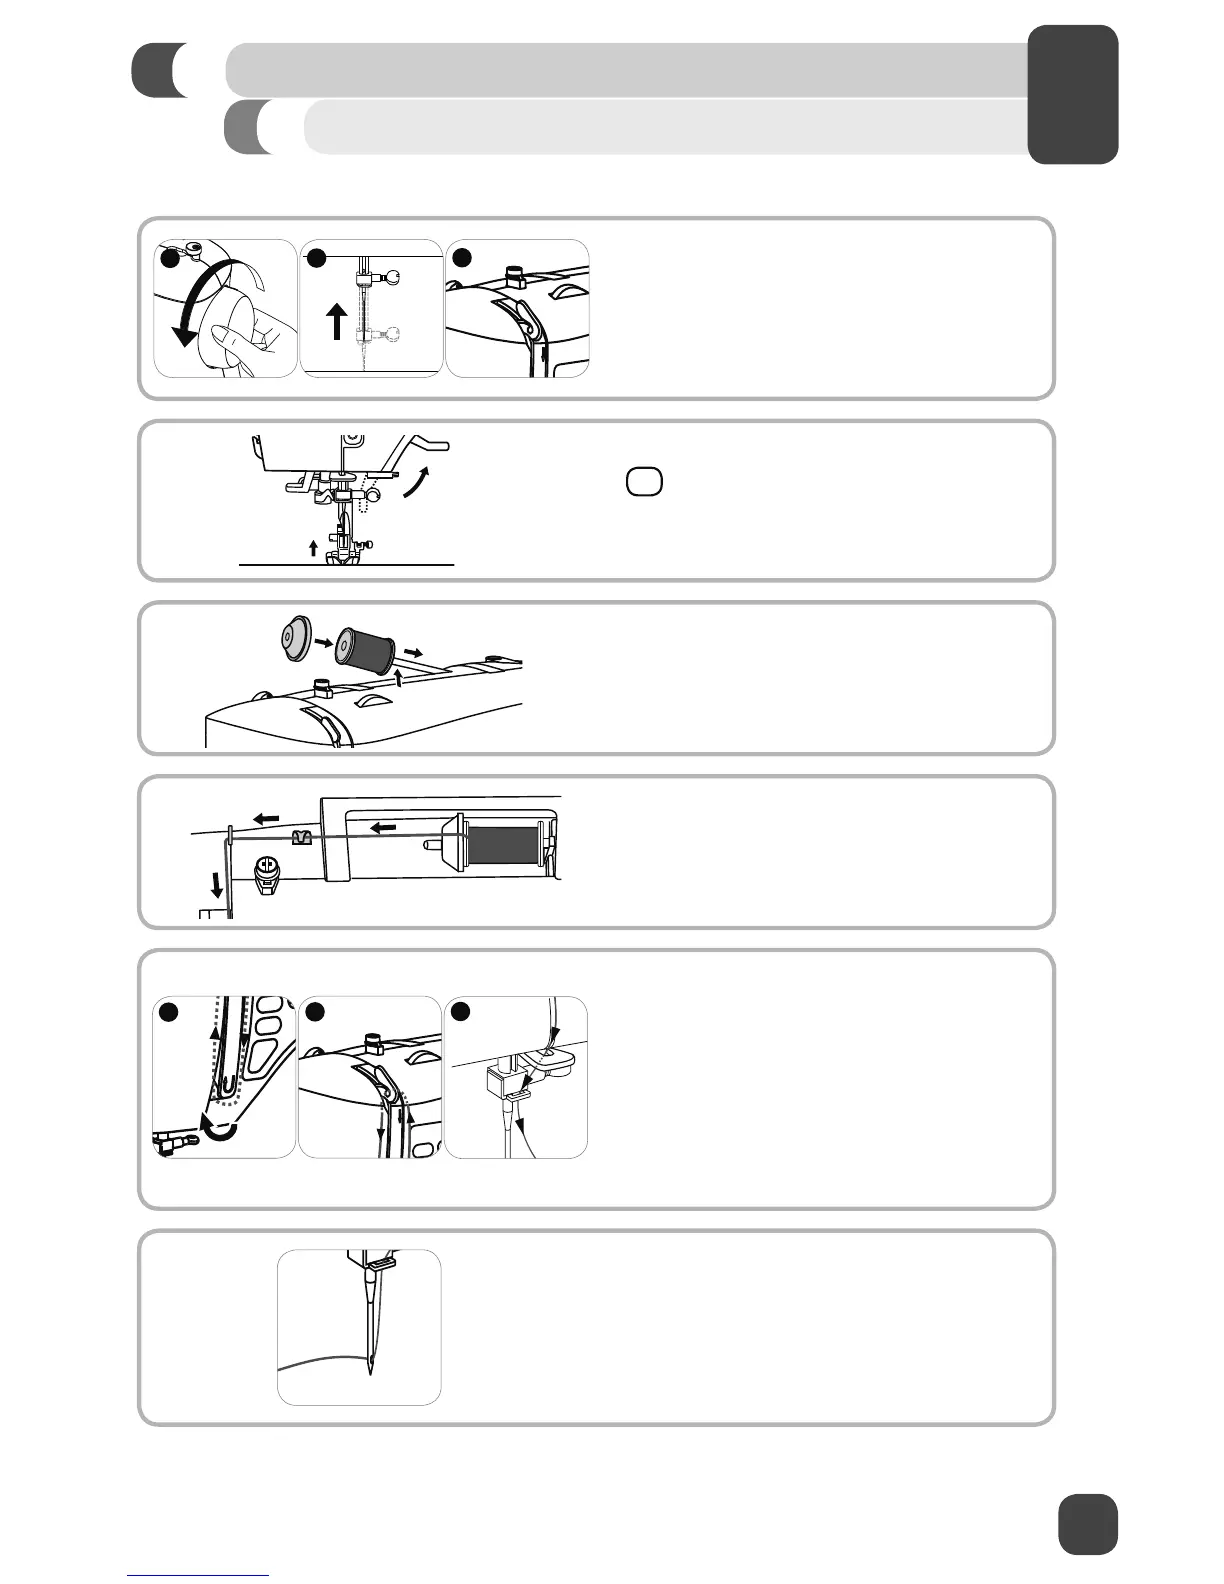
⚠ For safety, turn off the power before threading the machine.
1. Start by turning the handwheel (A) toward you
to raise the needle (B) and the thread take up
lever (C).
Y
ou should be able to see the take up
lever
.
2.
¤
Raise the presser foot lifter. This is
necessary in order for the machine to be
threaded correctly
.
3. Place the thread spool and spool cap onto the
spool holder
.
4.
Draw thread from the spool through the two pre-
tension guides at the top of the machine (see
page 8). Hold the thread with both hands and
pull it into each of the guides.
5. (A) Bring the thread down the right channel,
around the U-turn, and up the left channel.
(B) At the top of the left channel, slip the thread
from back to front through the slotted eye of the
thread take-up lever. If the thread does not pass
into the eye of the take-up lever
,
the machine
will jam when you start to sew
.
After threading
the take-up lever, bring the thread downward
again. (C) Pass the thread behind the metal
thread guides and then down to the needle.
6.
If you want to thread the needle manually
,
thread it from front to back. Pull about 6-8
inches of thread to the back beyond the needle
eye.
Alternatively
, you can use the automatic
needle threader to thread the eye of the needle.
(see page 16)
 Loading...