25
3
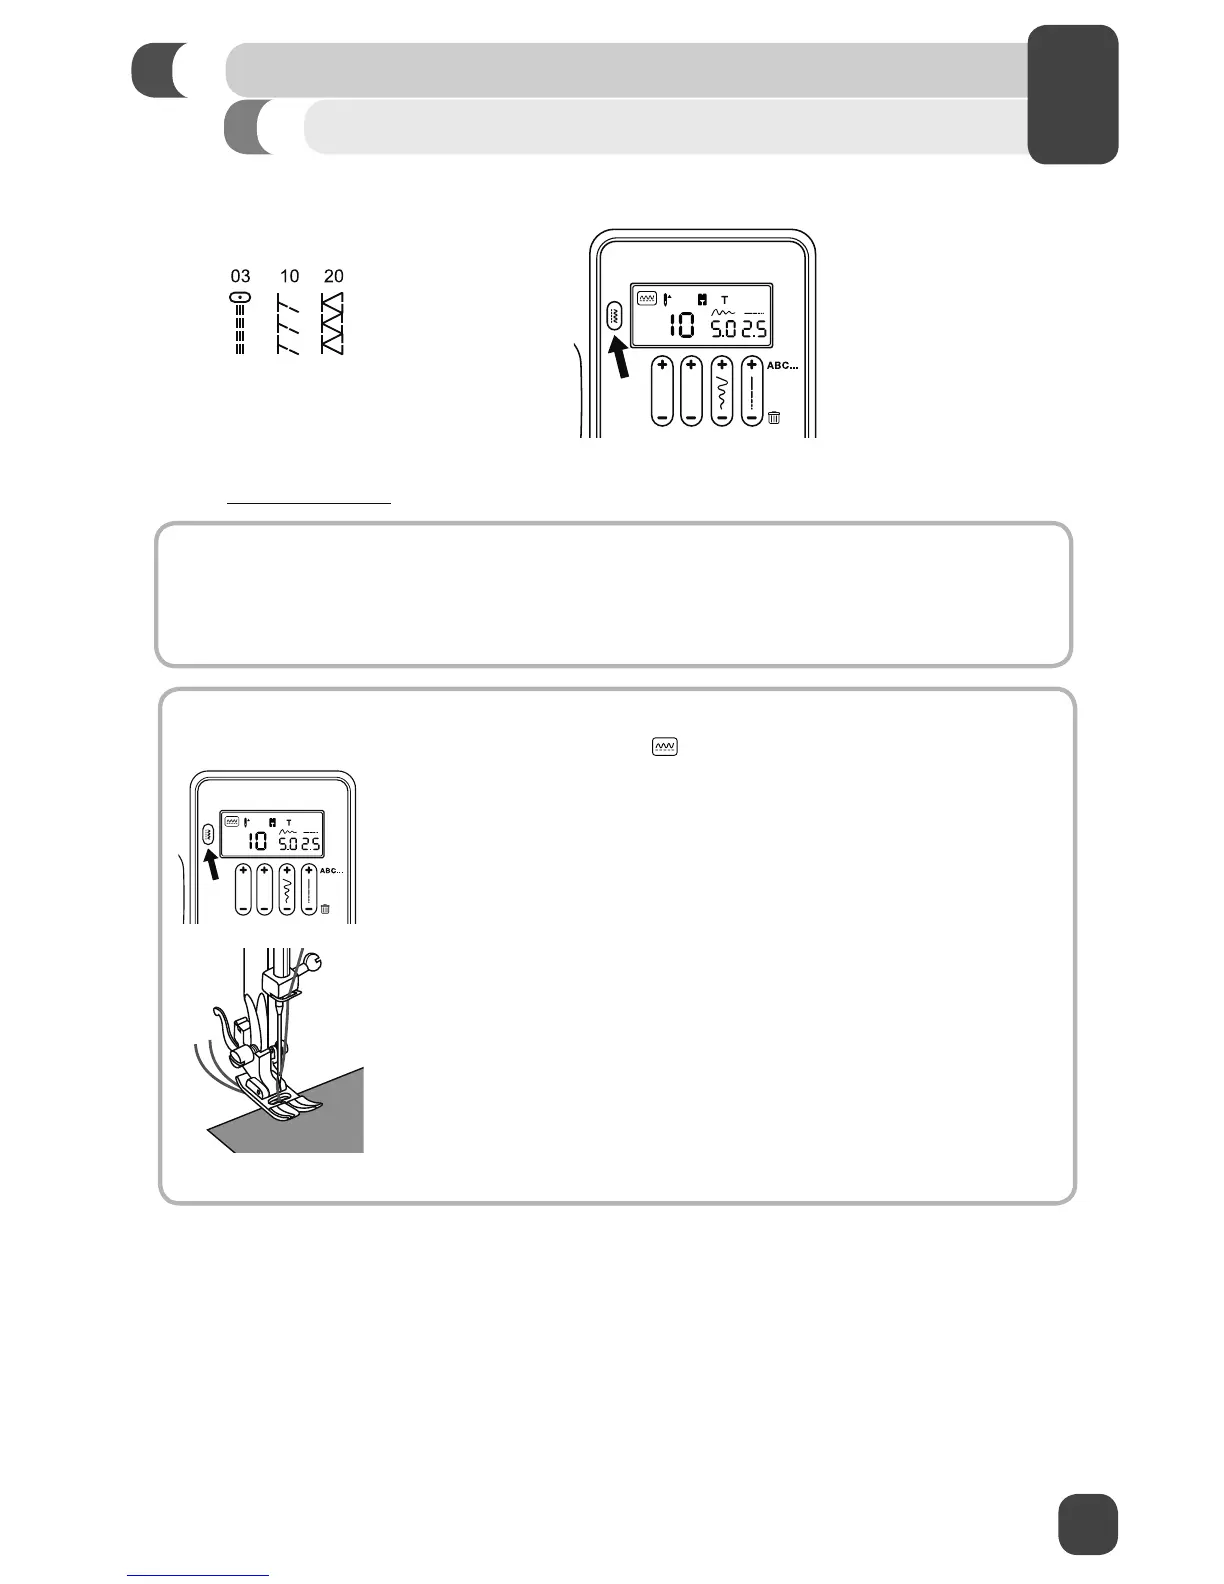
SEW ALONG: Overedge Stitch
1. Set the Mode Button to
and select stitch number 10.
2. Set the Stitch Length to number 2.5. Your machine will automatically
default to stitch length 2.5 when you select stitch # 10.
3. Set the Stitch Width to 5.0. Your machine will automatically default to
stitch width 5.0 when you select stitch # 10.
4. Place the fabric under the All Purpose Foot with the right-hand edge of
the fabric lined up with the desired seam guide line on the right side of
the needle plate. Lower the presser foot, then step on the Foot Control
or press the Start/Stop Button to begin sewing.
Sewing a Stretch Stitch
A stretch stitch is used for stretch knit fabrics. This type of seam will stretch with the fabric.
(Go to www.singerco.com to view other stretch stitches that can be used).
HOW TO:
1. Set the machine to the desired stitch by entering the number of the desired stitch. (See Page 22)
2. Set the Stitch Length between 0.5 and 4.5. (See Page22)
3. Set the Stitch Width between 0.0 and 7.0. (See Page 22)
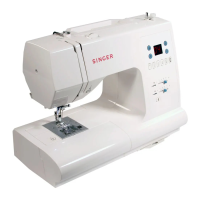
Mode Button and Function Buttons
START SEWING
 Loading...