8 S0100 / S0105 104 73 97-26
1. Needle bar height
Check
1. Inset a new needle size 90 System EL x 705 in the machine.
2. Set the needle to it's high est turning po si tion.
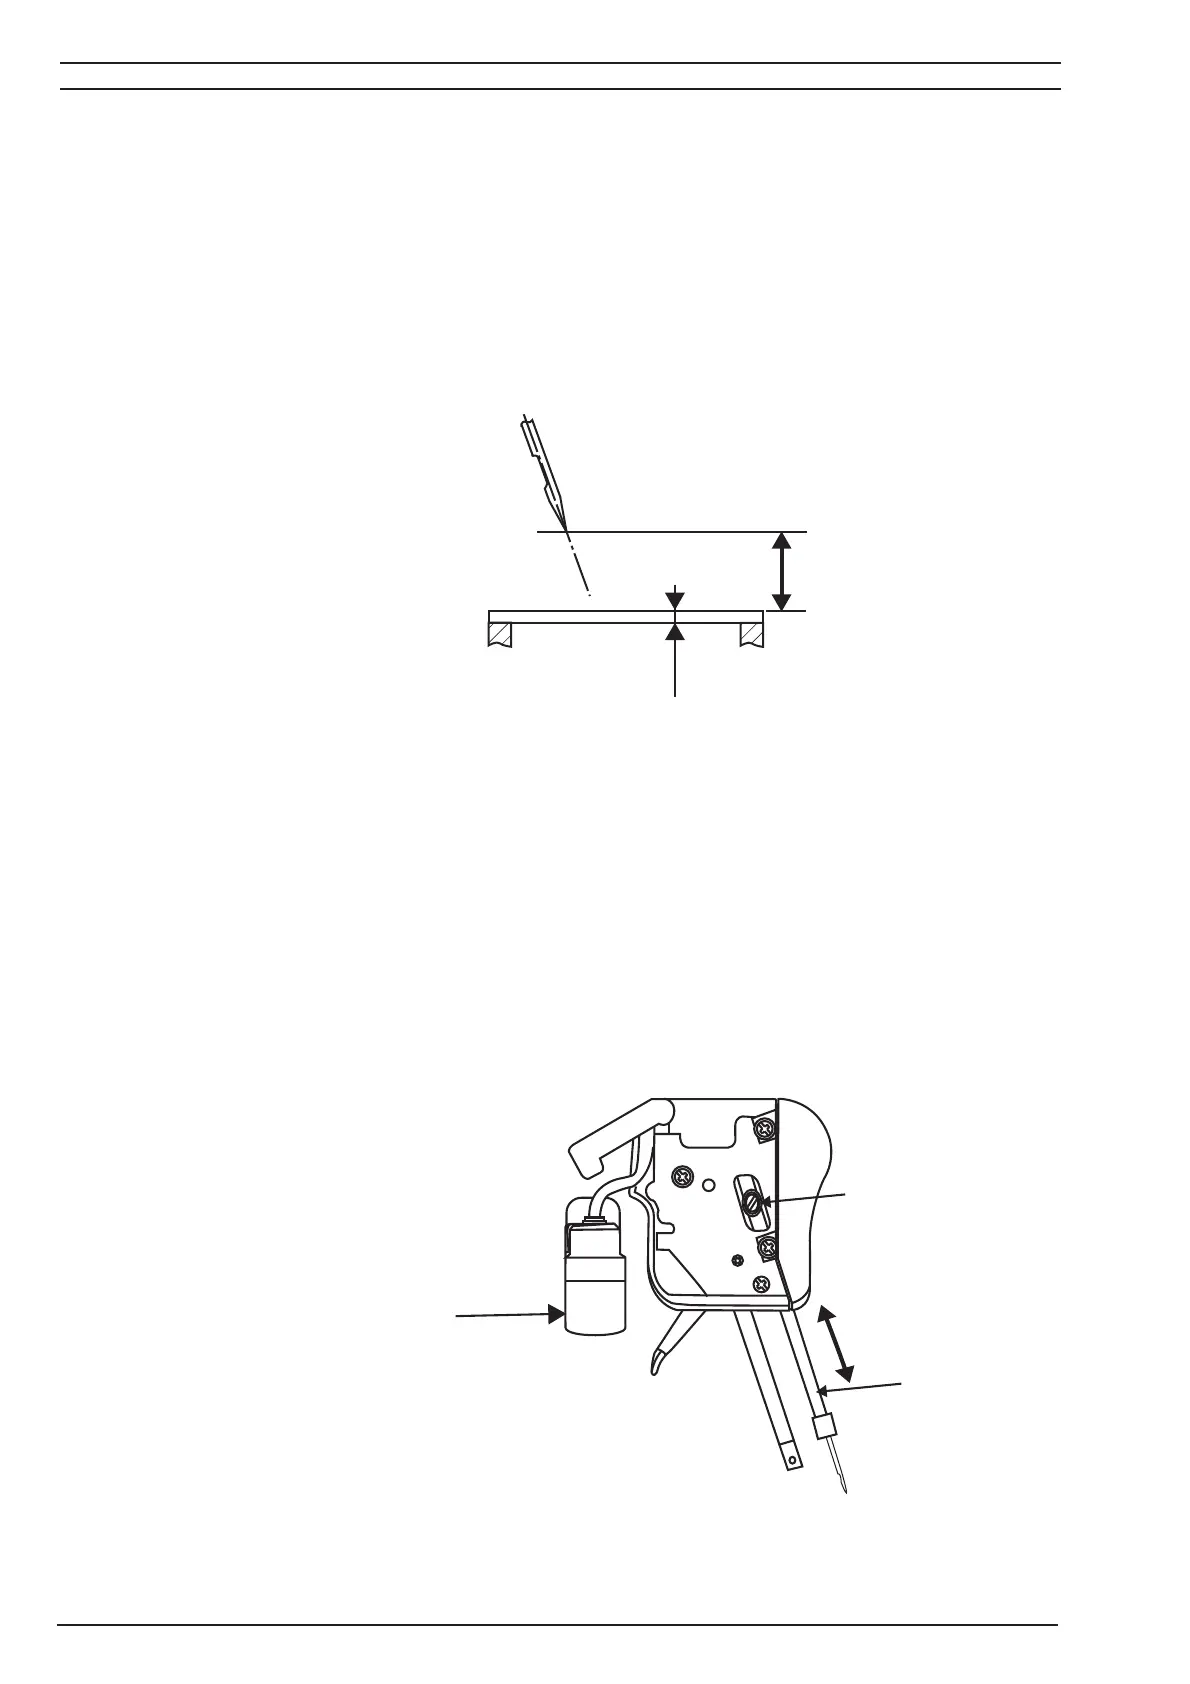
3. The distance between the right needle and the sur fa ce of the needle plate shall now be
9.8 ± 0.1 mm
NOTE: Check and make sure the needle is inserted fully into the needle clamp.
Adjustment
1. Remove light cover.
2. Remove presser foot.
3. Remove Cylinder Cover.
4. Remove LED-light socket (E).
5. Inset a new needle size 90 System EL x 705.
6. Move needle by turning the handwheel so it comes to it's highest turning position.
7. Loosen screw (A) holding the needle bar. Move needle bar (B) until the distance between
the right needle () and the surface of the stitch plate is 9.8 mm.
8.Tighten screw.
ATTENTION! If needle bar is twisted, clearance between lower looper and needles may
diff er.
9.8 ± 0.1 mm
A
B
E

 Loading...