5
Skydio 2/2+ - Operator Manual © 2021 Skydio, Inc. All rights reserved.
Pre-Flight
Set-Up
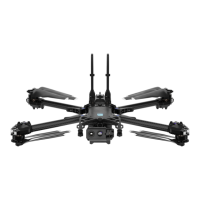
Step 1 - Insert a micro SD card into the memory card slot
• you may be required to format your card in the drone before
flying
• Skydio will not fly without a properly formatted card
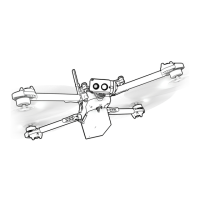
Step 2 - Attach the battery to your drone
• the batteries are held in place with magnets
• firmly tug battery to remove
Step 3 - Charge your battery using the USB-C cable and
power adapter
• charge in an open area
• it is normal for the drone and battery to be warm during
charging
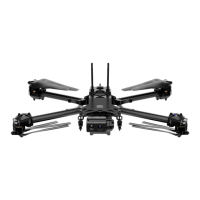
Battery lights indicate the current state of charge
• lights on the battery will turn on and begin to flash at its
current charge level. Flashing will continue until it turns solid,
indicating charging is complete
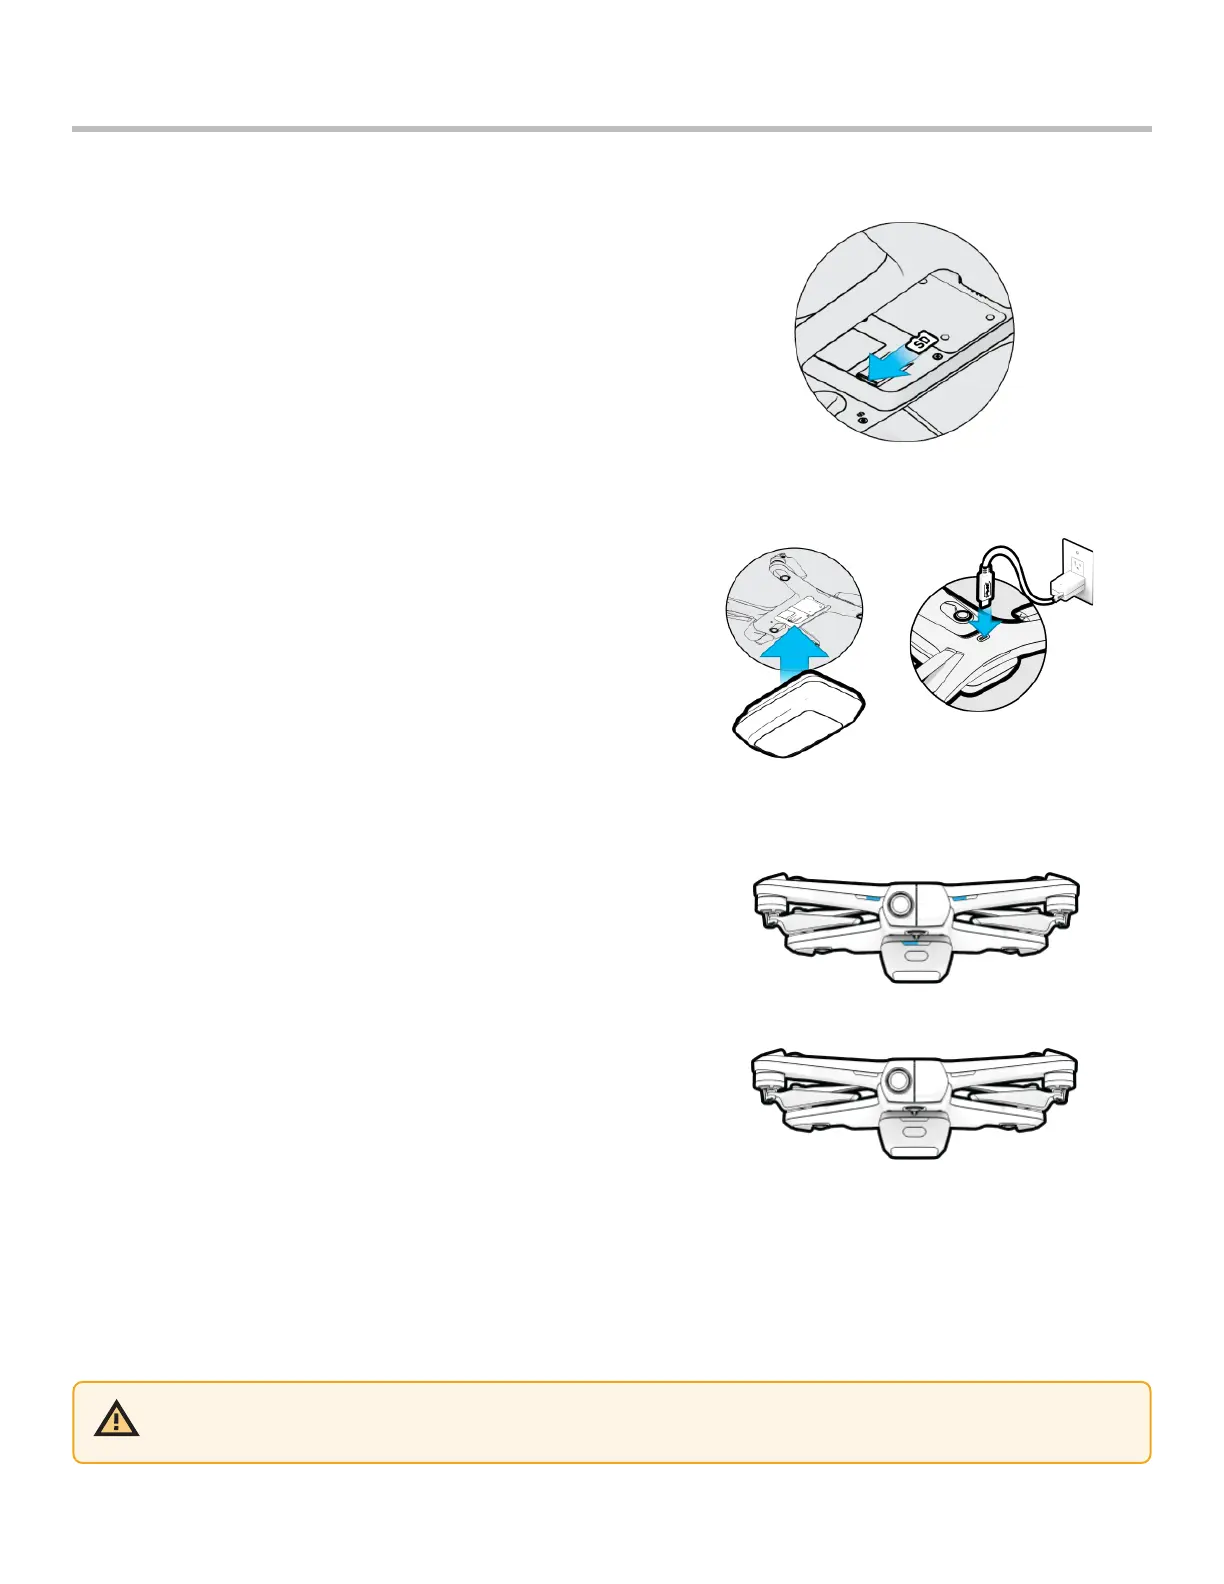
• lights will remain solid for one minute and turn o when
charging is complete
• lights on Skydio 2/2+ will turn on and remain solid blue until
charging is complete
Fully Charged
Charging
CAUTION: Remove the red plastic gimbal clip before charging.
 Loading...