PTE-100-C
35
vate/suspend the theoretical current calculation in Display #2. To
do this, just switch to Func. mode, navigate to the Preset function
and press the button. If two beeps are heard instead of
one, repeat above steps 3) and 4) to properly measure and store
the connected impedance value in memory and try again.
While Preset is active, compare the displayed current values at Display #2
before and after pressing to activate the output. This will help you
estimate the amount of error introduced by the nature of the load and the
measurement and calculation method. The Preset function is provided as a
means to help you save some regulation time. Refer to Special Functions at
the DESCRIPTION section for details on the use of the Preset and |Z|tap
functions.
CALIBRATING THE PTE-100-C
One of the microprocessor-supported functions in the PTE-100-C is the
calibration and adjustment process. You don’t need to open the unit or use
any tools to readjust it. Just install the supplied FAA-CAL program on a Win-
dows PC, connect it to the unit’s serial port and follow the instructions to
enter the readings from reference instruments into your PTE-100-C.
Required equipment
To calibrate and adjust the readings of your PTE-100-C you need the fol-
lowing equipment:
RS-232 communications cable (supplied)
FAA-CAL calibration utility (supplied) installed on a Windows PC
Reference measurement instruments
The process consists basically of 1) comparing the readings in the PTE-100-
C’s display to those measured by the reference equipment, 2) entering the
reference value through the program if the one displayed on the PTE-100-C
is out of tolerance, and 3) producing a calibration report.
General Calibration Procedure
When you start FAA-CAL, it scans the available RS-232 ports in the PC for a
connected PTE-100-C. Therefore, first connect your unit to the PC using the
supplied DB-9 cord, switch it on and activate its serial port by pressing
ON
Enter/Print
USER’S MANUAL
36
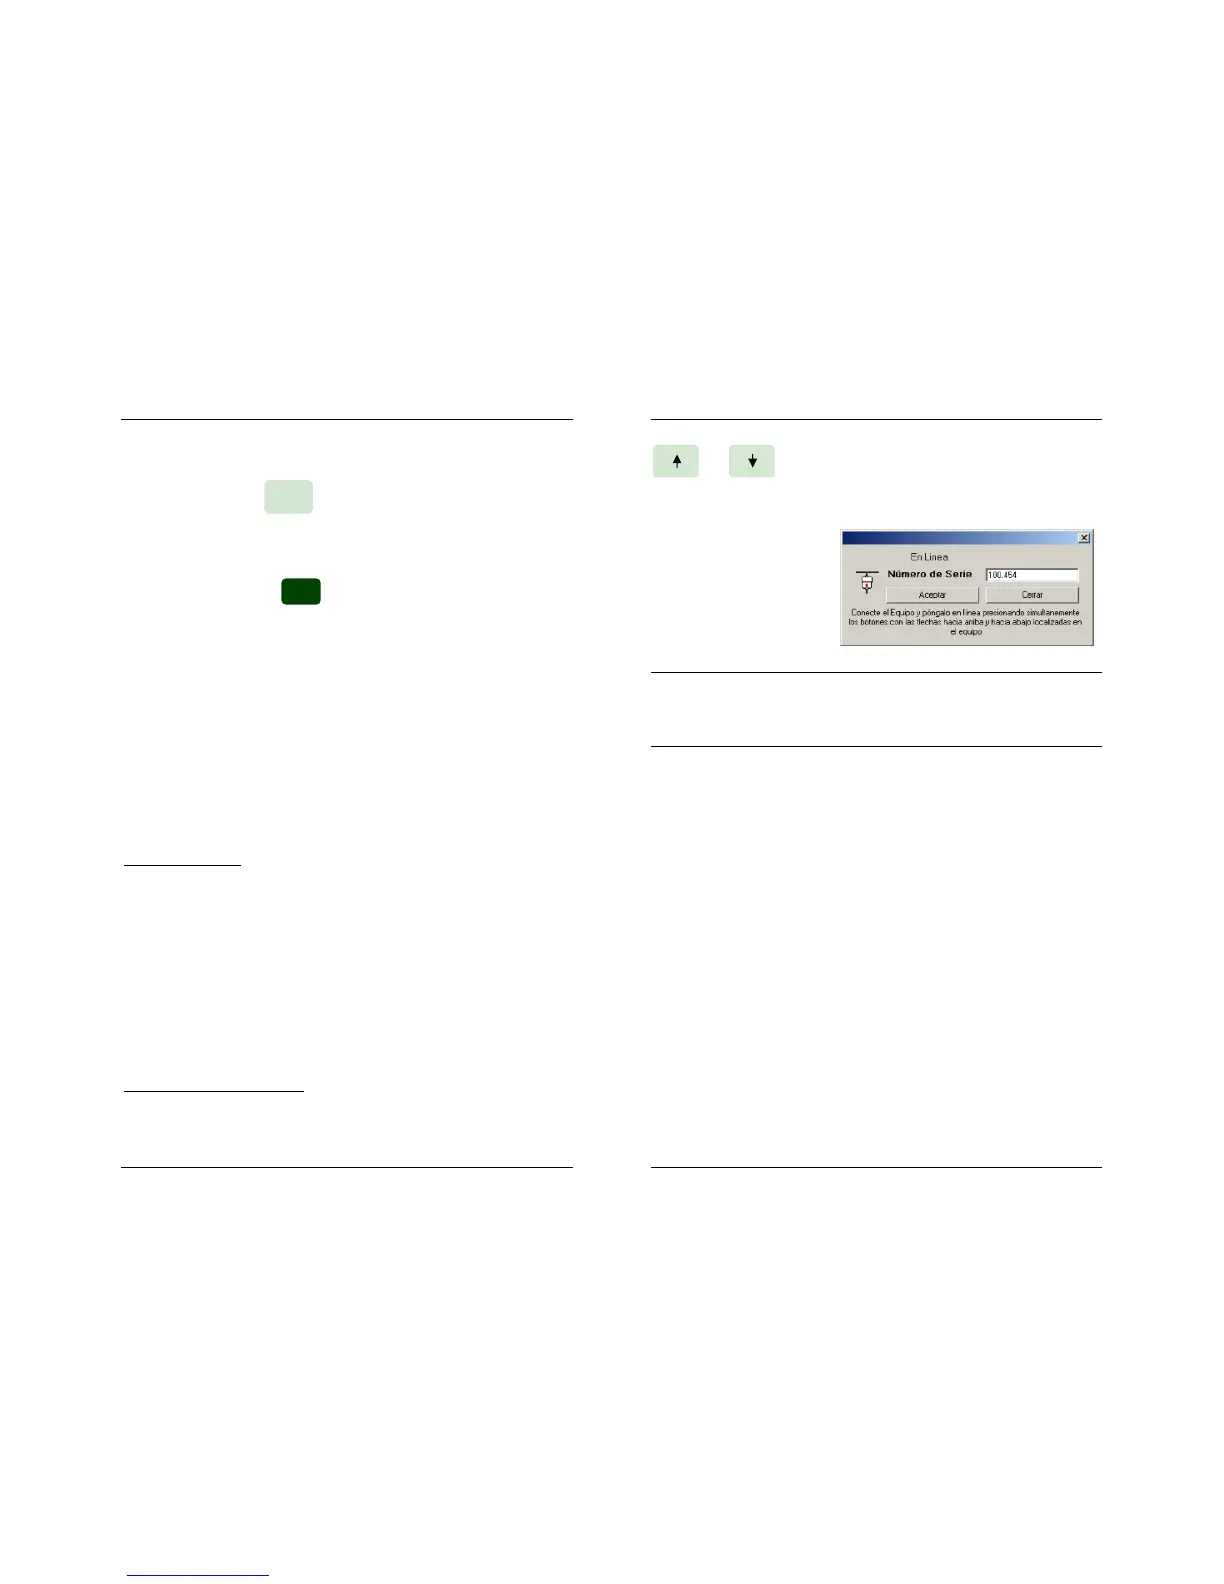
and until you hear an audible tone and a tiny rectangle is lit
at the right edge of Display #1. Now you can launch the FAA-CAL pro-
gram.
In a few seconds, a small
window will show the con-
nected unit’s serial number.
Click OK to accept and
begin with the calibration
process.
If the serial number of the connected PTE-100-C is new in the FAA-CAL’s
equipment database, the program will create a new record for that unit and
will acquire and save its adjustments into it automatically. This will allow you to
back up to the factory settings in case you make mistakes and render the
equipment unusable accidentally.
FAA-CAL displays a chronological list of all the adjustments done on one or
more PTE-100-C units to the date. To readjust the connected unit, click on
“NEW” and follow the instructions provided with the program. If you wish to
restore a previous set of adjustments to the connected equipment, highlight
the desired line in the list and click on “Send to the Equipment”.
 Loading...