Getting started
18
1 Set the power mode to CAMERA-TAPE
or CAMERA-MEMORY (p. 16).
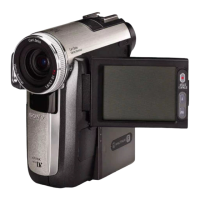
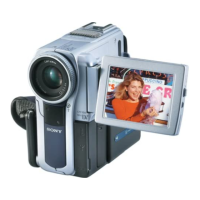
2 Extend the viewfinder, and close the
LCD panel with the screen facing out.
appears on the screen.
3 Touch .
4 Touch [YES].
The LCD screen is turned off.
5 Touch the LCD screen while checking
the display in the viewfinder.
[EXPOSURE], etc. are displayed.
6 Touch the button you want to set.
• [EXPOSURE]: Adjust with /
and touch .
• [FADER]: Touch it repeatedly to select a
desired effect (only in the CAMERA-
TAPE mode).
• : The LCD screen lights up.
To hide the buttons on the LCD screen,
touch .
z Tip
• To adjust the brightness of the viewfinder backlight,
select (STANDARD SET) menu, [LCD/VF
SET], then [VF B.LIGHT] (when you are using the
battery pack, p. 78).
Step 5: Setting the
date and time
Set the date and time when using this
camcorder for the first time. If you do not set
the date and time, the [CLOCK SET] screen
appears every time you turn on your
camcorder.
b Note
• If you do not use your camcorder for about 3
months, the built-in rechargeable button-type
battery gets discharged and the date and time
settings may be cleared from the memory. In that
case, charge the rechargeable button-type battery
(p. 124) and then set the date and time again.
1 Turn on your camcorder (p. 16).
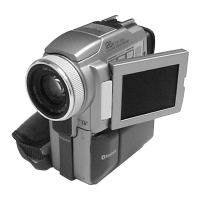
2 Press OPEN and open the LCD panel.
Proceed to step 7 when you set the clock for
the first time.
3 Touch .
OPEN
POWER switch
 Loading...