 Loading...
Do you have a question about the Sony DCR-TRV17 Operating Instructions (primary manual) and is the answer not in the manual?
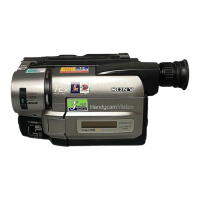
| Model | DCR-TRV17 |
|---|---|
| Image Sensor | CCD |
| Zoom | 20x optical zoom |
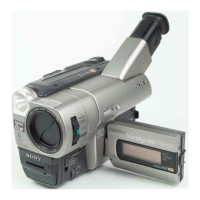
| LCD Screen | 2.5-inch color LCD |
| Microphone | Stereo microphone |
| Input/Output | S-video output |
Details for recording model and serial numbers for product support.
Instructions for connecting the camcorder to a power source.
Step-by-step guide to insert a cassette into the camcorder.
Guidance on how to navigate and understand the user manual.
Essential guidelines to protect the camcorder from damage and ensure longevity.
Instructions on how to attach and detach the battery pack for portable use.
Steps for charging the camcorder's battery pack using the AC power adaptor.
Guide for powering the camcorder directly from a wall outlet for continuous operation.
Procedure to set the internal clock for accurate date/time recording on footage.
How to properly remove a cassette from the camcorder after use.
Basic steps to start recording video footage with the camcorder.
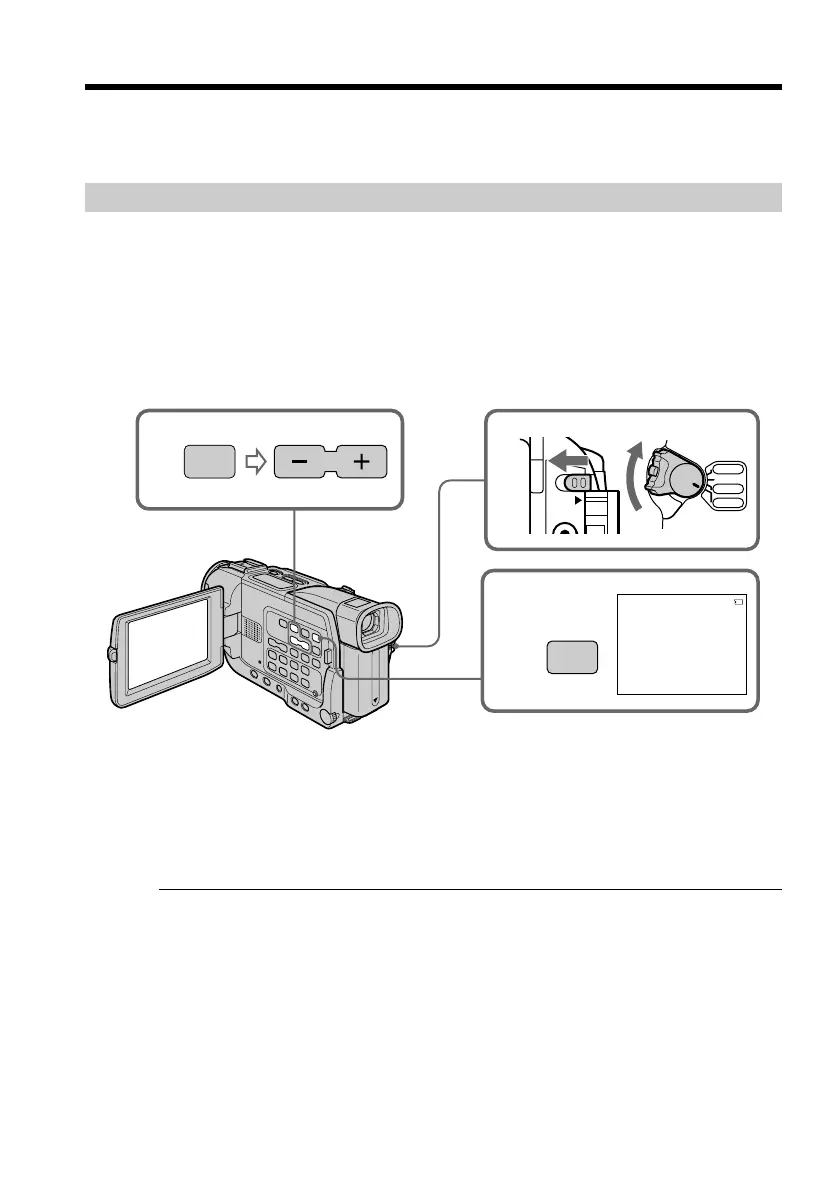
Instructions on how to operate the camcorder's zoom for framing shots.
Using NightShot and Super NightShot for recording in low-light conditions.
Functions to review and locate recorded content on the tape.
How to play recorded footage from a tape on the camcorder's screen.
Connecting the camcorder to a TV to watch playback on a larger screen.
Capturing single still photos onto the video tape for printing.
Manually setting white balance for accurate color reproduction in different lighting.
Applying fade-in/fade-out effects to transitions between scenes.
Applying artistic filters like Sepia, B&W, or Mosaic to footage.
Adding digital enhancements like Still, Lumi, or Trail to video clips.
Selecting automatic exposure modes (Spotlight, Landscape, etc.) for specific shooting scenarios.
Manually controlling exposure settings for optimal brightness and detail.
Manually adjusting focus for sharp images, especially in challenging conditions.
Creating time-lapse recordings by setting automatic recording intervals.
Viewing recorded footage with applied picture effects like Sepia or B&W.
Viewing recorded footage with applied digital effects like Still or Lumi.
Zooming into specific parts of recorded footage for closer inspection.
Using the zero set memory function to mark and return to specific points on the tape.
Finding recorded scenes based on titles stored on cassette memory.
Locating recorded footage by searching for specific dates on the tape.
Finding still images recorded on the tape using photo search or scan functions.
Copying recorded content from one tape to another, or to a VCR.
Editing and copying specific segments of video to a new tape.
Capturing analog video signals into a computer via the camcorder.
Recording external video sources or TV broadcasts onto a tape.
Editing by inserting new scenes from a VCR onto the camcorder's tape.
Adding new audio tracks or sound effects to recorded video.
Adding text titles directly onto the video footage.
Creating and storing custom text titles for video recordings.
Adjusting camcorder functions and preferences through the menu system.
Overview of Memory Stick functionality, file formats, and handling.
Choosing image quality settings (Fine/Standard) for still photos on Memory Stick.
Setting the resolution for moving picture recordings on Memory Stick.
Capturing still photos directly onto the Memory Stick.
Recording video clips directly onto the Memory Stick.
Transferring still images from a video tape to a Memory Stick.
Transferring still images from Memory Stick back to video tapes.
Playing back still images stored on a Memory Stick.
Playing back video clips recorded on a Memory Stick.
Transferring and viewing Memory Stick content on a computer.
Protecting important images on the Memory Stick from accidental deletion.
Removing unwanted images from the Memory Stick.
A guide to diagnosing and resolving common issues encountered with the camcorder.
Solutions for problems encountered specifically during the recording process.
Solutions for problems encountered when playing back recorded content.
Solutions for issues related to Memory Stick functionality and usage.
Understanding and interpreting the camcorder's error codes for self-diagnosis.
Explaining various warning icons and messages displayed on the camcorder's screen.
Information on compatible cassette types, including mini DV and cassette memory.
Details on the battery pack's features, charging, and usage for optimal performance.
Explanation of the i.LINK interface for digital data transfer and connectivity.
Guidelines for using the camcorder in different countries and understanding TV color systems.
Precautions and procedures related to moisture buildup and its effects on the camcorder.
Instructions for cleaning the camcorder's video heads to ensure picture quality.
How to maintain the camcorder's internal battery for date and time settings.
General safety and operational guidelines for using the camcorder and its accessories.
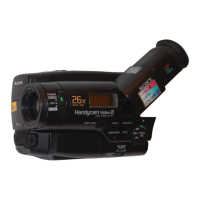
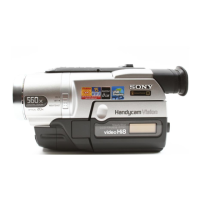
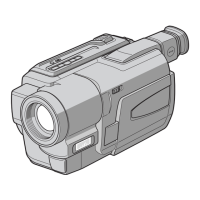
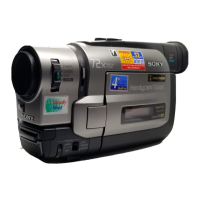
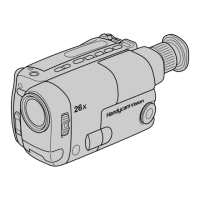
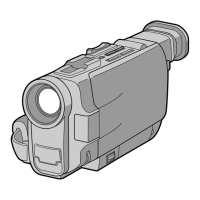
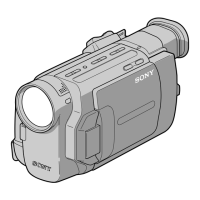
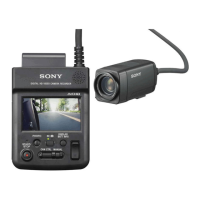
Technical details and features of the camcorder hardware.
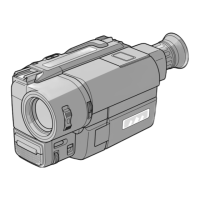
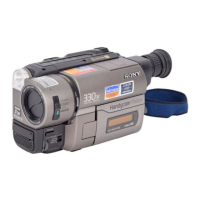
Visual guide to the camcorder's buttons, ports, and indicators for easy identification.
Identification and explanation of the buttons and functions of the remote control.