1-5
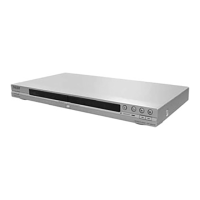
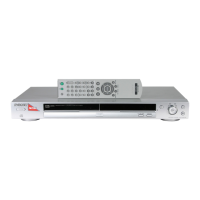
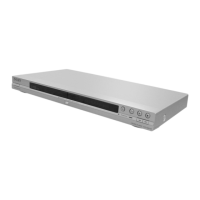
DVP-NS30/NS32/NS33/NS52P
19
Hookups
◆PROGRESSIVE VIDEO
Select this setting when:
– your TV accepts progressive signals, and,
– the TV is connected to the COMPONENT VIDEO OUT jacks, and
– you want to fix the conversion method to PROGRESSIVE VIDEO for video-based software.
Select this if the image is not clear when you select PROGRESSIVE AUTO.
Note that the picture will not be clear or no picture will appear if you select these settings when
either of the above conditions is not met.
◆NORMAL (INTERLACE)
Select this setting when:
– your TV does not accept progressive signals, or,
– your TV is connected to jacks other than the COMPONENT VIDEO OUT jacks (LINE OUT
(VIDEO) or S VIDEO OUT).
◆About DVD software types and the conversion method
DVD software can be divided into two types: film-based software and video-based software.
Video-based software is derived from TV, such as dramas and sit-coms, and displays images at
25 frames/50 fields (30 frames/60 fields) per second. Film-based software is derived from film
and displays images at 24 frames per second. Some DVD software contains both video and film.
In order for these images to appear natural on your screen when output in progressive format,
the progressive signals need to be converted to match the type of DVD software that you are
watching.
Notes
• When you play video-based software in progressive signal format, sections of some types of images may
appear unnatural due to the conversion process when output through the COMPONENT VIDEO OUT
jacks. Images from the S VIDEO OUT and LINE OUT (VIDEO) jacks are unaffected as they are output in
the normal (interlace) format.
• If you set “LINE” in “SCREEN SETUP” to “RGB,” then the player switches to “NORMAL
(INTERLACE).” This will happen even though you select “PROGRESSIVE AUTO” or “PROGRESSIVE
VIDEO.”
• When using LINE OUT (VIDEO) or S VIDEO OUT, the picture may appear to flicker each time the
PROGRESSIVE button on the front panel is pressed (Interlace switches to Progressive or vice versa).
,continued
20
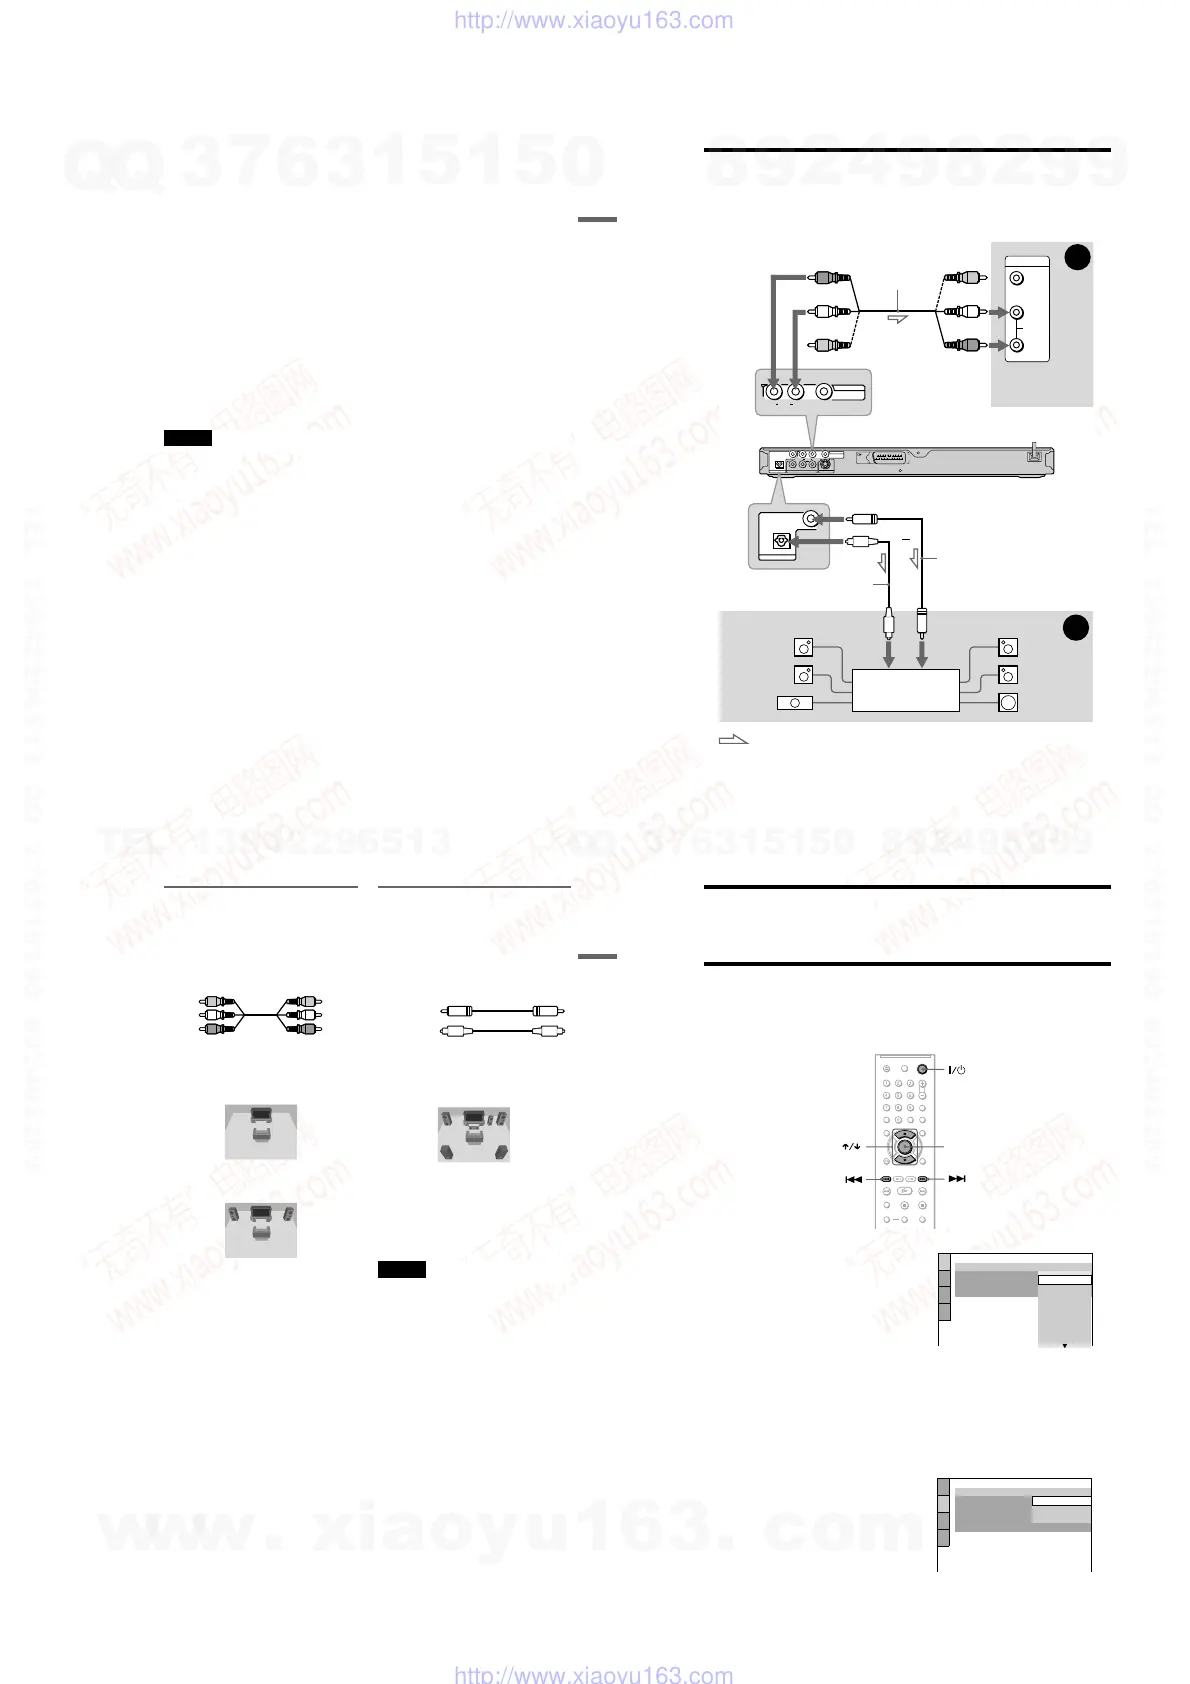
Step 4: Connecting the Audio Cords
Select one of the following patterns A or B, according to the input jack on your TV monitor,
projector, or AV amplifier (receiver).
This will enable you to listen to sound.
z Hint
For correct speaker location, see the operating instructions supplied with the connected components.
VIDEO
AUDIO
INPUT
L
R
R
AUDIO
L
P
R
/C
R
P
B
/C
B
S VIDEO OUT
LINE
(RGB)
-
TV
L
CENTER
A
B
VIDEO
LINE OUT
VIDEO
LINE OUT
AUDIO
R
L
Y
COAXIAL
COMPONENT VIDEO OUT
DIGITAL OUT
OPTICAL
COAXIAL
DIGITAL OUT
OPTICAL
AV amplifier (receiver)
with a decoder
(red)
TV, projector, or AV
amplifier (receiver)
Audio/video cord
(not supplied)
: Signal flow
Coaxial digital cord
(not supplied)
to DIGITAL OUT
(COAXIAL or OPTICAL*
2
)
to LINE OUT L/R (AUDIO)
Rear (L)
CD/DVD player
(white)
(yellow)*
1
(yellow)*
1
(white)
(red)
[Speakers]
Front (L)
[Speakers]
to coaxial
digital input
Rear (R)
Front (R)
SubwooferCenter
*
1
The yellow plug is used for video signals (page 16).
*
2
DVP-NS52P only.
Optical digital cord (not supplied)
Remove jack cap before connecting
or
to optical
digital input
21
Hookups
A Connecting to audio L/R input
jacks
This connection will use your TV’s or stereo
amplifier’s (receiver’s) two speakers for
sound. Connect using the audio/video cord
(not supplied).
• Surround effect (page 44)
TV: Dynamic Theatre, Dynamic, Wide,
Night
Stereo amplifier (receiver): Standard, Night
B Connecting to a digital audio
input jack
If your AV amplifier (receiver) has a Dolby*
1
Digital, DTS*
2
or MPEG audio decoder and
a digital input jack, use this connection.
Connect using a coaxial or optical (DVP-
NS52P only) digital cord (not supplied).
• Surround effect
Dolby Digital (5.1ch), DTS (5.1ch), MPEG
audio (5.1ch)
*1
Manufactured under license from Dolby
Laboratories.
“Dolby,” “Pro Logic,” and the double-D symbol
are trademarks of Dolby Laboratories.
*2
“DTS” and “DTS Digital Out” are trademarks of
Digital Theater Systems, Inc.
Notes
• After you have completed the connection, make
the appropriate settings in Quick Setup (page 22).
If your AV amplifier (receiver) has an MPEG
audio decoder function, set “MPEG” to “MPEG”
in Audio Setup (page 69). Otherwise, no sound or
a loud noise will come from your speakers.
• The surround sound effects of this player cannot
be used with this connection.
• In order to listen to DTS sound tracks, you must
use this connection. DTS sound tracks are not
output through the LINE OUT L/R (AUDIO)
jacks, even if you set “DTS” to “ON” in Quick
Setup (page 22).
Yellow
White (L)
Red (R)
Yellow
White (L)
Red (R)
Coaxial cord
Optical cord
,continued
22
Step 5: Connecting the Mains Lead
Plug the player and TV mains lead (power cord) into a mains.
Step 6: Quick Setup
Follow the steps below to make the minimum number of basic adjustments for using the player.
To skip an adjustment, press >. To return to the previous adjustment, press ..
The on-screen display differ depending on the player model.
1
Turn on the TV.
2
Press [/1.
3
Switch the input selector on your
TV so that the signal from the
player appears on the TV screen.
“Press [ENTER] to run QUICK SETUP”
(press enter to run Quick Setup) appears
at the bottom of the screen. If this
message does not appear, select
“QUICK” (quick) under “SETUP”
(setup) in the Control Menu to run Quick
Setup (page 65).
4
Press ENTER without inserting a
disc.
The Setup Display for selecting the
language used in the on-screen display
appears.
The available languages differ depending
upon the player model.
5
Press X/x to select a language.
The player displays the menu and
subtitles in the selected language.
6
Press ENTER.
The Setup Display for selecting the
aspect ratio of the TV to be connected
appears.
ENTE
LANGUAGE SETUP
OSD:
MENU:
AUDIO:
SUBTITLE:
ITALIANO
ESPAÑOL
NEDERLANDS
DANSK
SVENSKA
FRANÇAIS
ENGLISH
ENGLISH
DEUTSCH
SCREEN SETUP
TV TYPE:
16:9
4:3 LETTER BOX
4:3 PAN SCAN
FULL
SCREEN SAVER:
LINE:
BACKGROUND:
4:3 OUTPUT:
16:9
w
w
w
.
x
i
a
o
y
u
1
6
3
.
c
o
m
Q
Q
3
7
6
3
1
5
1
5
0
9
9
2
8
9
4
2
9
8
T
E
L
1
3
9
4
2
2
9
6
5
1
3
9
9
2
8
9
4
2
9
8
0
5
1
5
1
3
6
7
3
Q
Q
TEL 13942296513 QQ 376315150 892498299
TEL 13942296513 QQ 376315150 892498299
http://www.xiaoyu163.com
http://www.xiaoyu163.com
 Loading...