– 11 –
WAX
RM-EA002 / RM-ED002
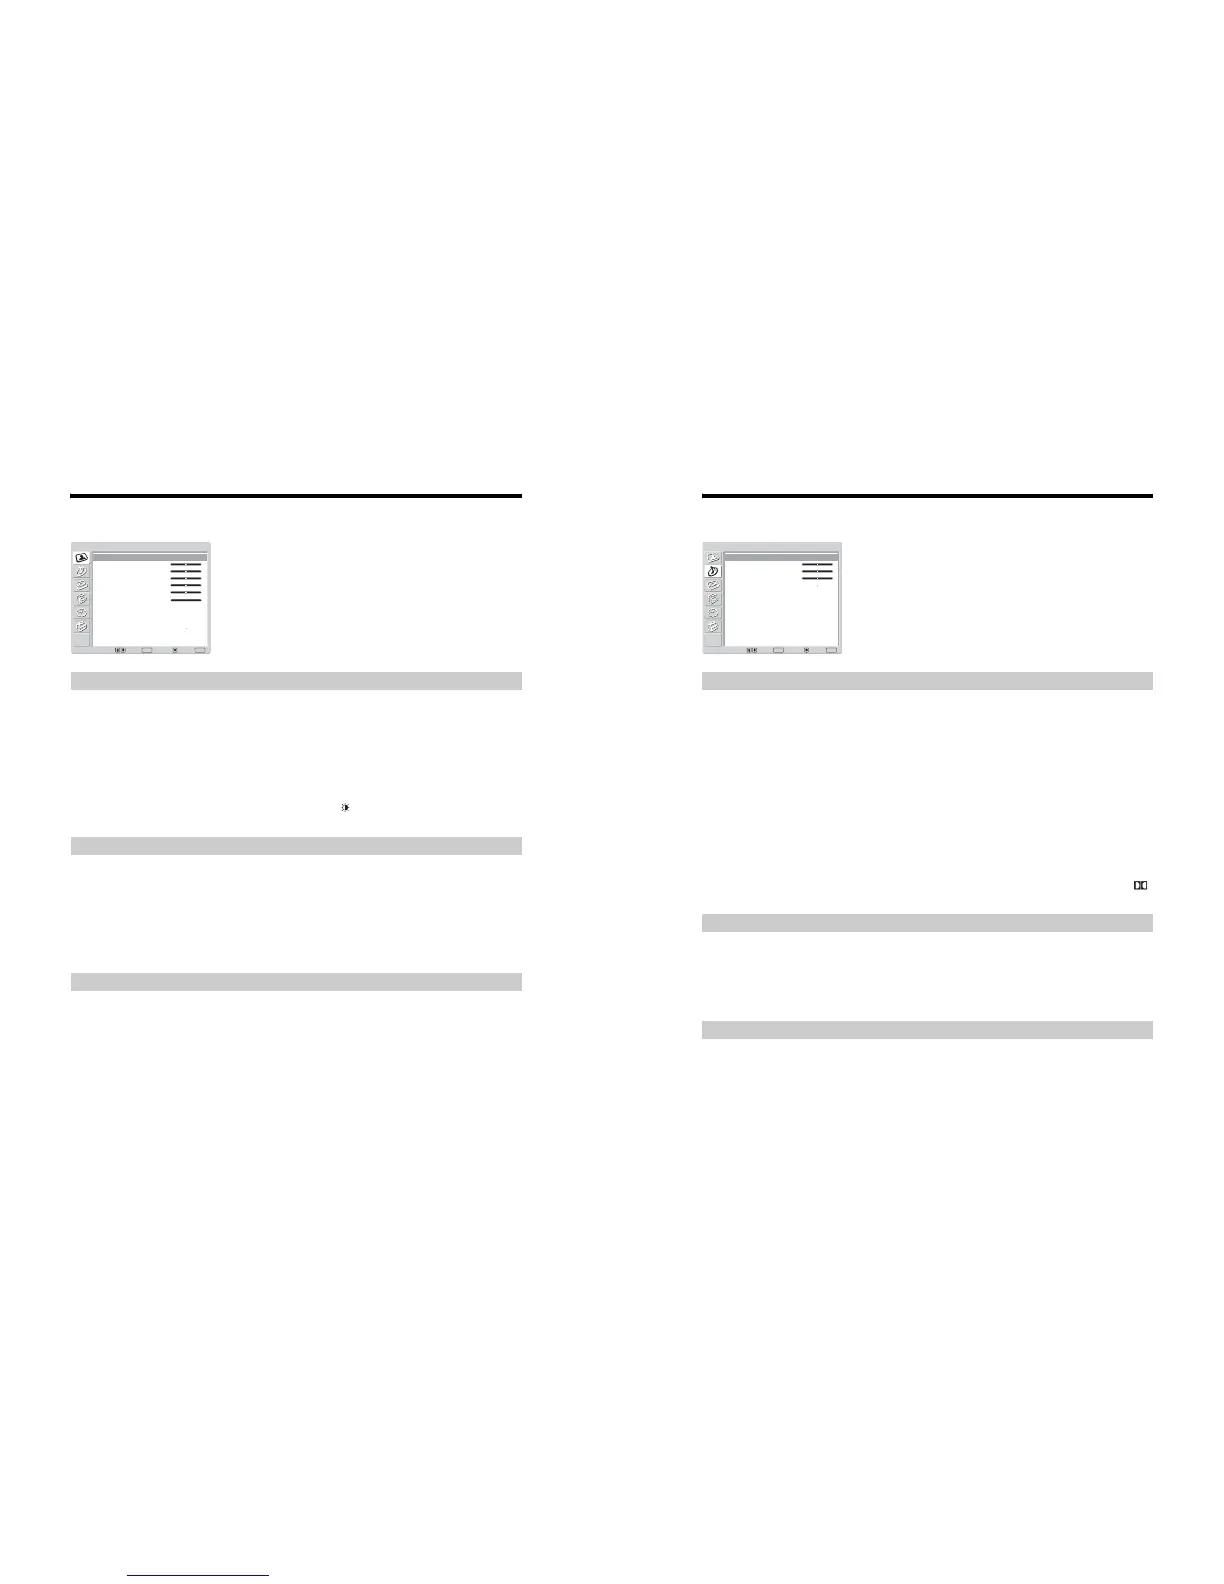
Picture Adjustment menu
Selects the picture mode.
1
Press OK to select “Picture Mode”.
2
Press m/M to select one of the following picture modes, then press OK.
• Vivid: For big lighted spaces.
• Standard: Optimal picture for home use.
• Custom: Allows you to store your own prefered settings.
Tip
You can change the picture mode by pressing repeatedly.
1
Press OK to select the option.
2
Press </, to set the level, then press OK.
Tip
“Hue” can only be adjusted for an NTSC colour signal (e.g., U.S.A. video tapes).
“Brightness”, “Colour”, “Hue”, “Sharpness” and “Backlight” only appear and can be adjusted if
“Picture Mode” is set to “Custom”.
1
Press OK to select “Colour Tone”.
2
Press m/M to select one of the following, then press OK.
• Cool: Gives the white colours a blue tint.
• Neutral: Gives the white colours a neutral tint.
• Warm: Gives the white colours a red tint.
Tip
“Warm” only appears and can be adjusted if “Picture Mode” is set to “Custom”.
You can select the options listed below on the Picture
Adjustment menu. To select options, see “Navigating
through menus” (page 19).
Tip
When you set the “Picture Mode” option to “Vivid” or
“Standard,” you can adjust only “Contrast,” and “Reset.”
Picture Mode
Contrast/Brightness/Colour/Hue/Sharpness/Backlight
Colour Tone
Select: Set: Back:
OK
End:
MENU
Picture Mode:
Contrast:
Brightness:
Colour:
Hue:
Sharpness:
Backlight:
Colo u r Tone:
Reset
Noise Reduction:
Custom
Max
50
50
0
15
5
Warm
Auto
Picture Adjustment
Continued
Sound Adjustment menu
1
Press OK to select “Sound Effect”.
2
Press m/M to select one of the following sound effects, then press OK.
• Natural: Enhances clarity, detail, and sound presence by using “BBE High definition Sound
System
*1
.”
• Dynamic: Intensifies clarity and sound presence for better intelligibility and musical realism by
using the “BBE High definition Sound System.”
• Dolby Virtual
*2
: Uses the TV speakers to simulate the surround effect produced by a multi
channel system.
• Off: Flat response.
Tips
• You can change sound effect by pressing 9 repeatedly.
• If you set “Auto Volume” to “On”, “Soud Effect” changes to “Natural”.
*1
Licensed by BBE Sound, Inc. under USP4638258, 4482866. “BBE” and BBE symbol are
trademarks of BBE Sound, Inc.
*2
Manufactured under license from Dolby Laboratories. “Dolby” and the double-D symbol
are trademarks of Dolby Laboratories.
Adjusts higher-pitched sounds (Treble), adjusts lower-pitched sounds (Bass), and
emphasizes left or right speaker balance (Balance).
1
Press OK to select the option.
2
Press </, to set the level, then press OK.
Resets the “Treble,” “Bass” and “Balance” settings to the factory settings.
1
Press OK to select “Reset”.
2
Press m/M to select “OK,” then press OK.
You can select the options listed below on the Sound
Adjustment menu. To select options, see “Navigating
through menus” (page 19).
Sound Effect
Treble/Bass/Balance
Reset
Select: Set: Back:
OK
End:
MENU
Sound Effect:
Treble:
Bass:
Balance:
Reset
Dual Sound:
Auto Volume:
Dynamic
0
0
0
A
Off
Sound Adjustment
Continued
 Loading...