– 12 –
WAX
RM-EA002 / RM-ED002
Screen menu
Automatically changes the screen format according to the broadcast signal.
1
Press OK to select “Auto Format”.
2
Press m/M to select “On,” then press OK.
Tips
• Even if you have selected “On” or “Off” in “Auto Format”, you can always modify the format of
the screen by pressing repeatedly.
• “Auto Format” is available for PAL and SECAM signals only.
For details about the screen format, see page 15.
1
Press OK to select “Screen Format”.
2
Press m/M to select “Wide,” “Smart,” “4:3,” “14:9” or “Zoom” (see
page 15 for details), then press OK.
Adjusts the horizontal picture position so that the picture is in the middle of the screen.
1
Press OK to select “RGB Center”.
2
Press </, to adjust the centre of the picture between -5 and +5, then
press OK.
Tip
This option is only available if an RGB source has been connected to the Scarts connectors
1/ 1
or
2/ 2
on the rear of the TV.
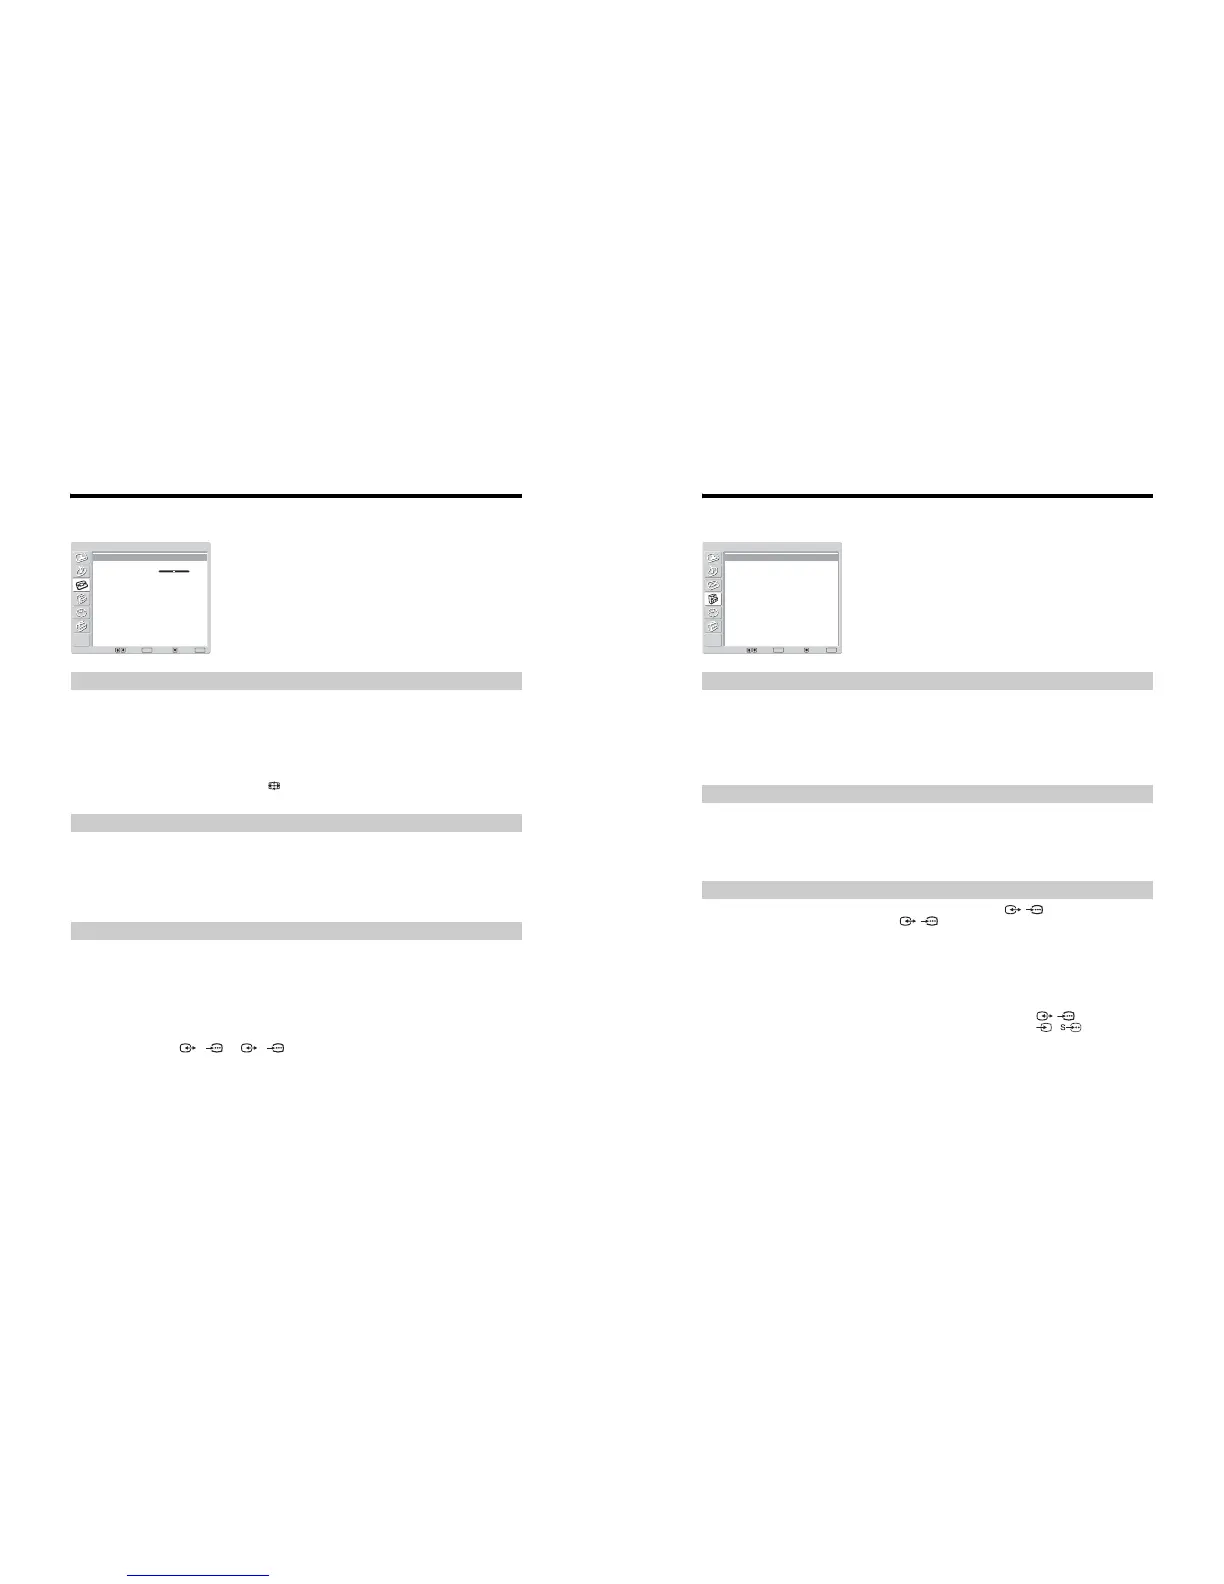
You can select the options listed below on the Screen
Control menu. To select options, see “Navigating
through menus” (page 19).
Auto Format
Screen Format
RGB Center
Select: Set: Back:
OK
End:
MENU
Auto Format:
Screen Format:
RGB Center
On
Smart
0
Screen
Features menu
1
Press OK to select “Power Saving”.
2
Press m/M to select one of the following, then press OK.
• Standard: Default settings.
• Reduce: Reduces the power consumption of the TV.
• Picture Off: Switches off the picture. You can listen to the sound with the picture off.
Automatically optimizes the picture settings according to the ambient light in the room.
1
Press OK to select “Light Sensor”.
2
Press m/M to select “On” then press OK.
Sets a signal to be output through the socket labelled / 2 on the rear of the TV. If
you connect a VCR to the / 2 socket, you can then record from the equipment
connected to other sockets of the TV.
1
Press OK to select “AV2 Output”.
2
Press m/M to select one of the following, then press OK.
• D-TV: Outputs a digital broadcast.
• A-TV: Outputs an analogue broadcast.
• AV1: Outputs signals from equipment connected to the / 1 socket.
• AV4: Outputs signals from equipment connected to the 4/ 4 socket.
• Auto: Outputs whatever is being viewed on the screen.
You can select the options listed below on the
Features menu. To select options, see “Navigating
through menus” (page 19).
Power Saving
Light Sensor
AV2 Output
Select: Set: Back:
OK
End:
MENU
Power Saving
Light Sensor
AV2 Output
TV Speakers
PC Adjustment
Standard
On
TV
On
Features
 Loading...