•
6
Getting
Started
Resetting
the
unit
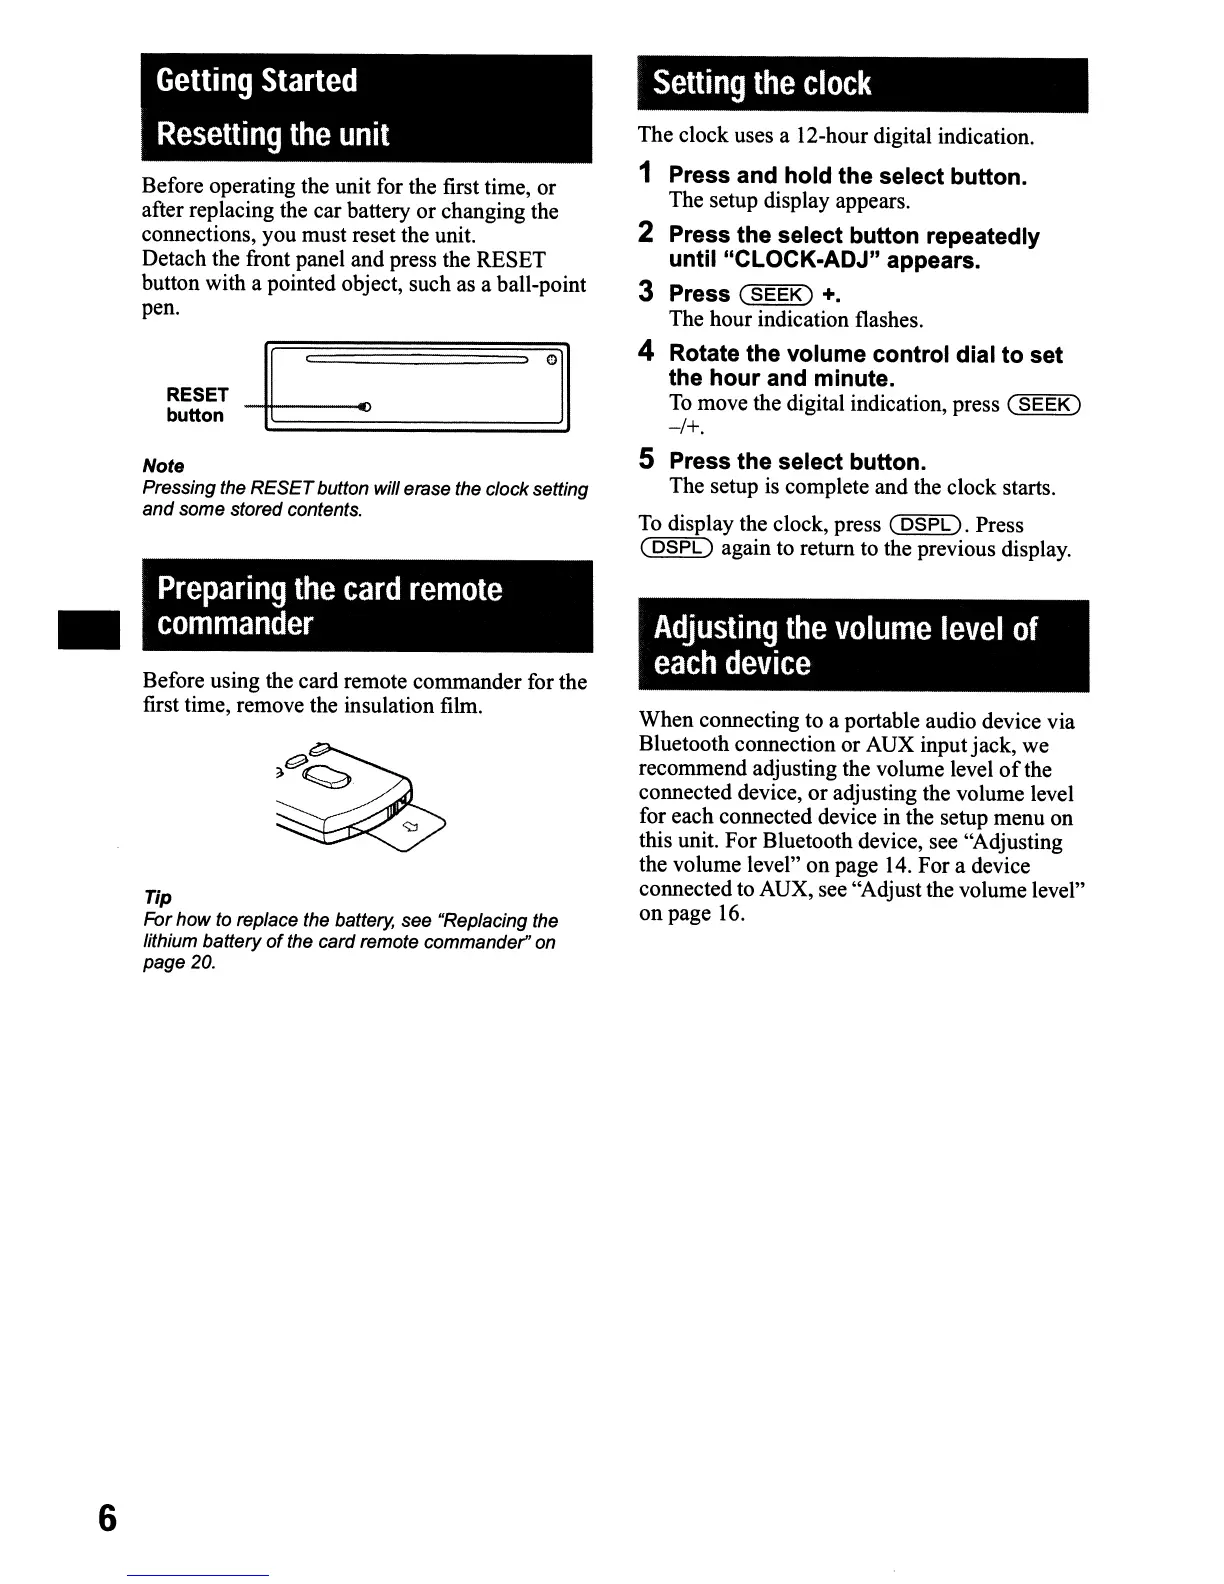
Before operating the unit for the first time, or
after replacing the car battery
or
changing the
connections, you must reset the unit.
Detach the front panel and press the RESET
button with a pointed object, such as a ball-point
pen.
RESET
~
_
button.
.,
~=:::::=:::::=:::::=:::::=:::::~
Note
Pressing the
RESET
button will erase the clock setting
and some stored contents.
Preparing
the
card
remote
commander
Before using the card remote commander for the
first time, remove the insulation film.
Tip
For
how
to replace the battery, see "Replacing the
lithium battery
of
the card remote commander" on
page 20.
Setting
the
clock
The clock uses a 12-hour digital indication.
1 Press and
hold
the select button.
The setup display appears.
2 Press the select button repeatedly
until "CLOCK-ADJ" appears.
3 Press
(SEEK)
+.
The hour indication flashes.
4 Rotate the volume control dial
to
set
the
hour
and minute.
To
move the digital indication, press
(SEEK)
-/+.
5 Press the select button.
The setup is complete and the clock starts.
To
display the clock, press
(DSPL).
Press
(
DSPL)
again to return to the previous display.
Adjusting
the
volume
level
of
each
device
When connecting to a portable audio device via
Bluetooth connection or AUX inputjack,
we
recommend adjusting the volume level
of
the
connected device, or adjusting the volume level
for each connected device in the setup menu
on
this unit.
For
Bluetooth device, see "Adjusting
the volume level"
on
page 14. For a device
connected to AUX, see "Adjust the volume level"
on
page 16.
 Loading...