 Loading...
Do you have a question about the Star Micronics TSP143IIU and is the answer not in the manual?
| Color | Yes |
|---|---|
| Print technology | Direct thermal |
| Maximum print height | 8 mm |
| Standard interfaces | USB |
| USB 2.0 ports quantity | 1 |
| Power consumption | 1000 mA |
| Compatible operating systems | Windows XP 32 Bit, Vista 32/64 Bit, Windows 7 32/64 Bit, Server 2008 32/64 Bit, XP Embedded, CE, POSReady 2009, OPOS, JavaPOS, USB Vendor Class, Linux, Mac OS X, StarIO SDK with support for iOS, Android and Blackberry |
| Storage temperature (T-T) | -20 - 60 °C |
| Operating temperature (T-T) | 5 - 45 °C |
| Operating relative humidity (H-H) | 10 - 90 % |
| Media thickness | 0.065 - 0.085 mm |
| Autocutter durability | 1 million cuts |
| Maximum roll diameter | 83 mm |
| Supported paper width | 80, 72, 58, 50.8 mm |
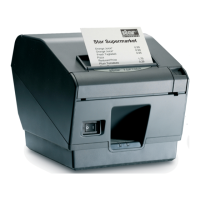
| Product color | White |
| Certification | UL, C-UL, TüV, FCC, VCCI, EN55022, CE |
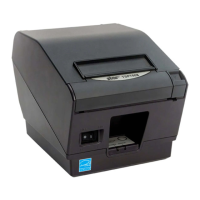
| Depth | 204 mm |
|---|---|
| Width | 142 mm |
| Height | 132 mm |
Details on checking accessories after unpacking the printer unit.
Instructions for connecting the printer to a power source.
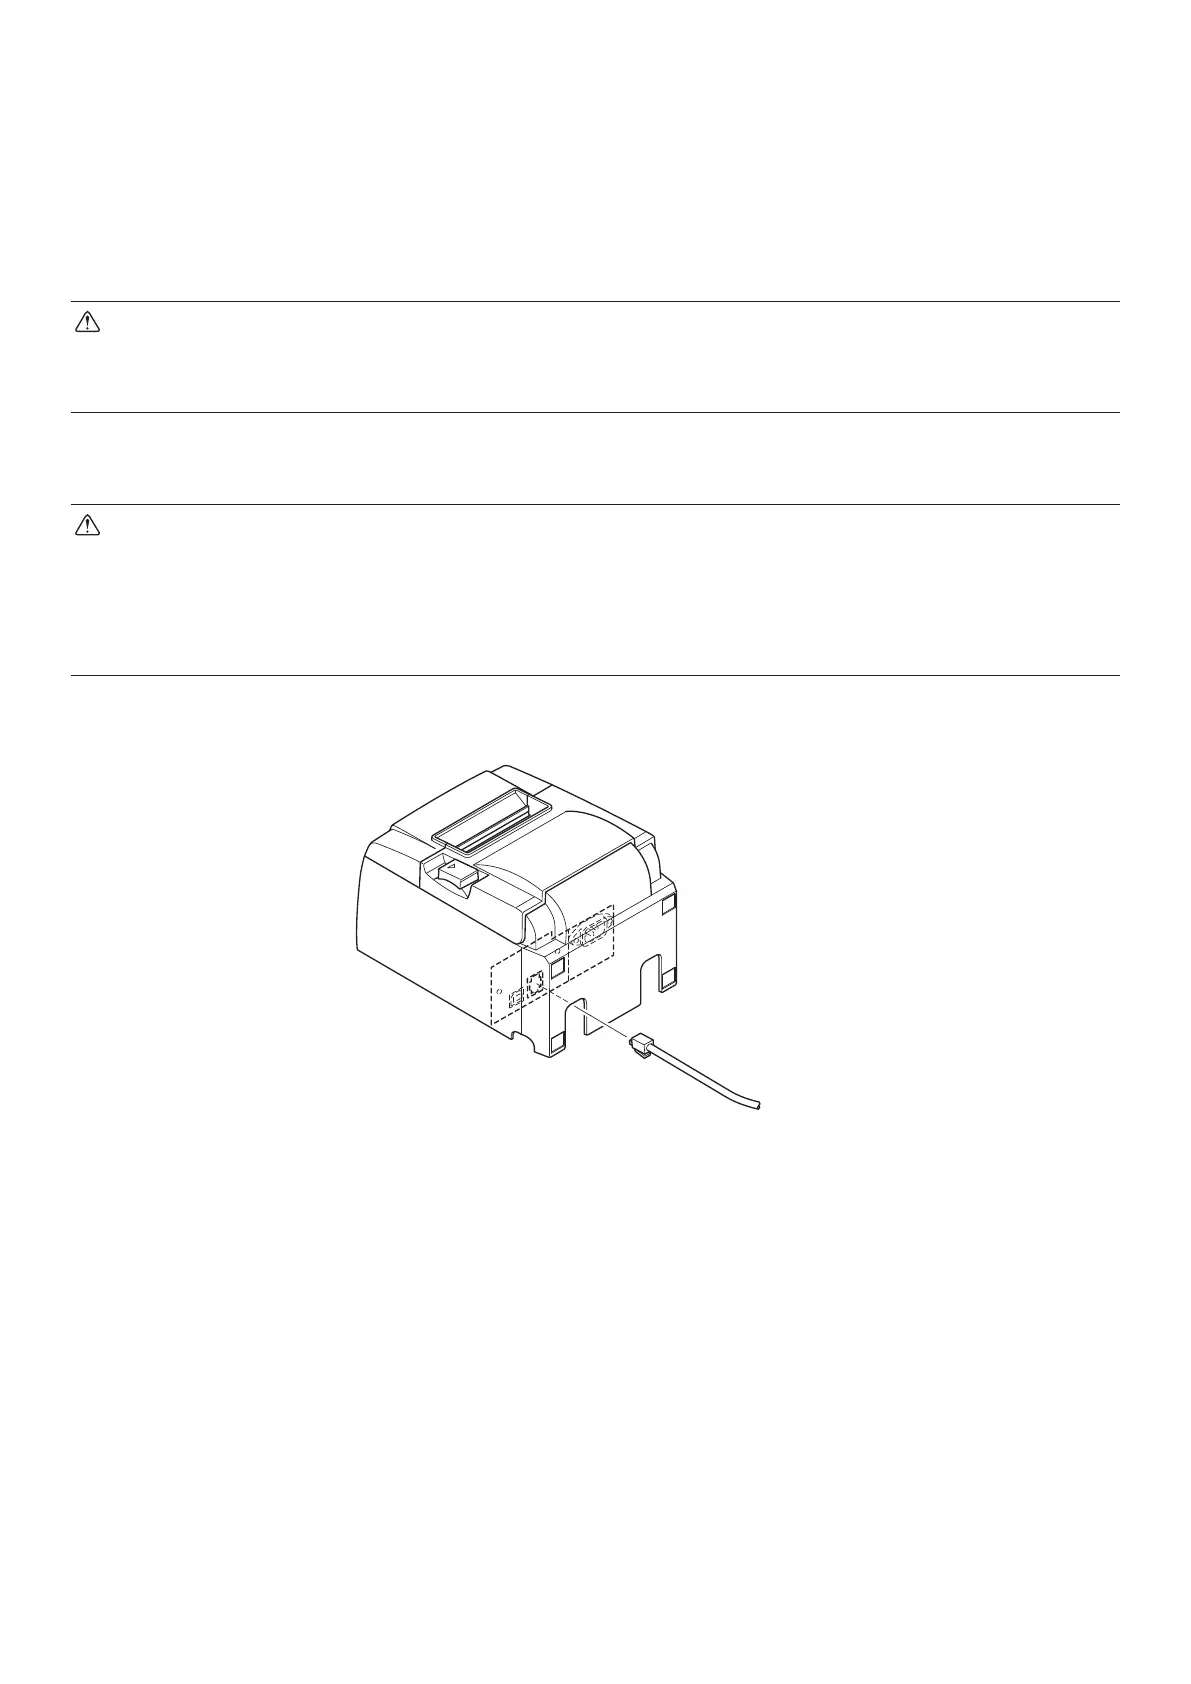
Steps for connecting the printer to a computer via USB.
Explains how to turn the printer on and off, including automatic modes.
Instructions on how to load paper rolls into the printer.
Explains warning symbols related to hot surfaces, cutters, and high voltage.
Critical safety warnings regarding cutter, hot surfaces, and self-repair.
Explains lamp status and error conditions with recovery.
Step-by-step guide to clear a jammed paper from the printer.
Procedure to release the auto cutter if it becomes locked.
Instructions for cleaning the thermal print head.