17
5.3 Hardness/Strength testing
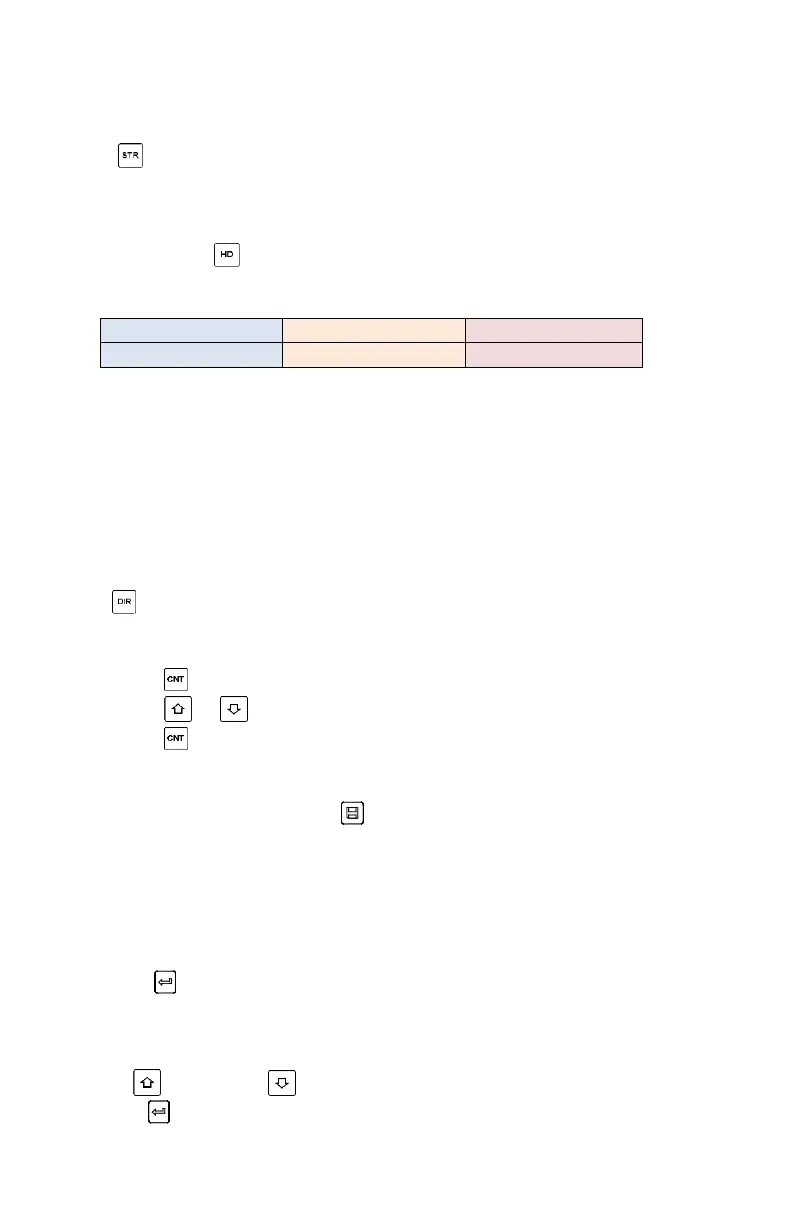
Press key to switch between hardness testing and strength testing (бb).
Note: Only D and DC type of impact device has the function of strength testing. So
hardness testing is the only selection if the impact device is not D or DC type.
In main screen, Press key to change the hardness scale. The supported hardness
scale includes: HL, HV, HB, HRC, HS and HRB.
Note
:
• This displays the valid hardness scale for the present selected impact
device and material. It would not display the hardness scale which is not
valid.
• Please select material first, then select hardness scale.
• Presetting hardness scale reverts to HL automatically after presetting
material is changed.
5.4 Impact Direction Setting
Press the key to move to the impact direction that you will work in.
5.5 Average Times Setting
You could modify average times within the range of 1 to 32 as following:
1) Press key in testing state. The impact times item will begin to flash;
2) Press or key to set the average times to the number you want.
3) Press key finally to exit from the operation.
5.6 Memory
At most one hundred files (F00-F99, one group as one file) can be stored inside
the gauge. By simply pressing the key after a new measurement finishes-the
screen showing the “AVE” icon, the measured hardness/strength group values will
be saved to memory. The new saved file is appended as the last file of the memory.
This function provides the user with the ability to view/delete a file/group
previously saved in memory.
5.6.1 Viewing stored file/Group
To view the memory data, follow the steps:
1) Press the key to activate the data logging function. The memory icon will
appear. It will display the current file name, the test parameter of the group data
and the mean value of the group. If there is no data in the memory, it will
display: <E04>, which means no memory data, and then return back.
2) Use the key and the key to select the desired file to view.
3) Press the key to see details of that group data.
 Loading...