3
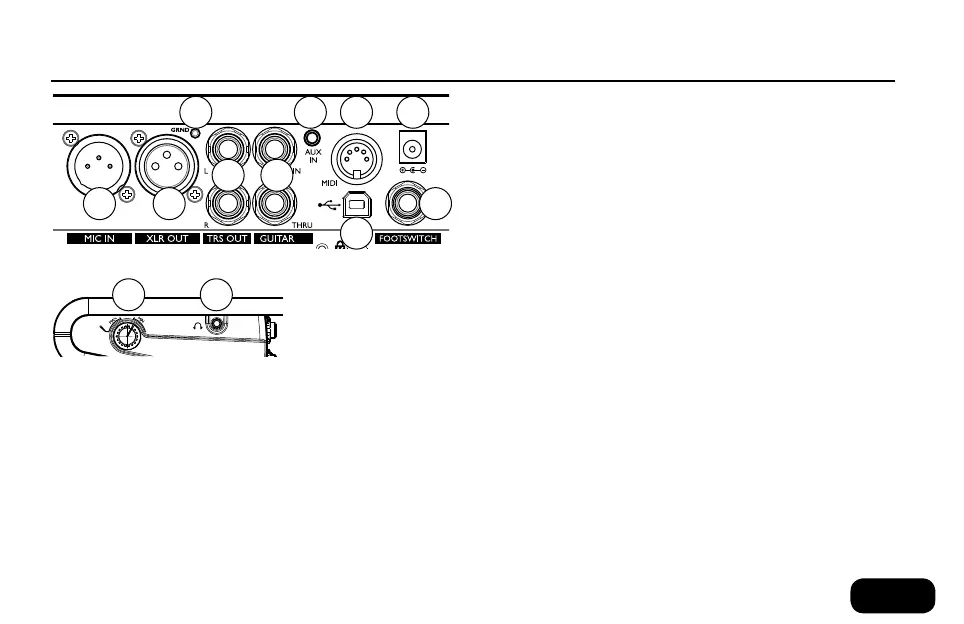
5. Guitar Input and Thru: Connect your guitar to the high Z (im-
pedance) In jack directly using a 1/4” cable. If you use effect pedals,
these pedals should be connected after VoiceLive Touch2. Connect
the Guitar Thru jack on VoiceLive Touch2 to your first effect pedal
or to your amplifier/PA using a 1/4” cable. If you leave the Thru jack
unconnected, the sound from your guitar will be mixed into the
main output of VoiceLive Touch2.
6. Aux Input: You can connect an external stereo device (such as an
MP3 player) to this jack to add its signal to the main mix. No effects
are applied to the audio signal from this input.
7. MIDI Input: Connect the MIDI Out of a keyboard, audio worksta-
tion or MIDI sequencer to the MIDI input of the VoiceLive Touch2
to control harmony and select presets.
8. Power Adaptor Input: Connect the factory-supplied power
adaptor here. There is no power switch on VoiceLive Touch2 –
applying power automatically turns it on.
9. USB Connector: You can connect VoiceLive Touch2 to a com-
puter to update the device’s firmware and for transferring audio
and MIDI signals. Note that the USB connection does not provide
power for the unit.
10. Footswitch Input: Allows connection of a TC-Helicon Switch3
footswitch. This footswitch can be set to control several useful func-
tions in the Setup menu. This requires a 3 conductor (TRS) cable.
11. Input Level Control: Adjust this knob while you sing so that the
middle, orange LED lights on your loudest singing. The red LED
should not light.
12. Headphone Output: Connect standard 1/8” stereo headphones
here.
1
3
4 5
6 7
9
8
102
11 12
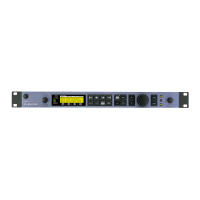
connections
1. Mic Input: Balanced, low impedance XLR input for your mic.
2. XLR Output: Will produce a mono signal.
3. Guitar Ground Lift: Tap this to assist with hum reduction.
4. 1/4” TRS Outputs: These are the main outputs. They can be
configured for Mono, Dual Mono or Stereo output in the Setup
menu.
Connections

 Loading...