3 COPYING FUNCTIONS
66 Zooming In/Out Copy Image
Specifying both the sizes of the original and the copy paper
1
Place paper in the drawer.
2
Place the original.
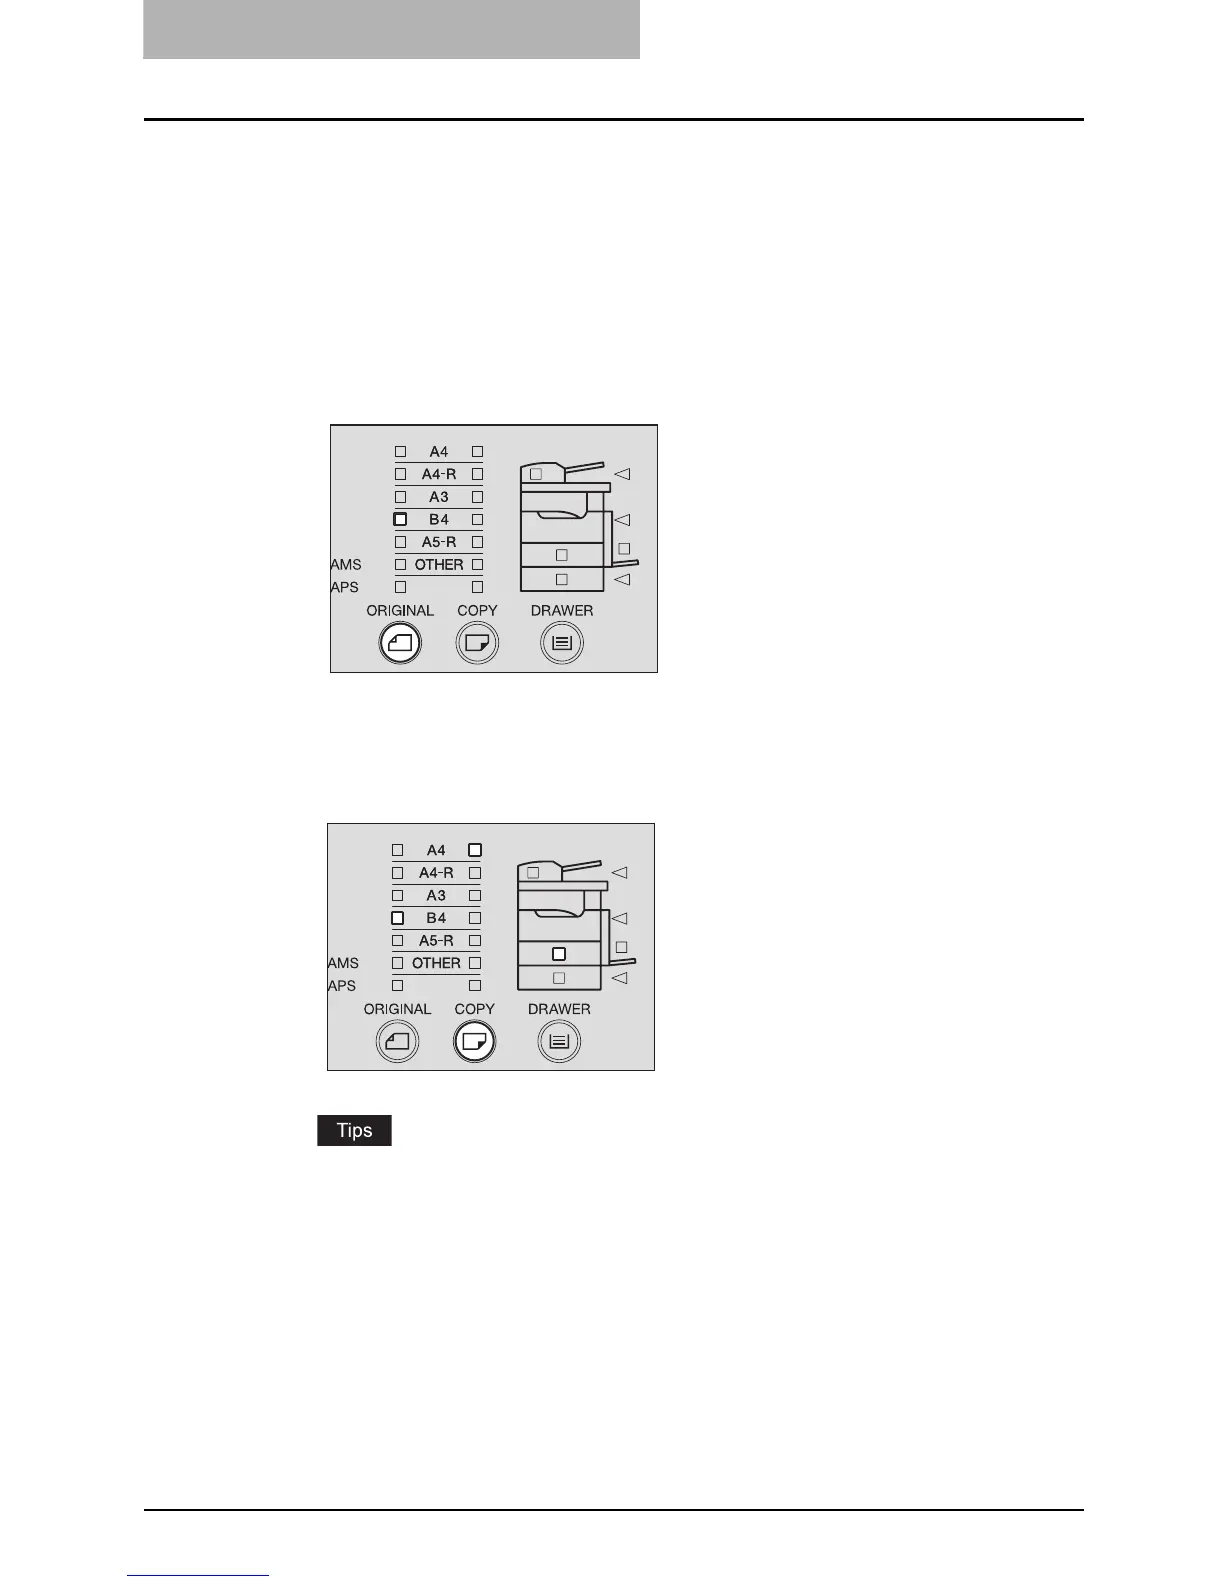
3
Press the [ORIGINAL] button several times until the lamp of the
desired original size is lit.
e.g.) Selecting B4 for the original
4
Press the [COPY] button several times until the lamp of the desired
paper size is lit.
e.g.) Selecting A4 for copy paper
y You can select the desired paper size with the [DRAWER] button in the same proce-
dure.
y When standard size paper other than A3, A4, A4-R, A5-R or B4 is placed, register
this size as “OTHER” size in advance.
P.38 “Registering other standard sizes”
The most appropriate reproduction ratio for both the sizes of the original and the copy
paper is set.
5
Select the other copy modes as required, and then press the
[START] button.

 Loading...