Chapter 3
User can rename calibration to a description name.
Changes the factory calibration of particle signal,
based on Arizona Road Dust, to actual aerosol being
measured. See below for sets to set this calibration.
Selecting On will activate current user calibration and
deactivate the previously selected user calibration.
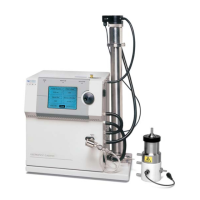
Taking a Gravimetric Sample Using the DustTrak Monitor
When sampling with the DustTrak monitor, you can simultaneously take a
gravimetric sample either for custom calibration of the DustTrak monitor or for
collecting the sample on to the gravimetric filter downstream of the DustTrak
monitor without a need for additional gravimetric sampling pump and filter
assembly. To accomplish this, follow the instructions given below:
1. Setup the DustTrak monitor to sample how long you want the sample run
time to be. The following example shows a sample for 8 hours.
2. Under RunMode menu, put the instrument in Manual Log (Manual
Logging is reviewed later in this section), which will enable you to start
and stop the pump at any time you choose.
3. Set the logging interval. One minute (i.e., “01:00”) is a good choice.
4. Make sure you have a preweighed 37-mm gravimetric filter cassette
loaded into the DustTrak monitor. See Chapter 4, “Replacing the Internal
Filters” on how to access the filter (see figure 4-8) and replace it.
Use only the conductive plastic filter cassette holder (SKC
Part# 225-308).
5. Under the Setup Menu, make sure the DustTrak monitor is set to the
desired flow rate. For DustTrak II Model 8530, the flow can be varied
from 1.7 to 4 L/min for use with various inlet conditioners. For
DustTrak DRX Model 8533, the flow cannot be changed. The flows for
DustTrak II monitor can be changed by changing the default flow
calibration setpoint from 1.0 to any value between 0.5 to 1.5 in the span
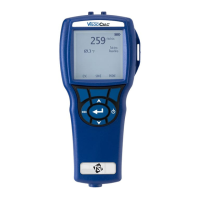
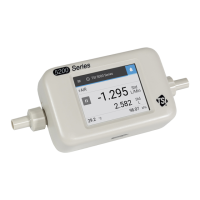
adjustment. An external flowmeter is needed to measure the total flow.
Flow can be changed by clicking on the UP or DOWN arrow keys shown
below:
 Loading...