Operation Panel
4-142
AccountingAccess (Setting the job accounting access)
Set the job accounting access.
1 In the Job Account.Set. menu, press or to select
AccountingAccess.
2 Press [OK]. The AccountingAccess screen appears.
3 Press or to select Local or Network, and press [OK]. The Job
Account.Set. menu reappears.
Account.(Local) (Job Accounting settings)
You can add, change and delete an account, set the restriction for each account, and count the number of pages printed.
The options available in the [Account.(Local)] menu are as follows:
• Account. Report (Account report printing)...4-142
• Each Job Account (Totals display by account)...4-143
• Account. List (Account List operation)...4-144
1 In the Job Account.Set. menu, press or to select
Account.(Local).
2 Press [OK]. The Account.(Local) screen appears.
Account. Report (Account report printing)
This enables you to print the total number of pages for all accounts as a Job Accounting list.
1 In the Account.(Local) menu, press or to select Account.
Report.
2 Press [OK]. A confirmation screen appears.
Press [Yes] ([Left Select]). Accepted. appears and the printer
prints the job accounting list.
Pressing [No] ([Right Select]) returns to the Account.(Local)
menu without printing the job accounting list.
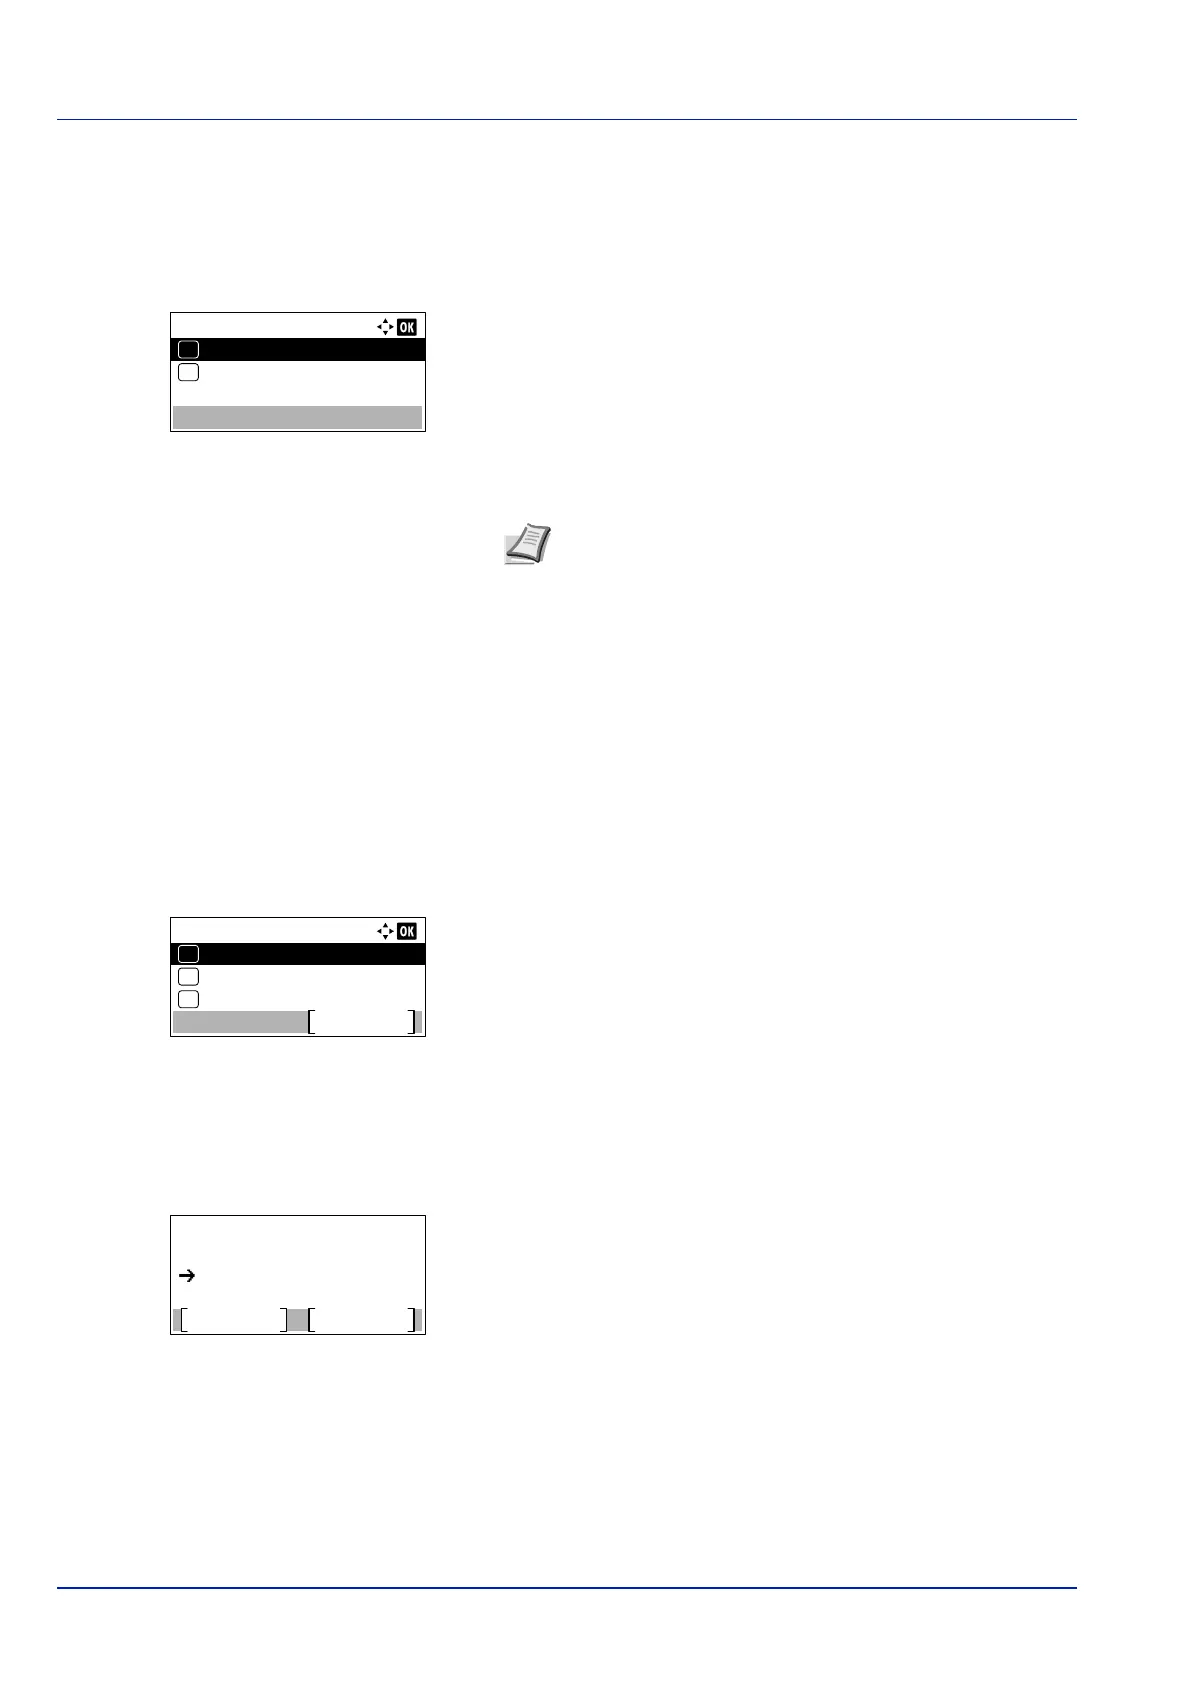
AccountingAccess:
Local
01
Network
02
*
Note To select Network, network authentication must be
enabled and the server type must be set. For details, refer to
Netwk Auth. Set (Netwk authentication setting) on page 4-
131.
Account.(Local):
Account. List
Exit
03
Each Job Account
02
01
Account. Report
Print.
Are you sure?
Yes
No
Account. Report
 Loading...