DVS/GSE GSE DVS Field Service Manual
09030-78B 33 of 49
Webasto Charging Systems, Inc.
3.4 POWER SUPPLY CABINET
3.4.1 Equipment Access
Be sure to use the proper size driver bits when removing or installing screws to avoid stripping
the heads. A driver with a clutch setting just sufficient to drive the screws should be used to
install them, this will avoid stripping the threads or breaking the threaded inserts. Screws should
be started slowly after aligning the holes to avoid cross threading. To avoid misalignment when
replacing a panel or cover, put a few turns on each screw before proceeding to tighten any of
them.
Turn off power at the utility and lock/tag out utility switch before removing any panels from the
unit. To remove front panel, remove screws and carefully lower the panel to a safe storage area.
Note that the unit has been designed such that all anticipated servicing can be accomplished
without removing rear panel. All components which may need to be replaced are accessible with
only the front panel removed and the main component panel loosened and slid out as far as it will
go without removing cables connected to the rear of the rectifier. However, certain unanticipated
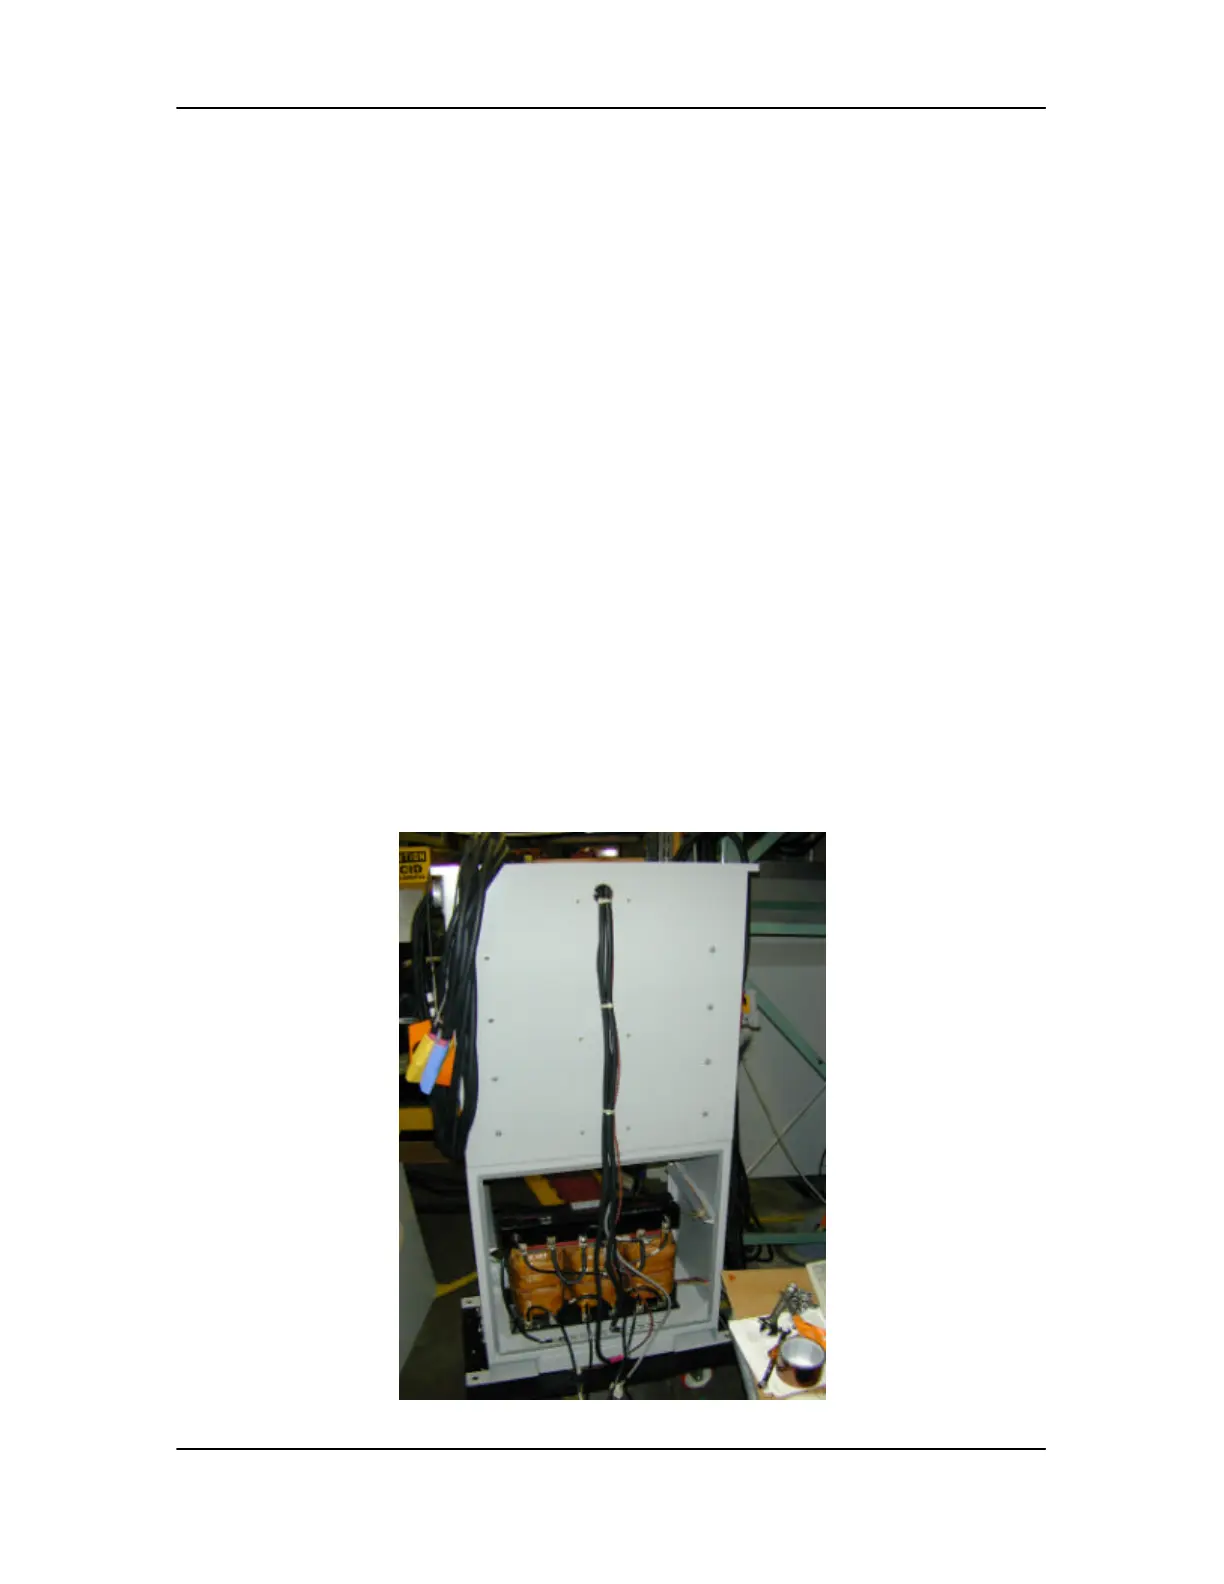
circumstances may arise in which it is necessary to remove the rear panel. To do so, remove the
screws from the cable cover, a long narrow box in the center of the back of the unit. Once the
cables between the cabinets are exposed, remove the screws on the back panel of the lower
cabinet. The lower back panel can now be slid upwards to gain access to the components and
cables in the rear of the lower compartment. If the lower rear panel needs to be completely
removed, remove the front panel, disconnect all wiring between compartments, and gently slide
wiring through the hole in the lower rear panel. Gently place rear panel in a safe spot. Figure 2
shows the unit with the rear panel removed.
Figure 2. Cabling Between Cabinets
 Loading...