Instructions for Assembly
Item number 116523-0000
We reserve the right to make technical
changes
Version 4 01.04.2014 Page 10/49
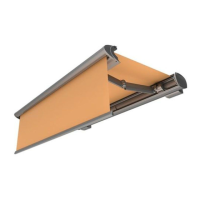
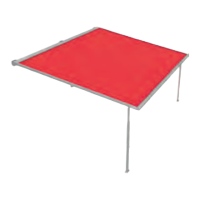
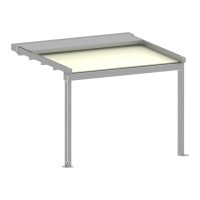
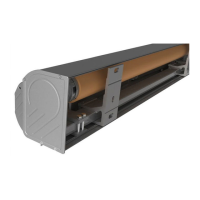
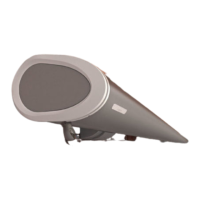
Opal Design II / Opal Design II LED
3 List of Tools
Good tools are the key to ensuring productivity and making certain that the quality of the
assembly work is good. The following is a list of the minimum tools that we recommend you have
available for installing your weinor awning under “standard” building conditions
Tool Size Use
Tools/machines
Allen key SW 2.5
SW 3
SW 5
SW 6
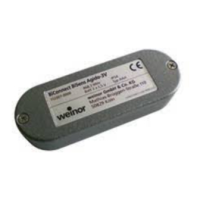
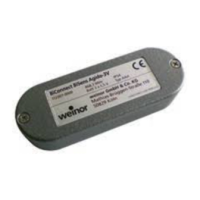
To open the transformer box
To mount the central adapter (2-field
system)
To assembly the central plates (2-
field system)
To set the height adjustment for the
ceiling
To mount the clamping profiles
Open-end or ring spanner SW 7
SW 10
SW 13
SW 17
SW 19
To fasten the adjusting screw to the
crescent-shaped cap
To assemble the central plates and
the adapter for the coupling (2-field
system)
To align the fabric shaft at the
coupling point (2-field system)
To mount the slotted cover (2-field
system)
To install LED lights
To screw the wall bracket to the
mounting plate
To connect the retaining plate to the
ceiling angle
Socket spanner (spark plug spanner) 17 To adjust the inclination
Phillips screwdriver 2 To fit the jockey cover in the coupling
profile (2-field system)
To mount the wall bracket cover caps
Power drill, bits To drill screw holes
Cable reel as required
Ladder as required