9
© 2001 Xantrex Technology Inc.
P/N 973-0012-01-02 Rev. A 05/01
Deltec™ Shunt
WARNING: BEFORE WIRING THE SHUNT TO THE BATTERIES,
SWITCH THE DC DISCONNECT TO OFF AND/OR REMOVE
THE DC FUSE.
Mounting/Wiring the Shunt
The shunt connects between the inverter and batteries in the
negative (–) line (Figure 2-10).
• Mount the shunt on or near the battery enclosure close to the negative
(–) battery terminal. Use appropriate screws to secure the shunt to the
battery enclosure.
• Disconnect the NEGATIVE cable (that connects between the inverter
and battery) from the battery’s negative (–) terminal.
• Connect the free end of the negative cable to the shunt’s terminal
labeled “INVERTER.” Ensure all connections are tight.
• Connect a short length of cable (same gauge) between the battery’s
negative(–) terminal and the shunt’s terminal labeled “BAT MINUS.”
Ensure all connections are tight.
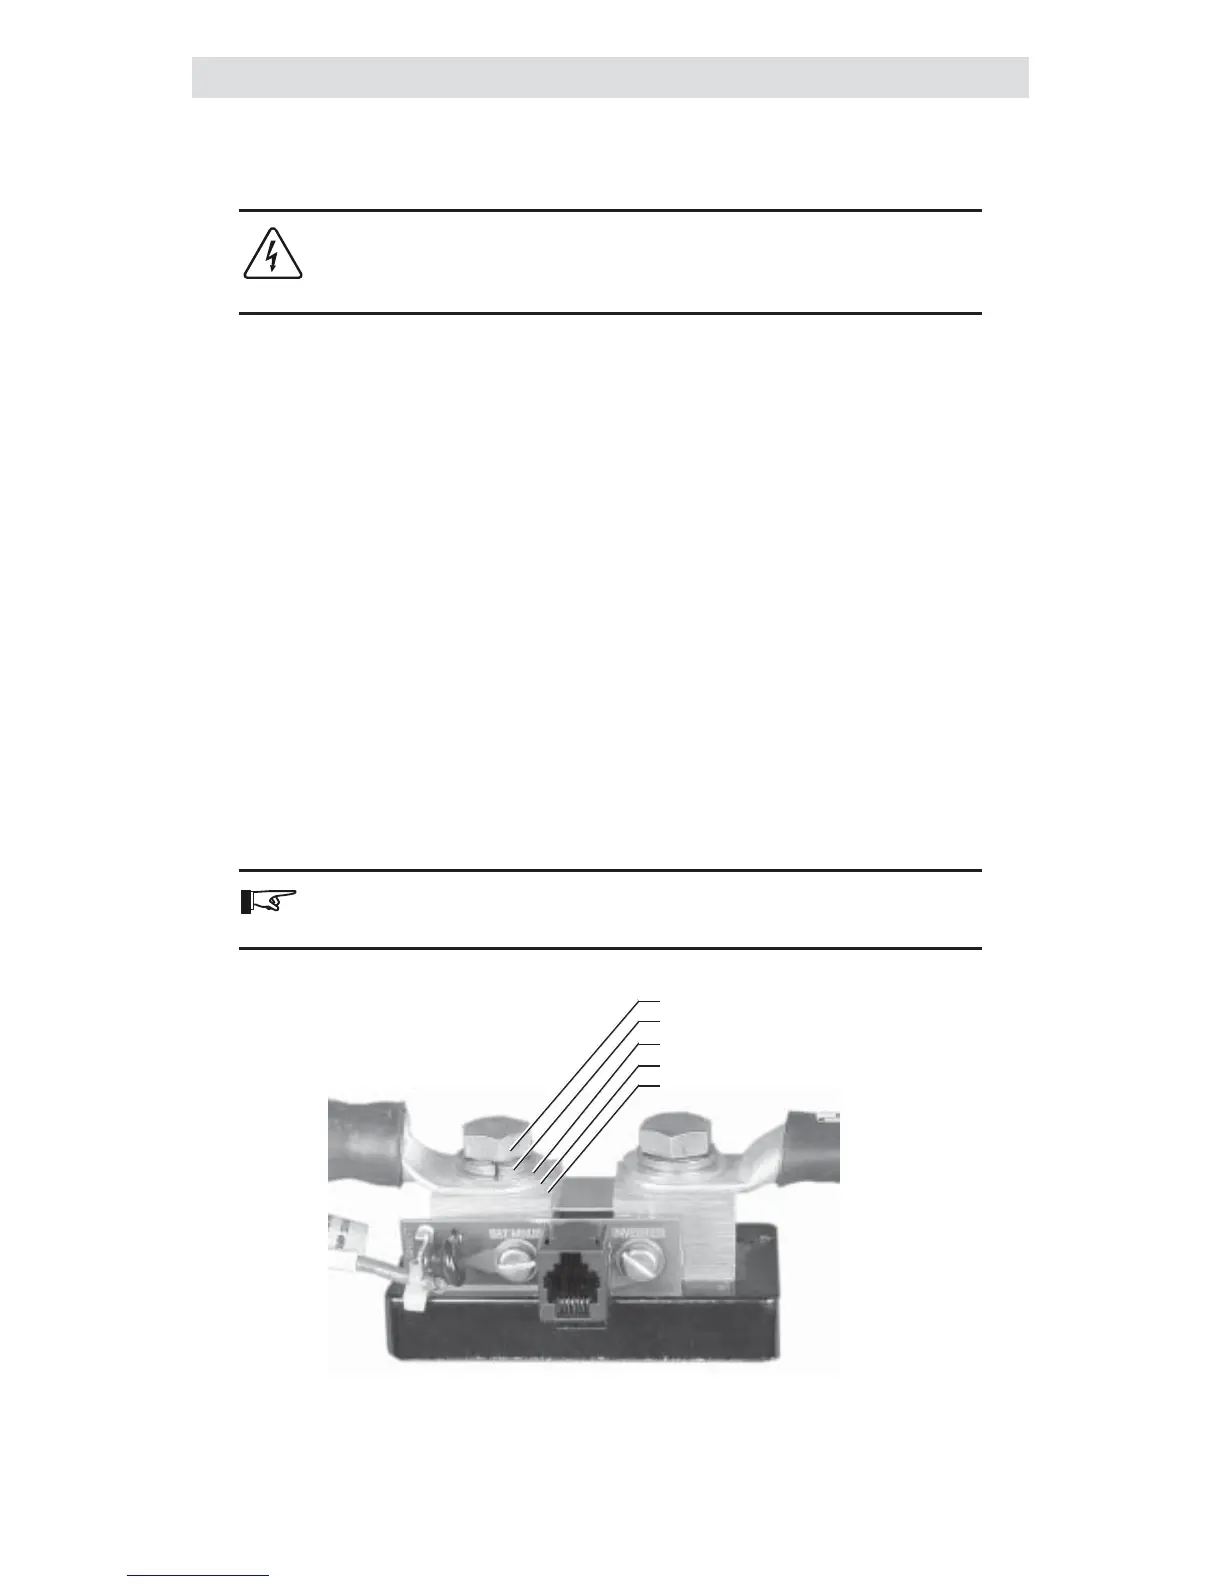
• Connect the cables and hardware to the shunt as shown in Figure 2-7.
NOTE: The cable connection must be flat against the shunt block
with nothing between it for a good connection.
Figure 2-7
Shunt Connections
To Inverter’s
Negative Terminal
To Battery’s
Negative Terminal
Shunt Hex Bolt (9/16 inch head)
Split Lock Washer
Large Washer
Cable Lug
Shunt
2.0 INSTALLATION
 Loading...