Welcome
2 DocuMate 250 Scanner User’s Guide
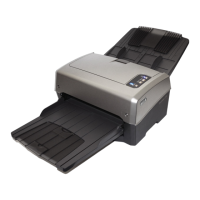
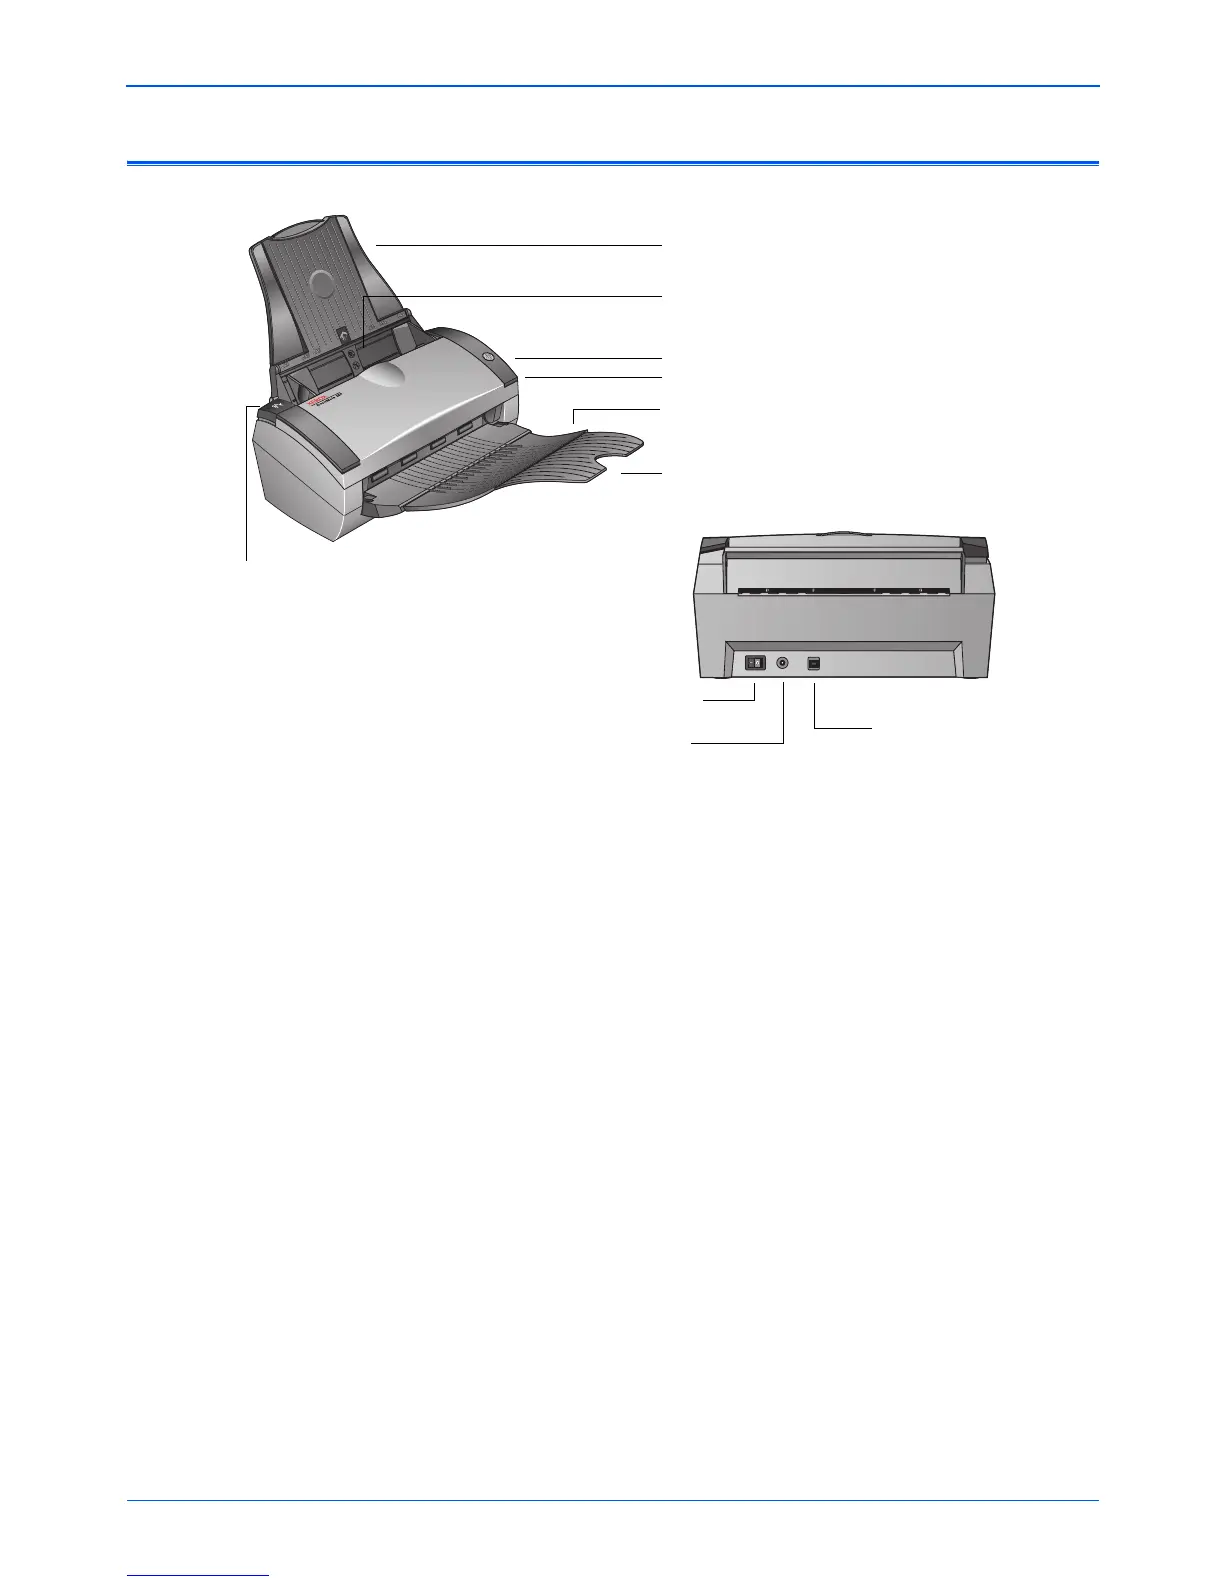
The Xerox DocuMate 250 Scanner
Input tray—Holds documents in place. The Paper Guides on the
input tray adjust to fit the document size.
Automatic Document Feeder (ADF)—Insert documents to be
scanned, face down.
Scan button—Press to start scanning the documents in the
Automatic Document Feeder.
Status light—Shows the scanner’s status. A rapidly flashing green
light indicates the scanner is preparing to scan. A steady green
light indicates the scanner is available to scan. Refer to the “Status
Light Troubleshooting Codes” on page 111 for additional details.
Output tray—Holds documents after scanning through the ADF.
Output tray extension—Unfolds for scanning legal-sized
documents.
ADF cover release—Opens the cover on the Automatic Document
Feeder.
Power switch—Turns the scanner’s power on and off.
Power jack—Connects the power cord to the scanner.
Universal Serial Bus (USB) port—Connects the scanner to the
computer.
Scanner button
Input tray
Output tray
Output tray extension
ADF cover release
Power switch
USB port
Power jack
Status light
Automatic Document Feeder
 Loading...