10. To begin the scan, press Scan.
If you are scanning from the document glass, when prompted, to finish, touch Done, or to scan
another page, touch Add Page.
Note: If you are scanning a document from the automatic document feeder, a prompt
does not appear.
11. To return to the Home screen, press the Home button.
SSccaann ttoo DDeesskkttoopp
Before you begin:
• Before scanning, ensure that your computer and the printer are plugged in, powered on, and
connected to an active network.
• On your computer, ensure that you have the correct print driver software installed. For details,
refer to Installing the Software.
• On your computer, ensure that the printer is installed using WSD. For details, refer to Installing the
Software.
• On your printer, ensure that WSD is enabled. Enable the feature or contact the system
administrator.
To use the Scan to Desktop feature:
1. Load the original document on the document glass or into the duplex automatic document
feeder.
2. At the printer control panel, press the Home button.
3. Touch Scan to Desktop.
4. To select a destination, touch the computer address.
5. To begin the scan, press Scan.
The Windows Fax and Scan application opens on your PC desktop. The image file of your scan is
saved to the Scanned Documents folder.
6. If you are scanning from the document glass, when prompted, to finish, touch Done, or to scan
another page, touch Add Page.
Note: If you are scanning a document from the automatic document feeder, a prompt
does not appear.
7. To return to the Home screen, press the Home button.
SSccaannnniinngg ttoo aann FFTTPP oorr SSFFTTPP SSeerrvveerr
To scan an image and send it to an FTP or SFTP server:
1. Load the original document on the document glass or into the duplex automatic document
feeder.
2. At the control panel, press the Home button.
3. Touch Scan To.
4. Touch FTP or SFTP, then enter the server address.
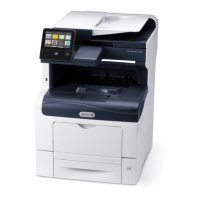
Xerox
®
VersaLink
®
C405 Color Multifunction Printer
User Guide
105
Xerox
®
Apps
 Loading...
