VESDA-EVEU-A00 Product Guide
www.xtralis.com 7
Disabled mode is signaled on relay #1 and on the Fault Relay (Relay #3) by default. Refer to sections 4.3.6
and 5.5.10 for further information. The buzzer will beep once every 60 seconds if the beep checkbox for the
Disable condition on the Relay configuration screen (section 5.5.10) is ticked.
l To disable the detector, once all alarms and faults have been acknowledged, press and hold the button
for approximately 4 seconds, until the DISABLED LEDilluminates continuously.
l To re-enable the unit, once all alarms and faults have been acknowledged, press and hold the button for
approximately 4 seconds, until the DISABLED LEDdeactivates continuously.
l While the detector is disabled, any faults or alarms may be acknowledged by pressing this button once.
The button will not operate if:
l the detector is disabled through the GPI function; or
l the RESET / DISABLE button has been configured as "locked out". Refer to section 5.5.9 for further
information.
2.4 Internal Buttons
AutoConfig
l To normalize the detector, press and hold the button until the AutoConfig LED illuminates continuously
(approximately 2 seconds), then release the button.
l To initiate AutoLearn Smoke and Flow, press and hold the AutoConfig button until the AutoConfig
LEDstarts flashing (approximately 15 seconds), then release the button.
l Cancel the AutoLearn or Normalization functions by pressing and holding the AutoConfig button for 5
seconds. The LED will turn off. If AutoLearn is halted, the flow and smoke thresholds will be left at the
previous settings.
2.5 Communication Ports
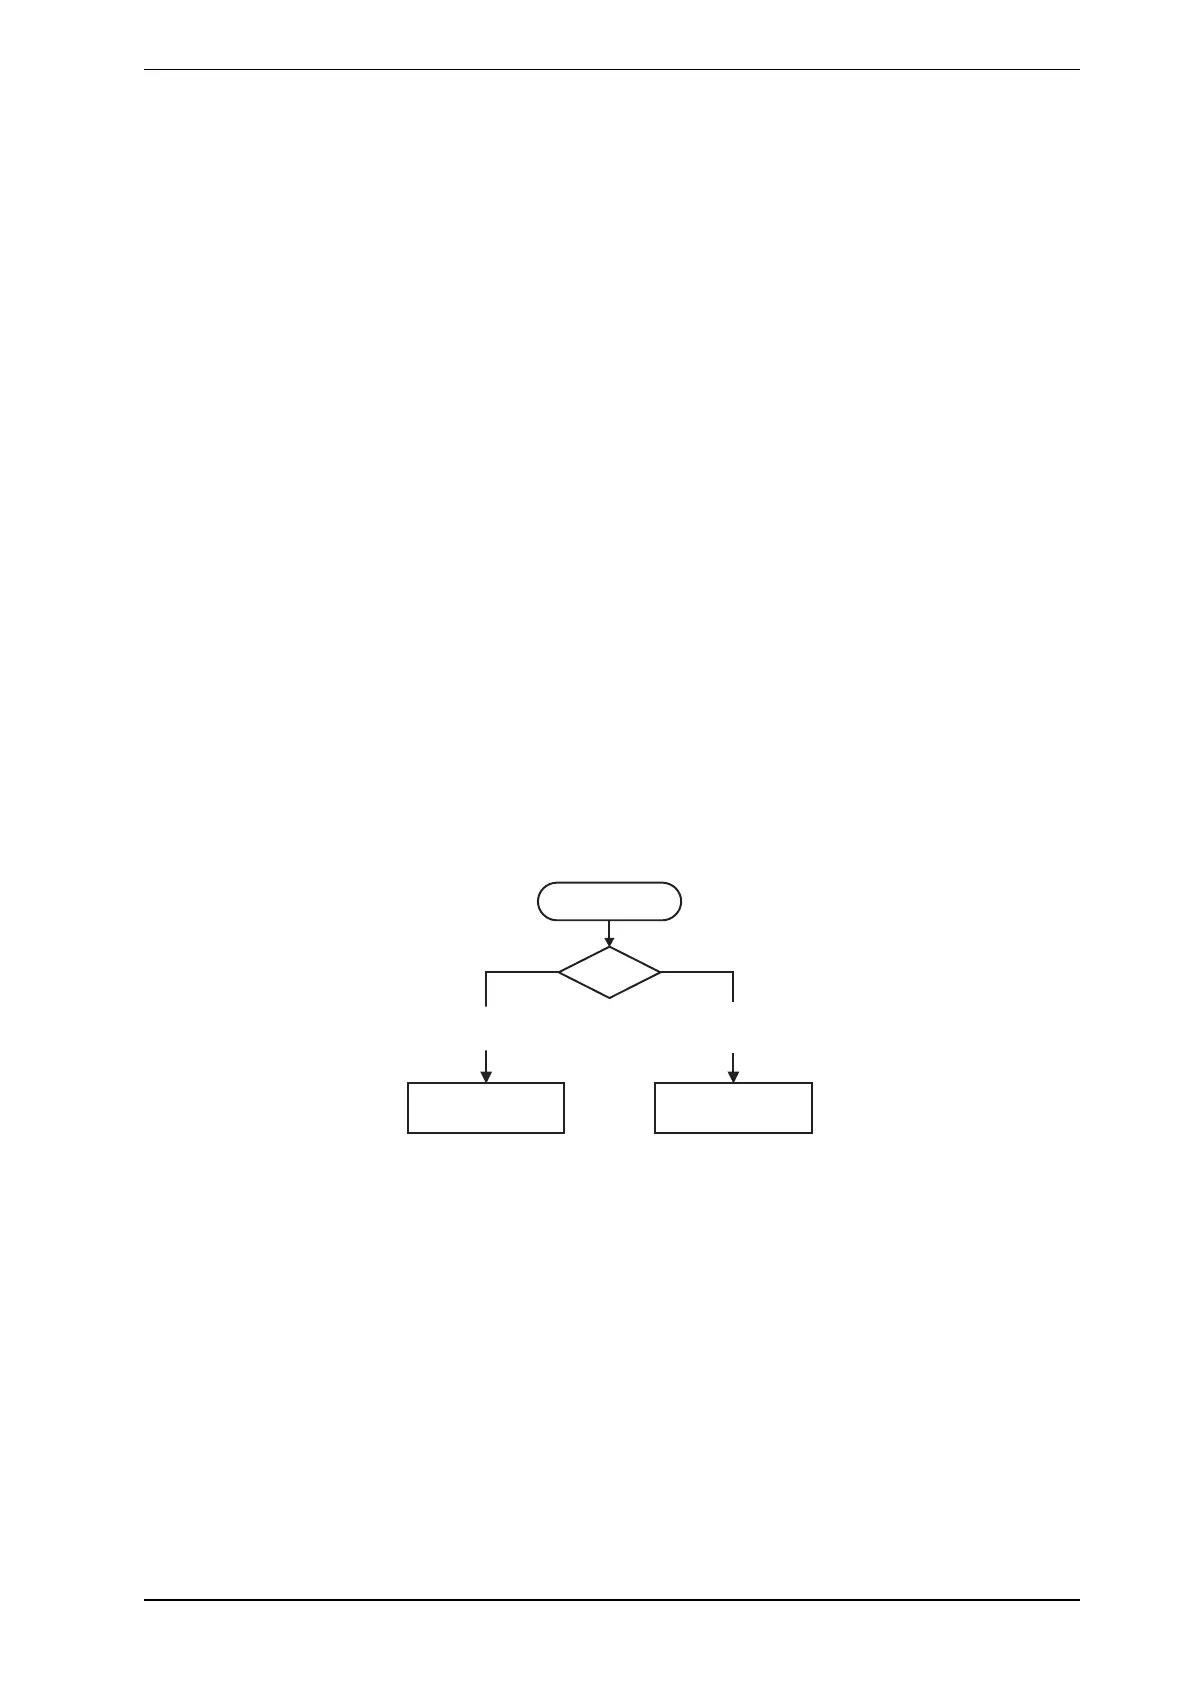
The majority of user operations are performed using software installed on a computer connected to the
detector via one of the physical communication ports or WiFi. The correct connection method to use depends
on the purpose for connecting to the detector (Figure2-3).
Use USB
Use WiFi
or Ethernet
Initial
Con
figuration
Monitoring and
Configuration Updates
Connection
Usage?
Figure2-3: Connection Method
The physical communication ports are located on the main board inside the detector. It is necessary to open
the front door in order to access these ports. Refer to Section 7.2 for information on opening the front door.
USB
The USB port is used for configuration purposes ONLY. It allows direct connection between the VEU-A00
detector and a PC or laptop running the Xtralis VSC software.
Refer to Section 4.3.4 for information on connecting the USBlead, and Section 5.1.2 for information on
creating connection profiles in Xtralis VSC.
Note: The USB port must not be used for permanent field connection. For example, do not use a USB to
Ethernet or USB to Wifi adaptor to connect the detector to a LAN using USB.
Ethernet
The Ethernet port is used for configuration and/or monitoring purposes. It enables direct or routed network
connection between the detector and a PC or laptop installed with Xtralis VSC.

 Loading...