VESDA-EVEU-A00 Product Guide
www.xtralis.com 51
5.2 Connecting to the Detector
Once a Connection Profile has been defined, it is possible to connect to the VEU-A00 detector using the
following methods:
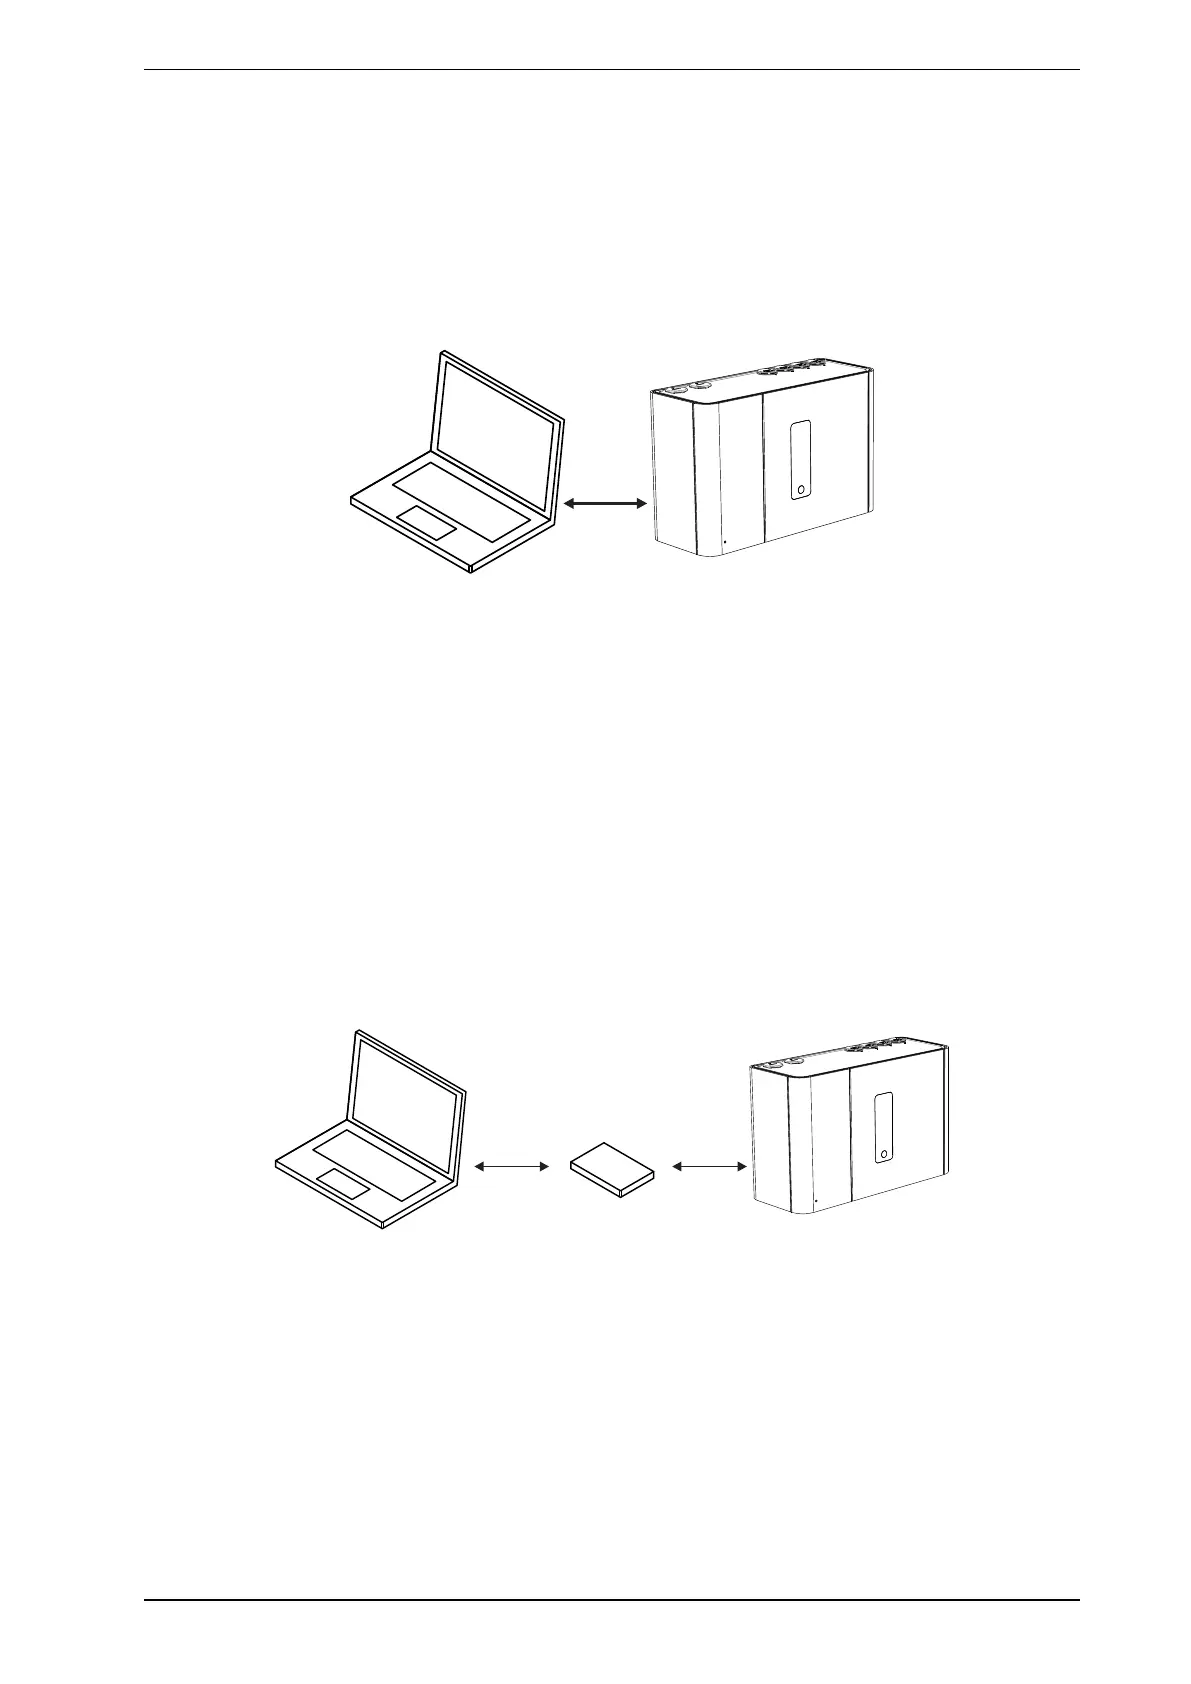
5.2.1 Connecting to a detector via USB
Direct connection between the detector and the PC installed with Xtralis VSC can be made using a Type A to
Type B USBinterface lead.
Figure5-8: Connecting to a detector via USB
Connect to a detector using Xtralis VSC
1. If required, define a connection, as described in Section 5.1.2 on page 47.
2. Select Connection > Connect and View.
3. If the previously defined connection profile is set as the default connection, select OK, otherwise select
Details, then select the required USB connection from the list of available connection profiles and select
OK.
5.2.2 Connecting to a detector via Ethernet
Connection using Ethernet cabling between the detector and the PC installed with Xtralis VSC can be made
using a router or switch (Figure5-9), or directly between the two devices. Complex networks are beyond the
scope of this document.
For a successful connection, Ethernet connectivity must be enabled within the detector, the detector must
have an IPaddress, and an authentication password must be set. Configuration procedures for these
requirements are detailed below.
Figure5-9: Connecting to a detector via Ethernet using a router or switch
Enabling Ethernet Connection
The Ethernet connection method only needs be configured once, and then edited if there is a change to any of
the relevant building network connection parameters.
1. Physically connect the detector to the building network.
2. Configure the detector to use Ethernet.
l Connect to the detector using USB following the procedure described in Section 5.2.1.
l In the Ethernet tab for the detector:
l For dynamic IP addresses, set Automatically obtain IPAddress to on. Once it has been
successfully allocated, record the IPAddress for use in connection profiles. It can be found on the

 Loading...