Quick Guide
Owner’s Manual
34
Quick Guide
This section explains the general procedures in a mixing
work flow. The example below is based on a system in
which one QL5, one I/O device, an amplifier and
speakers are connected. If there are multiple methods to
achieve the same result, this section describes the
simplest method.
For details on the functions and their parameters, refer
to the Reference Manual.
Connecting the devices
Setting up the Dante network
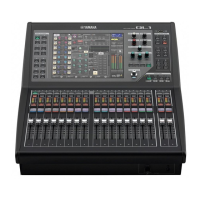
1. Press the SETUP button in the touch screen.
2. Press the DANTE SETUP button in the SETUP
screen.
3.
Press the SETUP tab in the lower part of the
DANTE SETUP screen.
4. Set CONSOLE ID to #1, and SECONDARY PORT
to DAISY CHAIN.
NOTE
Before changing the settings, first disconnect all
connections with I/O devices. Otherwise, communication
with I/O devices will not be performed correctly.
If changes have been made, press the APPLY
button. When a confirmation dialog appears, press
the OK button.
Wait approximately 30 seconds for the buttons that
have been changed to switch from red to white for
the settings to be applied.
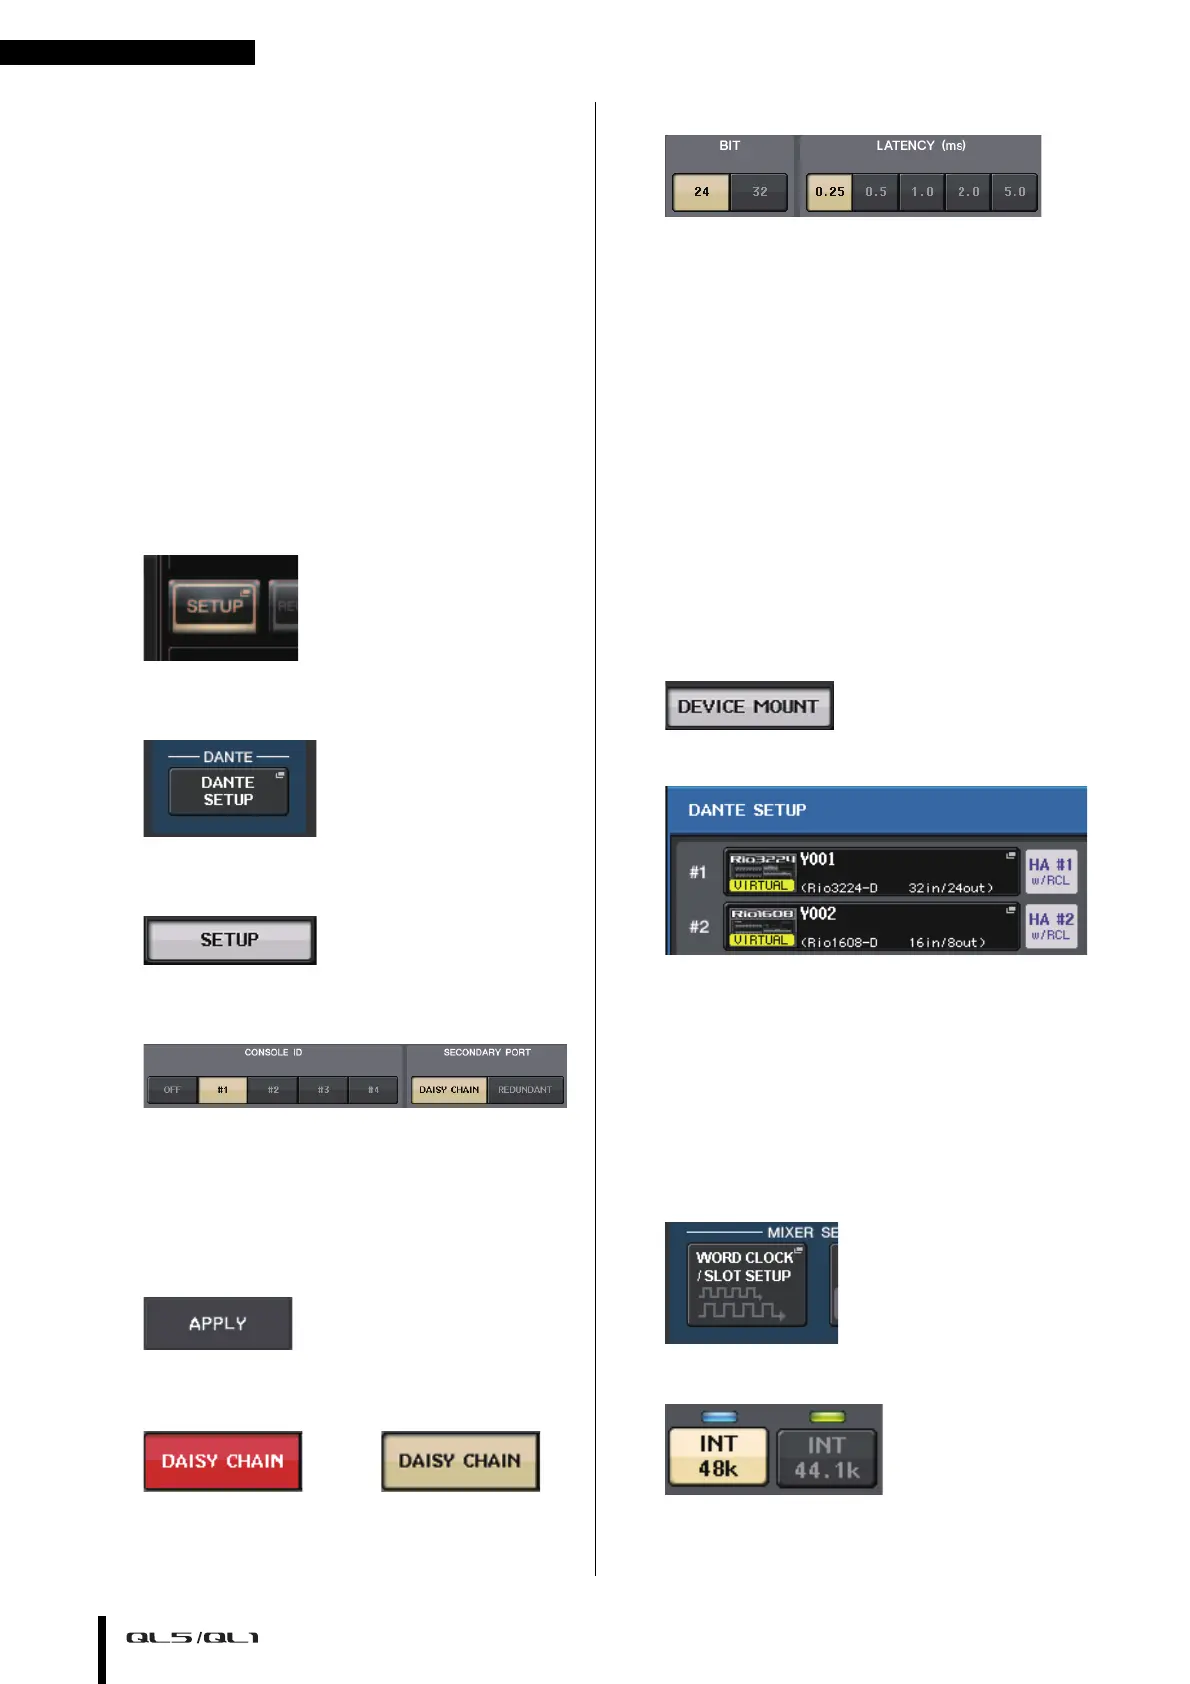
5. Set BIT to 24, and LATENCY to 0.25.
Connecting an I/O device
1. Make sure that power to all devices to be
connected is turned off. Then, use an Ethernet
cable to connect the Dante PRIMARY connector
on the QL to the Dante PRIMARY connector on
the I/O device.
2. Set the ID of the I/O device.
NOTE
If there is one I/O device, set the I/O device’s ID to “1.”
If you plan to use multiple devices, you must assign a
unique ID number to each device.
3. Turn on the power in this order: 1) the I/O
device, 2) the QL series, and 3) the amplifier.
4. Press the SETUP button, DANTE SETUP button,
and DEVICE MOUNT tab in the touch screen.
5. Mount the I/O device.
NOTE
I/O devices other than the Rio3224-D must be mounted.
For more details, refer to the Reference Manual pdf
document.
6. Connect a mic or instrument to the I/O device.
Setting the word clock
1.
Press the SETUP button and then WORD
CLOCK/SLOT button in the touch screen.
2. Select INT 48k or INT 44.1k.
3. Press the X symbol to close the screen.
 Loading...


