EasyManuals Logo
Home>Yamaha>Music Mixer>QL5

Yamaha QL5 Owner's Manual

Yamaha QL5
58 pages
To Next Page IconTo Next Page
To Previous Page IconTo Previous Page
Page #50 background imageLoading...
Page #50 background image
Attaching the RK1 rackmount kit (sold separately)
Owner’s Manual
50
Attaching the RK1 rackmount kit
(sold separately)
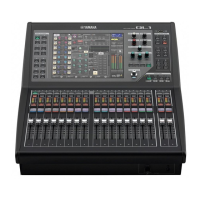
You can attach the optional RK-1 rackmount kit to the QL5 and QL1 and mount it in a rack or an installed system.
1. Make sure that the power is turned off.
2. Remove screws A and detach the side pads.
NOTE
Keep the side pad screws together with the pads you removed.
3. Use the screws included with RK1 to install the hardware.
Tighten the screws at the locations indicated by the arrows.
4. Attach the hardware to the other side in the same way.
NOTICE
When attaching the RK1 rackmount kit, you must turn off the power switch on the unit and use the screws that are included with the
RK1. Otherwise, malfunctions or electric shock may occur.
A
A
A
Side Pads

Table of Contents

Other manuals for Yamaha QL5

Questions and Answers:

Question and Answer IconNeed help?

Do you have a question about the Yamaha QL5 and is the answer not in the manual?

Yamaha QL5 Specifications

General IconGeneral
DJ mixer-
Product colorBlack
Video capabilityNo
Channels quantity72 channels
Supported sample rates44.1, 48 kHz
Digital sound processing- bit
Phantom power48 V
AC input voltage100-240 V
AC input frequency50 - 60 Hz
Power consumption (typical)200 W
Total Harmonic Distortion (THD)0.05 %
Weight and Dimensions IconWeight and Dimensions
Depth563 mm
Width828 mm
Height272 mm
Weight21800 g

Related product manuals