CHASSIS
3-26
i. Install the brake caliper “12” and the rear
wheel “13”.
Refer to “REAR WHEEL” on page 4-7.
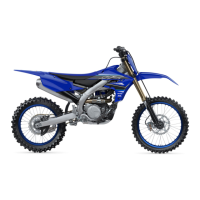
j. Tighten the pad pin “14”.
k. Install the pad pin plug “15” and the protector
“16”.
▲▲▲▲▲▲▲▲▲▲▲▲▲▲▲▲▲▲▲▲▲▲▲▲▲▲▲▲▲▲▲▲
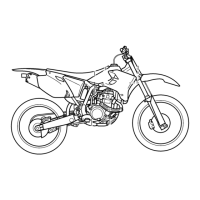
3. Check:
• Brake fluid level
Refer to “CHECKING THE BRAKE FLUID
LEVEL” on page 3-26.
4. Check:
• Brake pedal operation
A softy or spongy feeling Bleed the brake
system.
Refer to “BLEEDING THE BRAKE SYS-
TEM” on page 3-21.
EAS1SL5097
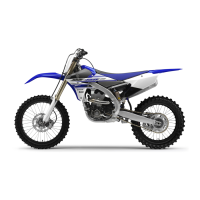
CHECKING THE REAR BRAKE PAD INSU-
LATOR
1. Remove:
• Brake pads
Refer to “REAR BRAKE” on page 4-21.
2. Check:
• Rear brake pad insulator “1”
Damage Replace.
EAS1SL5098
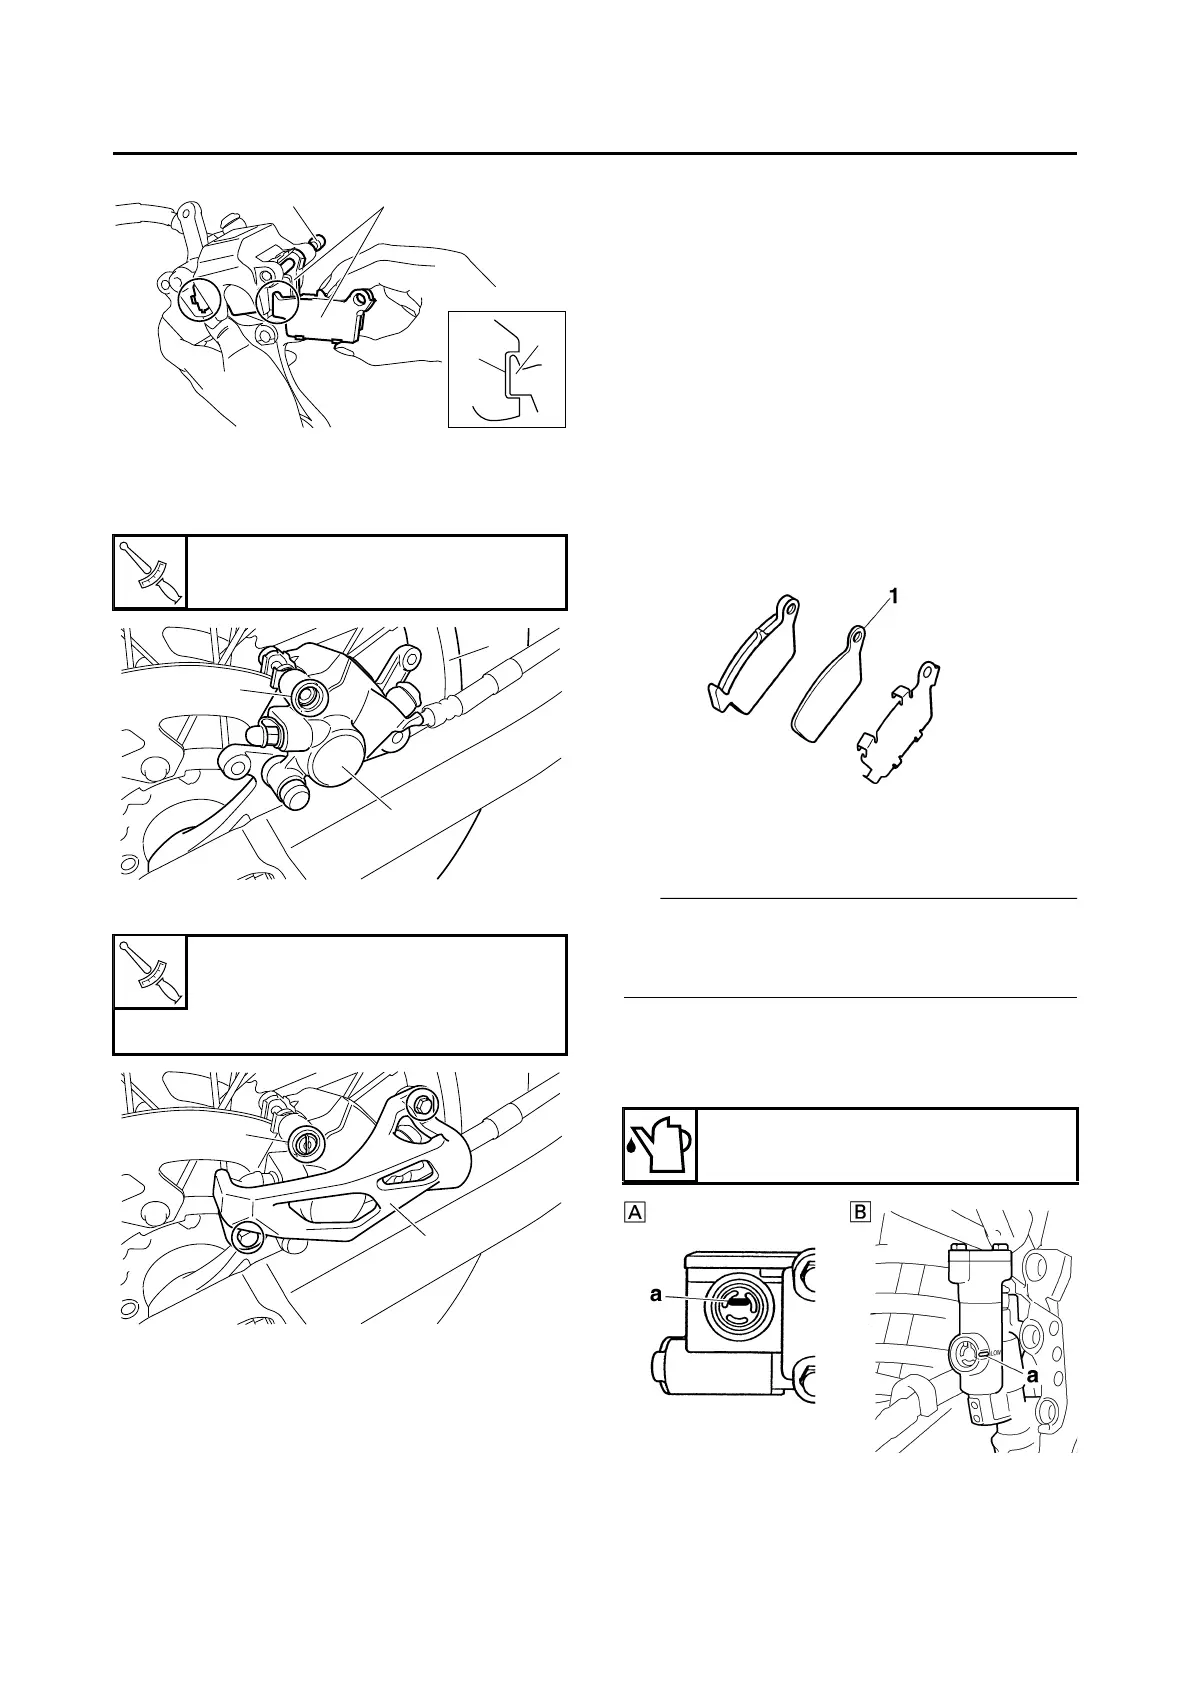
CHECKING THE BRAKE FLUID LEVEL
1. Stand the vehicle upright on a level surface.
In order to ensure a correct reading of the brake
fluid level, make sure that the top of the brake
fluid reservoir is horizontal.
2. Check:
• Brake fluid level
The minimum level mark “a” or below
Add.
EWA13090
Pad pin
17 Nm (1.7 m·kgf, 12 ft·lbf)
Pad pin plug
2.5 Nm (0.25 m·kgf, 1.8 ft·lbf)
Bolt (protector)
7 Nm (0.7 m·kgf, 5.1 ft·lbf)
Recommended brake fluid
DOT 4
A. Front brake
B. Rear brake
 Loading...