CRANKCASE
5-66
2. Check:
• Crankcase
Crack/damage Replace.
• Oil delivery passages
Obstruction Blow out with compressed
air.
EAS1SL5283
ASSEMBLING THE CRANKCASE
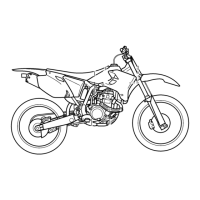
1. Install:
• Bearing cover plate
• Install the bearing by pressing its outer race
parallel.
• To prevent the bearing cover plate screw
(crankshaft) “1” from becoming loose, crimp
the screw head periphery “a” into the concave
“b” using a punch etc. In so doing, take care
not to damage the screwdriver receiving hole
in the screw.
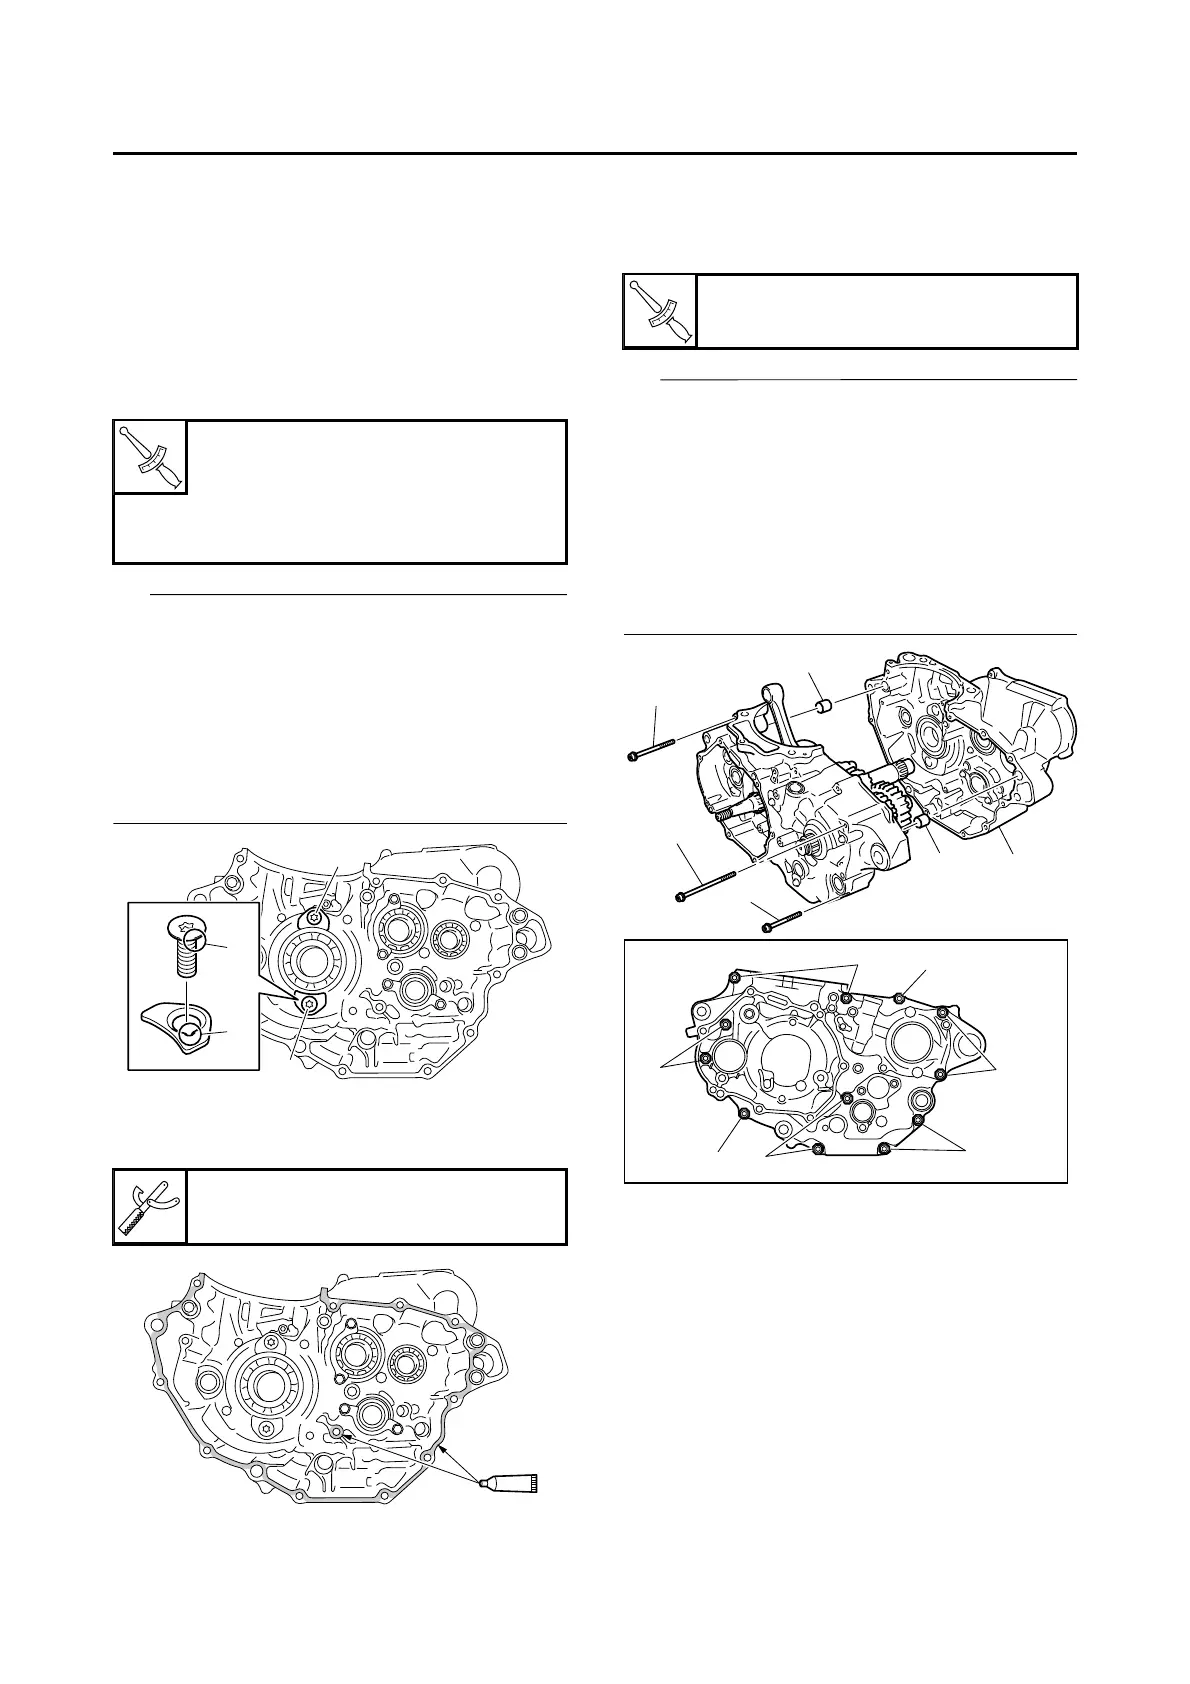
2. Apply:
• Sealant
(to the crankcase mating surface)
3. Install:
• Dowel pin “1”
• Crankcase “2”
(to the left crankcase)
• Apply the lithium-soap-based grease on the
O-ring.
• Fit the right crankcase onto the left crankcase.
Tap lightly on the case with soft hammer.
• When installing the crankcase, the connecting
rod should be positioned at top dead center
(TDC).
• Tighten the bolts in a crisscross pattern in two
(2) stages, with 1/4 turn each.
Bearing cover plate
10 Nm (1.0 m·kgf, 7.2 ft·lbf)
LOCTITE®
Bearing cover plate (crankshaft)
18 Nm (1.8 m·kgf, 13 ft·lbf)
Three Bond No.1215®
90890-85505
Crankcase bolt
12 Nm (1.2 m·kgf, 8.7 ft·lbf)
3. 45 mm (1.77 in)
4. 65 mm (2.56 in)
5. 75 mm (2.95 in)

 Loading...