ELECTRICAL SYSTEM
3-35
EAS1SL5115
ELECTRICAL SYSTEM
EAS1SL5116
CHECKING THE SPARK PLUG
1. Remove:
• Seat
• Air scoop (left/right)
Refer to “GENERAL CHASSIS” on page 4-
1.
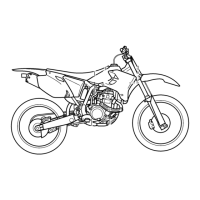
• Fuel tank “1”
Refer to “FUEL TANK” on page 7-1.
ECA1DX1001
Do not use too much force to pull the hose.
Remove the fuel tank, turn this 180 ° clockwise,
and put it in the frame “2” as shown.
2. Remove:
• Spark plug cap
• Spark plug
Refer to “CAMSHAFT” on page 5-11.
ECA13330
In order not to allow the dirt accumulated
around the spark plug to drop from the
spark plug hole into the cylinder, clean it be-
fore removing the spark plug.
3. Check:
• Spark plug type
Wrong type Replace.
4. Check:
• Electrode
Damage/wear Replace the spark plug.
• Insulator
Abnormal color Replace the spark plug.
Normal color is medium-to-light tan.
5. Clean:
• Spark plug
(with a spark plug cleaner or a wire brush)
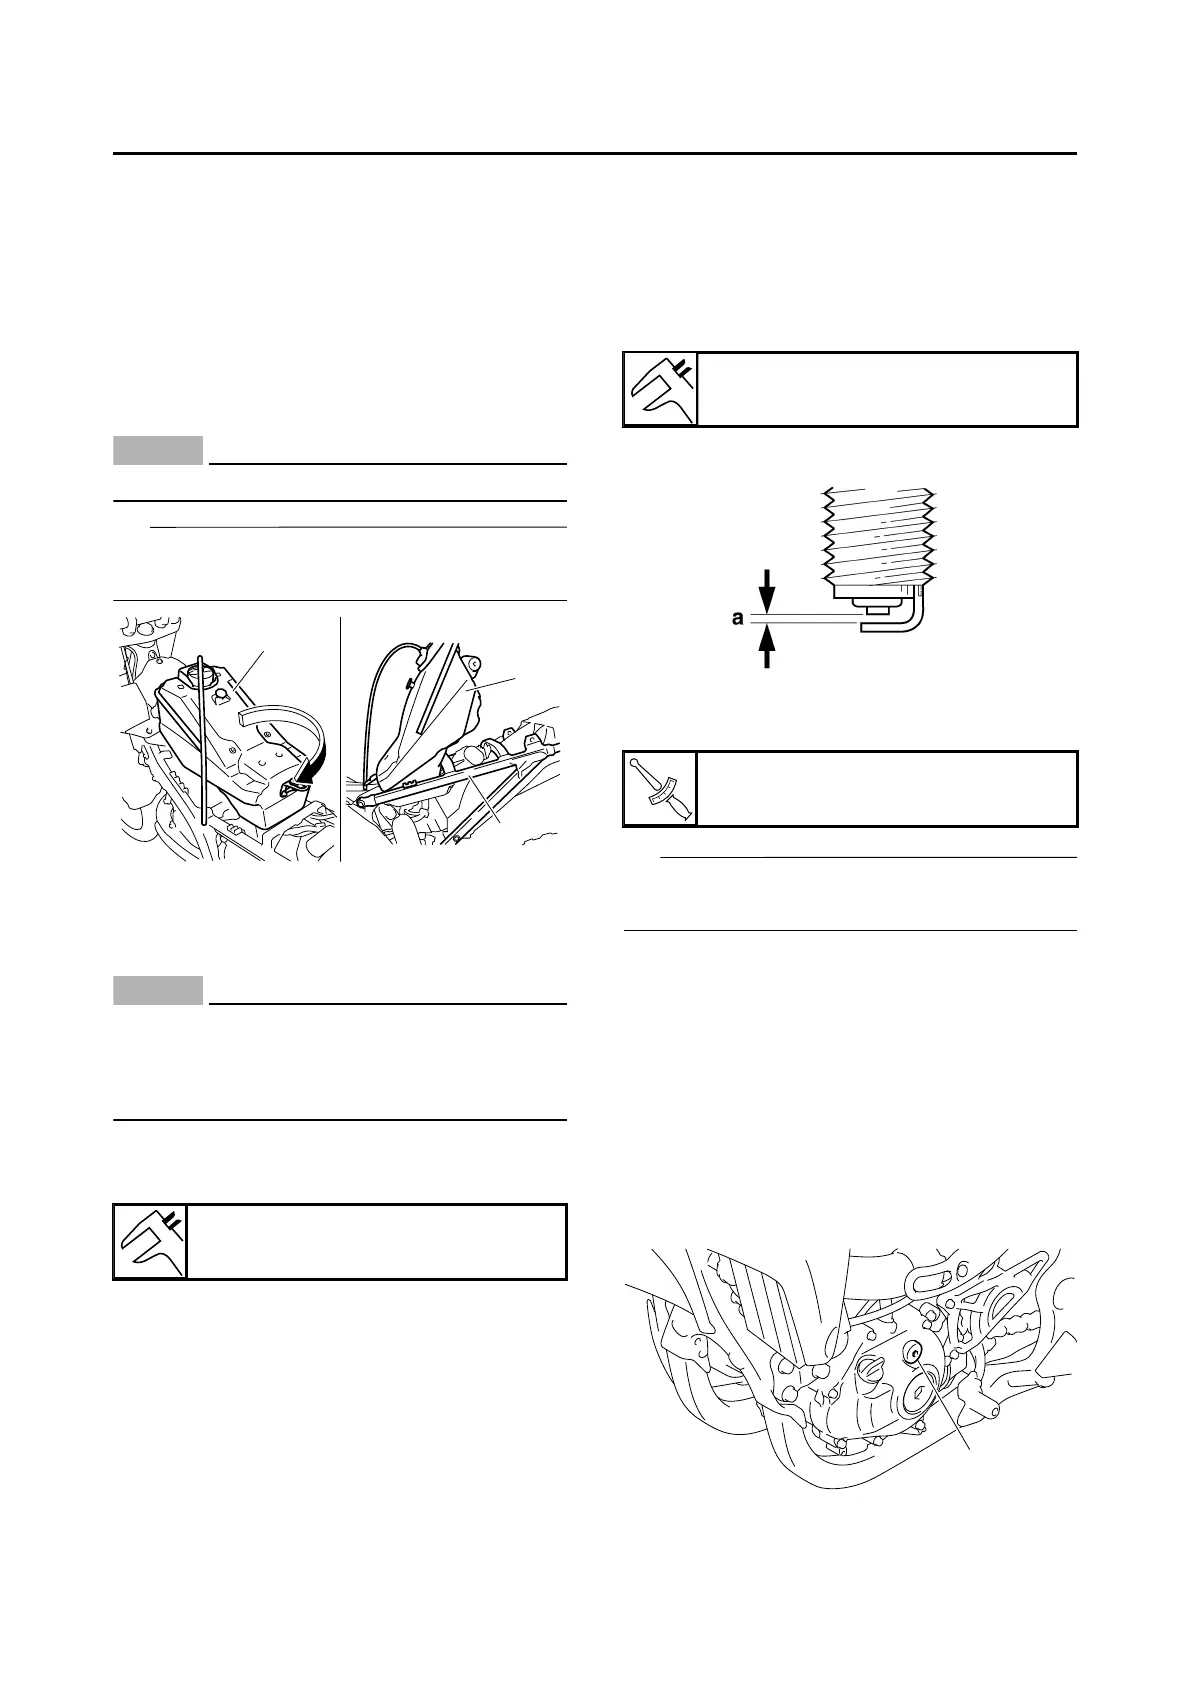
6. Measure:
• Spark plug gap “a”
Out of specification Adjust the spark plug
gap.
7. Install:
• Spark plug
Before installing the spark plug, clean the spark
plug and gasket surface.
8. Install:
• Spark plug cap
• Fuel tank
• Air scoop (left/right)
• Seat
• Side cover (left/right)
Refer to “GENERAL CHASSIS” on page 4-
1.
EAS1SL5117
CHECKING THE IGNITION TIMING
1. Remove:
• Timing mark accessing screw “1”
Manufacturer/model
NGK/CR8E
Spark plug gap
0.7–0.8 mm (0.028–0.031 in)
Spark plug
13 Nm (1.3 m·kgf, 9.4 ft·lbf)

 Loading...