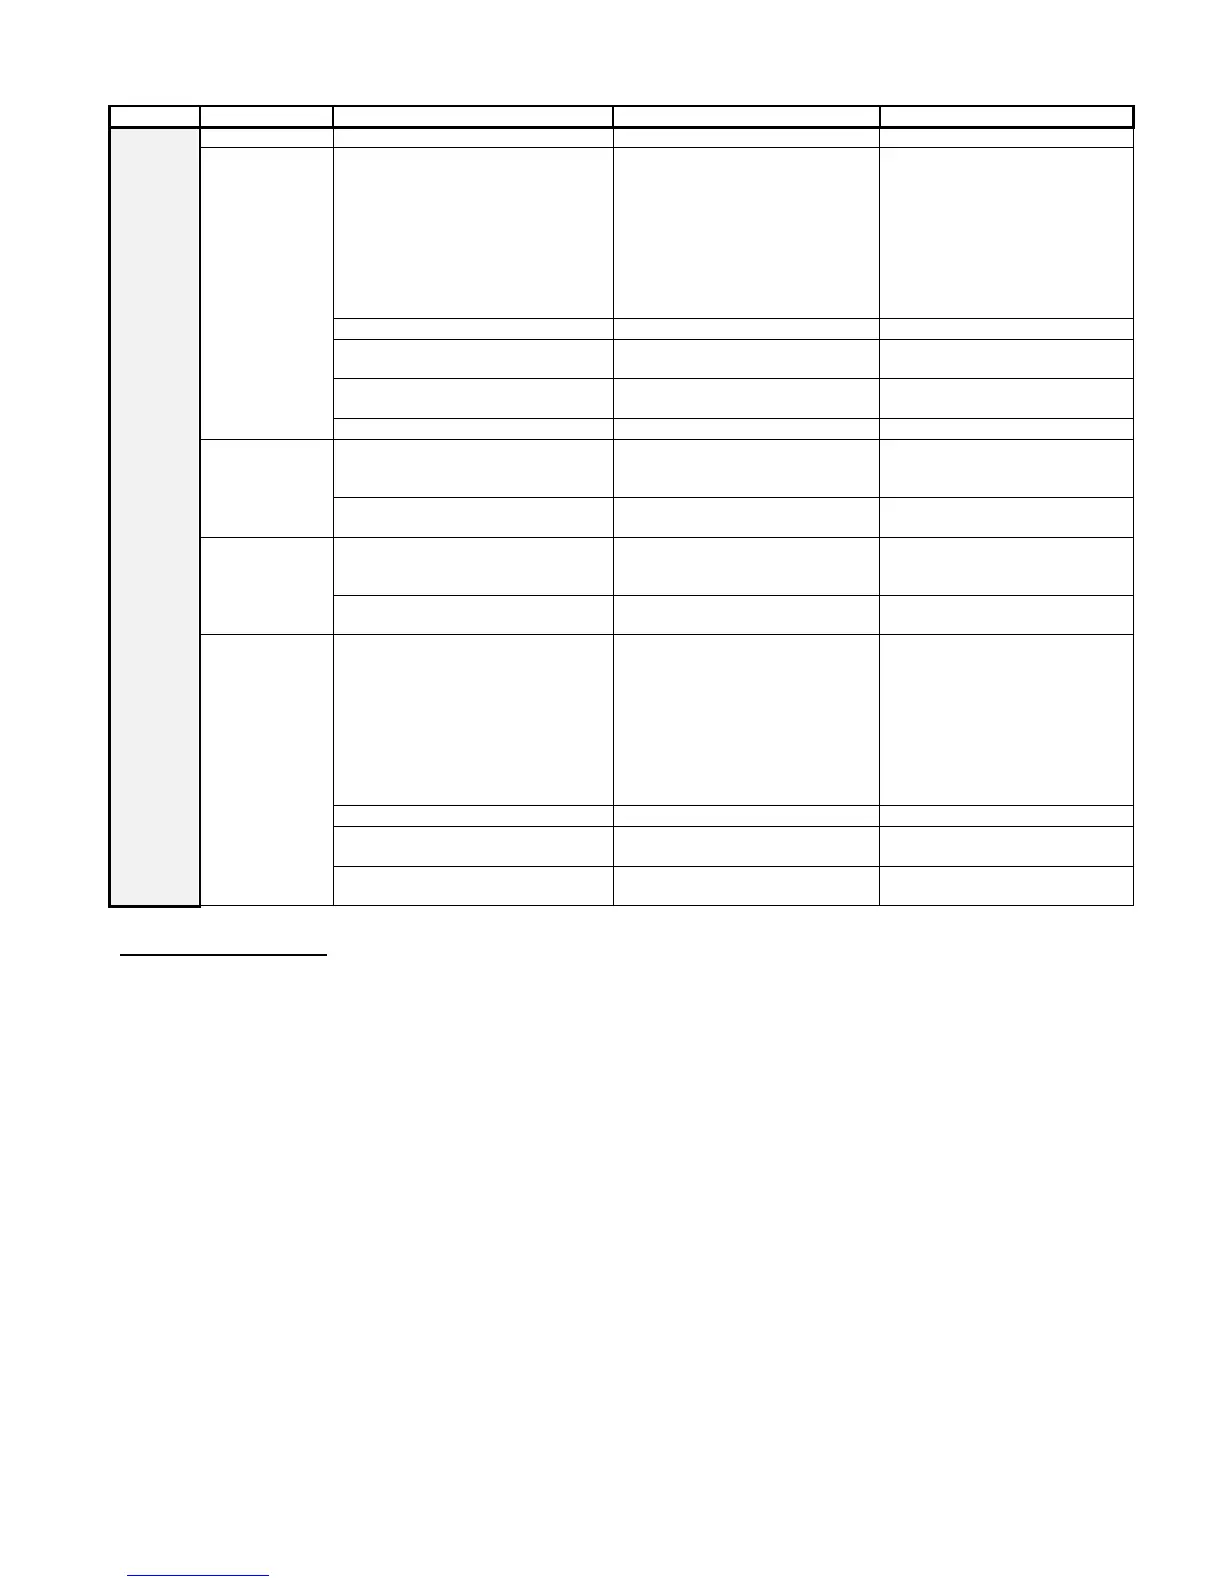
Visual check of the component
fan
fan capacitor/motor broken → break
Check the functionality after a
temporary ON/OFF power
disconnection
• Verify that the resistance between
terminals is between 200-500 Ω
• Verify that the resistance between
the terminals and the ground
connection of the terminal block is
more than 1 MΩ
If the component is faulty, replace it
Visual check of the component
If the component is faulty, replace it
bad connection of wirings → not working
Check the correct connection with the
Place the component in the right
physical impediments to the movement of
fan blades → not working
Visual check of the component Clean the component
If the component is faulty, replace it
air sensor
faulty component → out of tune
Verify with a tester that the resistance
between terminals is compliant with
the “SENSOR TEST TABLE”
If the component is faulty, replace it
incorrect positioning Verify the proper positioning
Place the component in the right
position
evaporator sensor
faulty component → out of tune
Verify with a tester that the resistance
between terminals is compliant with
the “SENSOR TEST TABLE”
If the component is faulty, replace it
incorrect positioning Verify the proper positioning
Place the component in the right
position
4-way valve
faulty component → break
Check the functionality after a
temporary ON/OFF power
disconnection
• Verify that the resistance between
terminals is not zero or infinite
• Verify that the resistance between
the terminals and the ground
connection of the terminal block is
infinitive
If the component is faulty, replace it
Visual check of the component
If the component is faulty, replace it
bad connection of wirings → not working
Check the correct connection with the
Place the component in the right
position
incorrect positioning Verify the proper positioning
Place the component in the right
position
* LOW GAS CHECKING
If the circuit is empty the device will not function in heat pump, and the H3 error will always occur (see chapter
Troubleshooting).
If the circuit hasn’t the right gas quantity (due to leakages), the performance decreases; depending on the entity of the leakage,
H3 error could occur.
To check if the quantity is correct, verify that the water temperature is lower than T
HP
then start the heating in GREEN mode (to
ensure that is working only with heat pump).
T
H
2
O
: Water temperature, press and release the knob and read it on the display.
T
GAS
: Gas temperature, read it with a temperature sensor on the copper pipe close to the 3/8‘’ gas connection on the external
unit.
After 10 ÷ 15 minutes of working verify the following conditions:
• With T
H
2
O
about 20 °C, the T
GAS
has to be less than 70 °C
• With T
H
2
O
about 30 °C, the T
GAS
has to be less than 80 °C
• With T
H
2
O
about 50 °C, the T
GAS
has to be less than 90 ÷ 95 °C
 Loading...
