NOTICE
Possible damage to property due to improper top-hat rail
mounting
− Fasten the top-hat rail adequately.
− Connect the top-hat rail to a functional earth.
− Mount the control on the top-hat rail, as the top-hat rail is
also used for heat dissipation and grounding.
− Install the control in a control cabinet or an appropriate
housing.
10.4 Dismounting the control
To dismount, use a common tool such a slotted screwdriver with a 2.5 mm blade.
10.4.1
Dismounting steps
NOTICE
Destruction of components and devices due to mounting and dis-
mounting under voltage!
− Before mounting or dismounting components, disconnect
the control - including its components - from voltage.
For a secure decommissioning with regard to the IT security, refer to ⮫ Chapter 11.3 Secure decom-
missioning on page 26.
Removing the control from the top-hat rail
1.
Remove the left end clamp.
2.
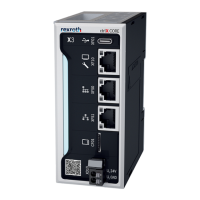
Use a suitable tool (e.g. slotted screwdriver) and put it into the lower disengaging mechanism
(base latch) of the control and disengage the control (see (A) in the following figure). The base
latches are locked in the open position.
3.
Remove the control vertically to the mounting rail [see (B)] in the following figure). The base
latches engage again in idle position.
Mounting, dismounting and electric installation
 Loading...
