17
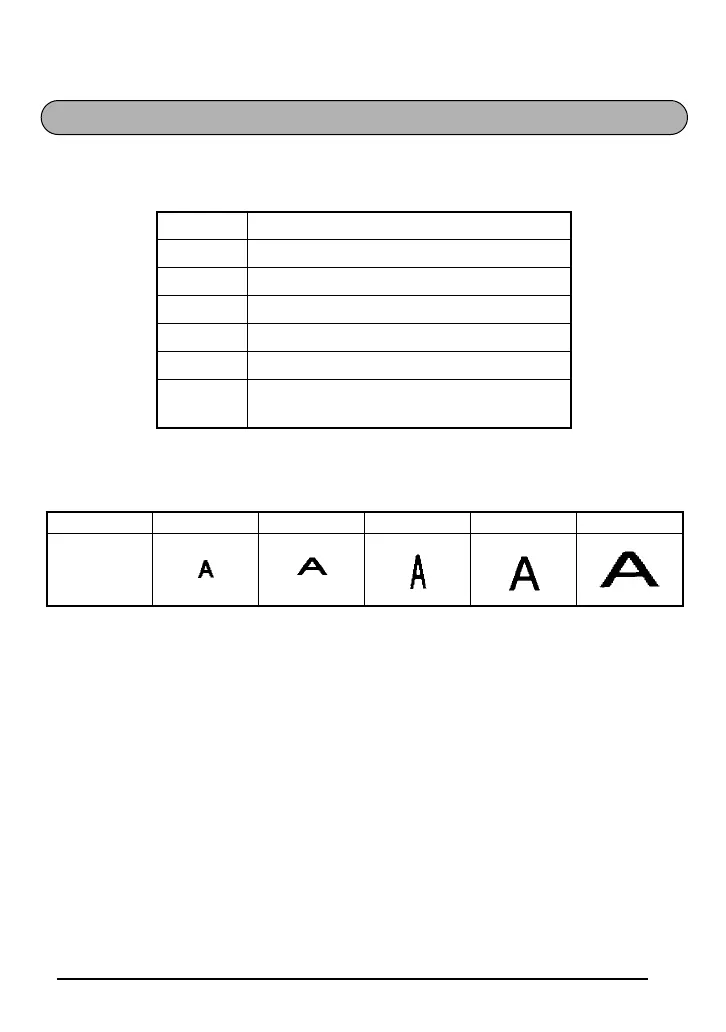
The character size can be adjusted using the Size function. The following table shows the
character sizes.
The default size setting is AUTO. The currently selected size setting is always shown by the
indicator above the display.
When 6 mm tape is installed and SIZE 3, 4 and 5 is set for horizontal printing or SIZE 2, 4
and 5 is set for vertical printing, the “CHR_SIZE:AUTO?” message will display. Press h to
print in the AUTO size.
To change the size setting:
1 While holding down f, press 1 once, and keep f held down to display the
current size setting.
2 While still holding down f, continue pressing 1 until the desired size setting is
displayed and is shown by the size indicator.
☞ The current character size setting is also shown by the size indicator above the
display.
3 Release f to apply the selected size setting to the entire text.
Size Character
SIZE 1 Standard Size
SIZE 2 Double Width
SIZE 3 Double Height
SIZE 4 Double Width & Double Height
SIZE 5 4 × Width & Double Height
AUTO
6 mm tape: SIZE 1
9 mm to 18 mm tape: SIZE 4
SIZE 1 SIZE 2 SIZE 3 SIZE 4 SIZE 5
Sample
SIZE FUNCTION
 Loading...