Using the Full
Range of Features
56
E
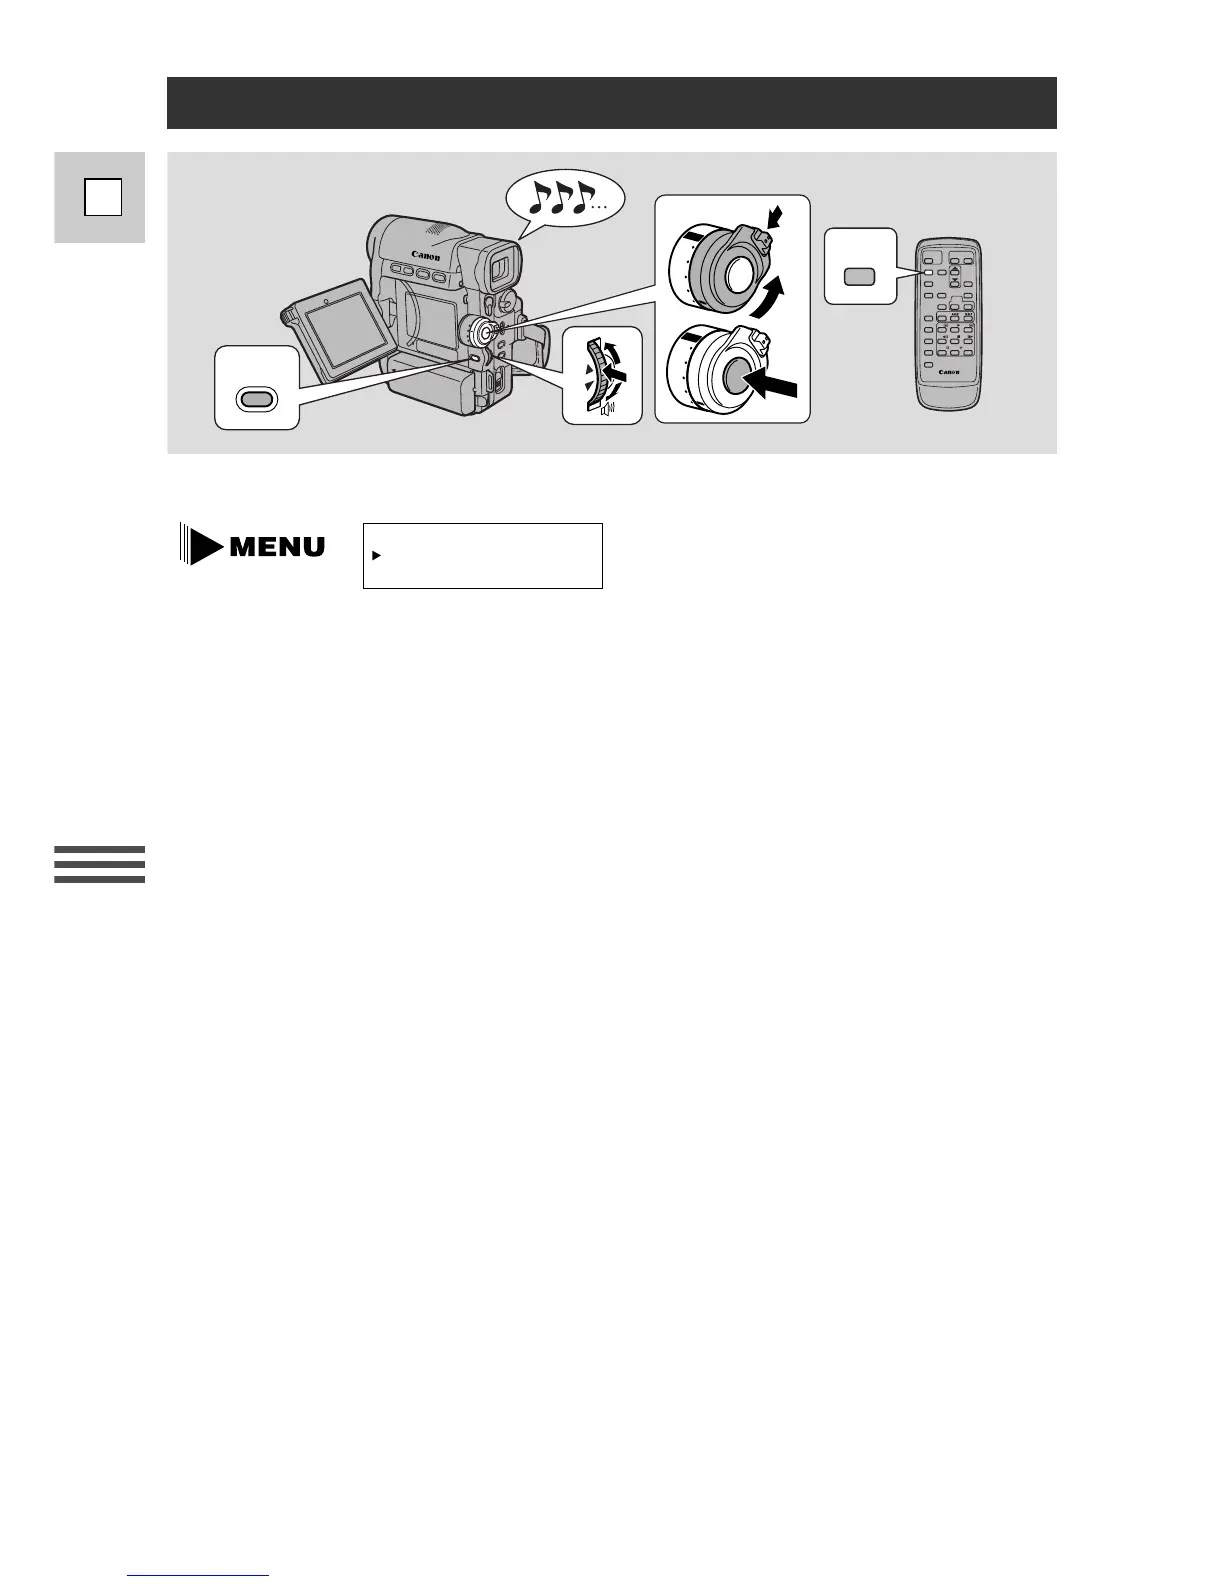
Setting the Self-Timer
1. Set the camera to record pause mode.
2. Select SELF-TIMER from the menu and set it to ON
or
Push the SELF-TIMER button on the wireless controller.
• SELF-TIMER appears in the display.
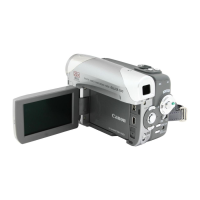
• To have the subject monitor recording, rotate the LCD panel 180° (p. 20).
3. Press the start/stop button.
• The camera starts to record after a 10-second countdown period (or after
two seconds when you use the wireless controller). The time remaining
counts down in the display (e.g. “5 SEC”).
• SELF-TIMER disappears from the display when recording begins.
• The tally lamp starts flashing.
4. Press the start/stop button to end recording.
• After recording a still picture for about six seconds, the camera
automatically goes into record pause mode.
Notes:
• Initially the tally lamp flashes once a second, then just before recording it starts
flashing more quickly for a few seconds before the camera starts to record.
• If you have the beep turned on, it sounds each time the tally lamp flashes before
recording.
• To cancel the self-timer before the countdown has begun, select OFF in the
camera menu or SELF-TIMER on the wireless controller.
• To cancel the self-timer once the countdown has begun, press start/stop on the
camera or SELF-TIMER on the wireless controller.
• In photo mode, set the self-timer in exactly the same way. The camera
automatically adjusts the focus and exposure two seconds before the countdown
is complete. The green
F
mark is also displayed at this time. If you are using
the wireless controller, the green
F
mark is displayed immediately after you
press the start/stop button.
 Loading...