ManageR-
emainRoll
Barcodes Printer Operation After the Paper is Fed
On
Not prin-
ted
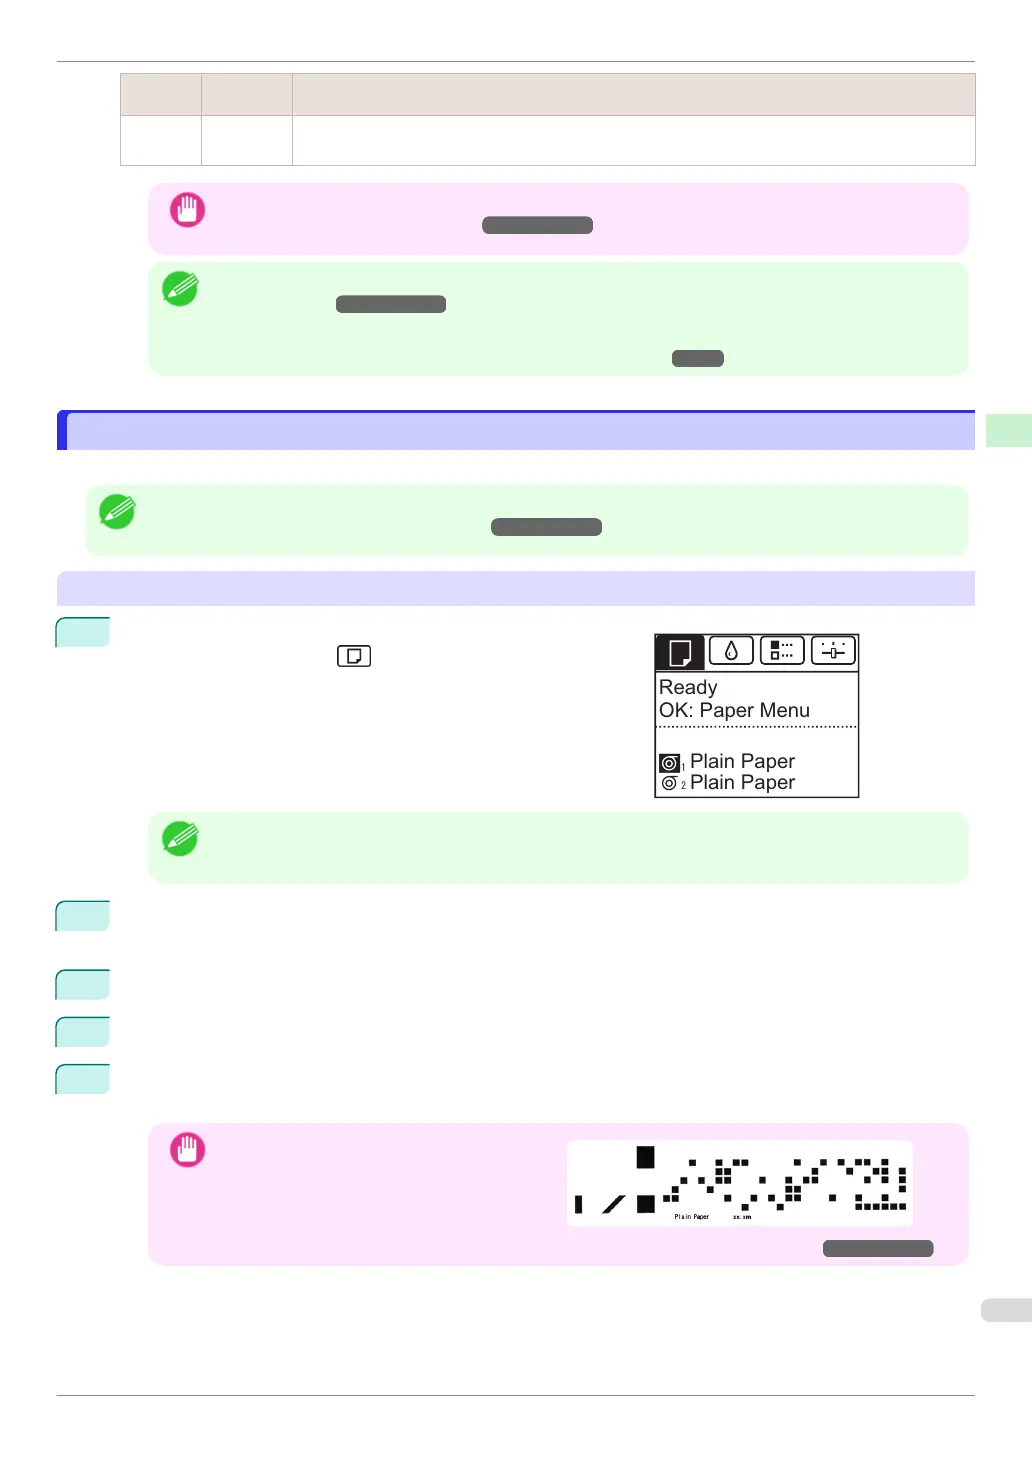
A menu for selection of the type and length of paper is shown on the Display Screen.
Press ▲ or ▼ to select the type and length of paper loaded, and then press the OK button.
Important
•
Cut the edge of the roll using the Paper Cutting function if the edge is creased or soiled. (See "Speci-
fying the Cutting Method for Rolls.") ➔User's Guide
Note
•
For details on types of paper to select, see the Paper Reference Guide. (See "Displaying the Paper Ref-
erence Guide.") ➔User's Guide
•
Adjusting the printhead alignment with the type of paper to be used in printing may enhance printing qual-
ity. (See "Automatic Adjustment to Straighten Lines and Colors.") ➔ P.92
Removing the Roll from the Printer
Removing the Roll from the Printer
Remove rolls from the printer as follows.
Note
•
If you need to cut a printed roll, select Paper Cutting in the printer menu and cut the roll at the desired position.
(See "Specifying the Cutting Method for Rolls.") ➔ User's Guide
Removing rolls from the Roll 1 (Upper) position
1
On the Tab Selection screen of the Control Panel, press ◀ or
▶ to select the Paper tab ( ).
Note
•
If the Tab Selection screen is not displayed, press the Menu button.
2
Press the OK button.
The Paper Menu is displayed.
3
Press ▲ or ▼ to select Remove Roll, and then press the OK button.
4
Press ▲ or ▼ to select Roll 1 (Upper), and then press the OK button.
5
Press ▲ or ▼ to select Yes, and then press the OK button.
The roll is rewound.
Important
•
If you have selected ManageRemainRoll >
On in the Control Panel menu, a barcode is
printed on the leading edge of the roll.
Do not remove the roll before the barcode is
printed. You will be unable to keep track of
the amount of roll paper left. (See "Keeping Track of the Amount of Roll Paper Left.") ➔ User's Guide
Ready
Plain Paper
OK: Paper Menu
Plain Paper
iPF840 Series
Removing the Roll from the Printer
Basic Guide
Handling Paper Handling rolls
21
 Loading...