37
After connecting a scientific calculator to the projector, you will be able to project the calculator’s
screen image. For information about connectable calculators, go to the CASIO website.
Important!
To project the screen image of a scientific calculator, select “CASIO USB Tool” as the
projector’s input source. For information about how to do this, see “Changing the Input
Source Manually” (page 45).
If you experience problems after connecting a scientific calculator to the projector, disconnect
the USB cable from both devices. Next, use the cable to re-connect them.
For information about scientific calculator operation, refer to its user documentation.
You can control the projector by sending it commands from a device (computer, other RS-232C
controller device) connected to the projector’s SERIAL terminal.
For details about control commands, see “Projector RS-232C Control” (page 85).
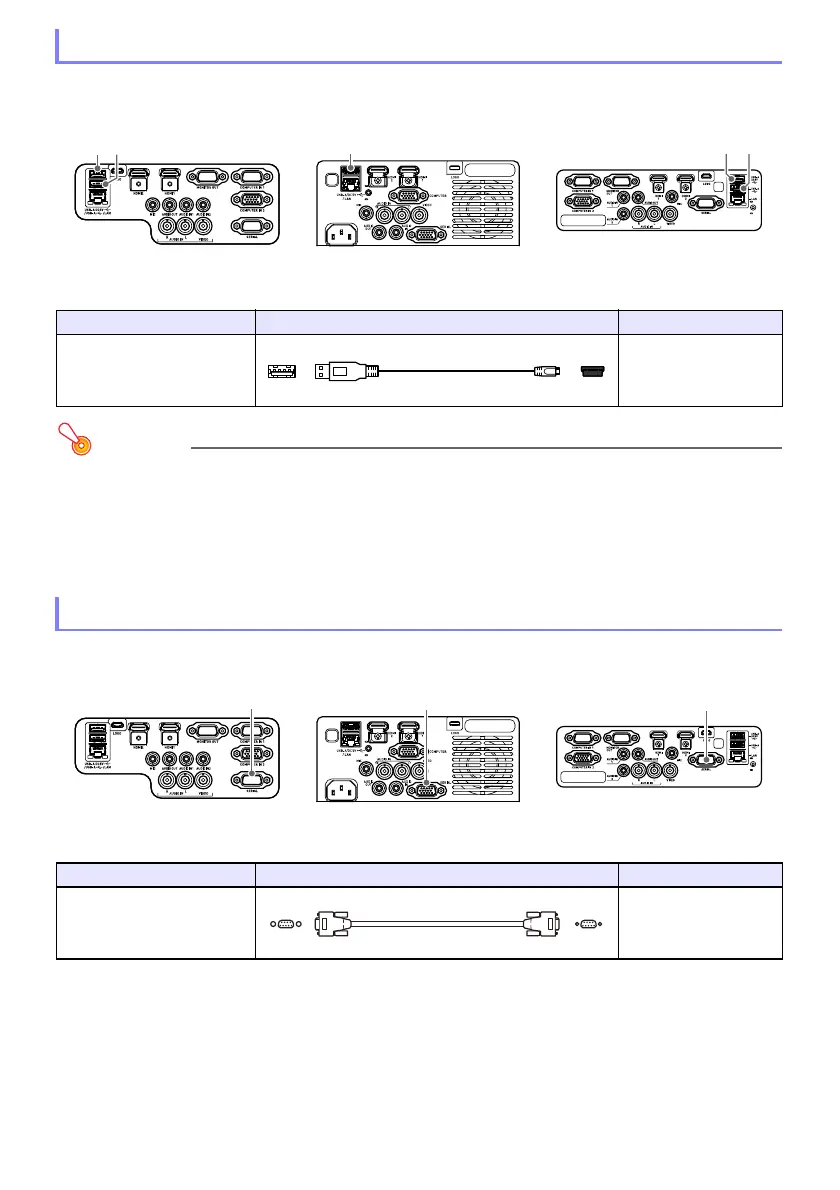
Connecting a Scientific Calculator (Network Models Only)
XJ-UT312WN, XJ-UT352WN XJ-F21XN, XJ-F211WN XJ-S400UN, XJ-S400WN
Projector Terminal Connection Cable Calculator Terminal
USB-A/DC 5V
or
USB-A
USB port
SERIAL Terminal (Projector Control Using Commands)
XJ-UT Series XJ-F Series XJ-S Series
Projector Terminal Connection Cable Other Device Terminal
SERIAL RS-232C terminal
USB cable
USB Type A Type B mini
Serial cable (cross)
D-Sub9 pin
 Loading...