You can install external modules before or after mounting a router. However, if you choose to install the
external modules after mounting the router on the rack or wall, ensure that you have optimal access to the
back/front panel of the router.
For information on modules and Field Replaceable Units (FRUs), see the Install and Upgrade Modules and
FRUs section.
Note
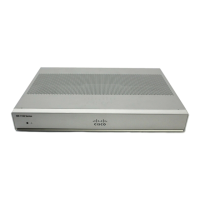
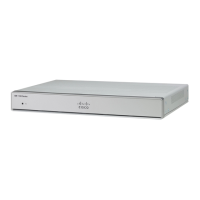
Depending on the model, the available options for mounting a Cisco 1100 ISR are:
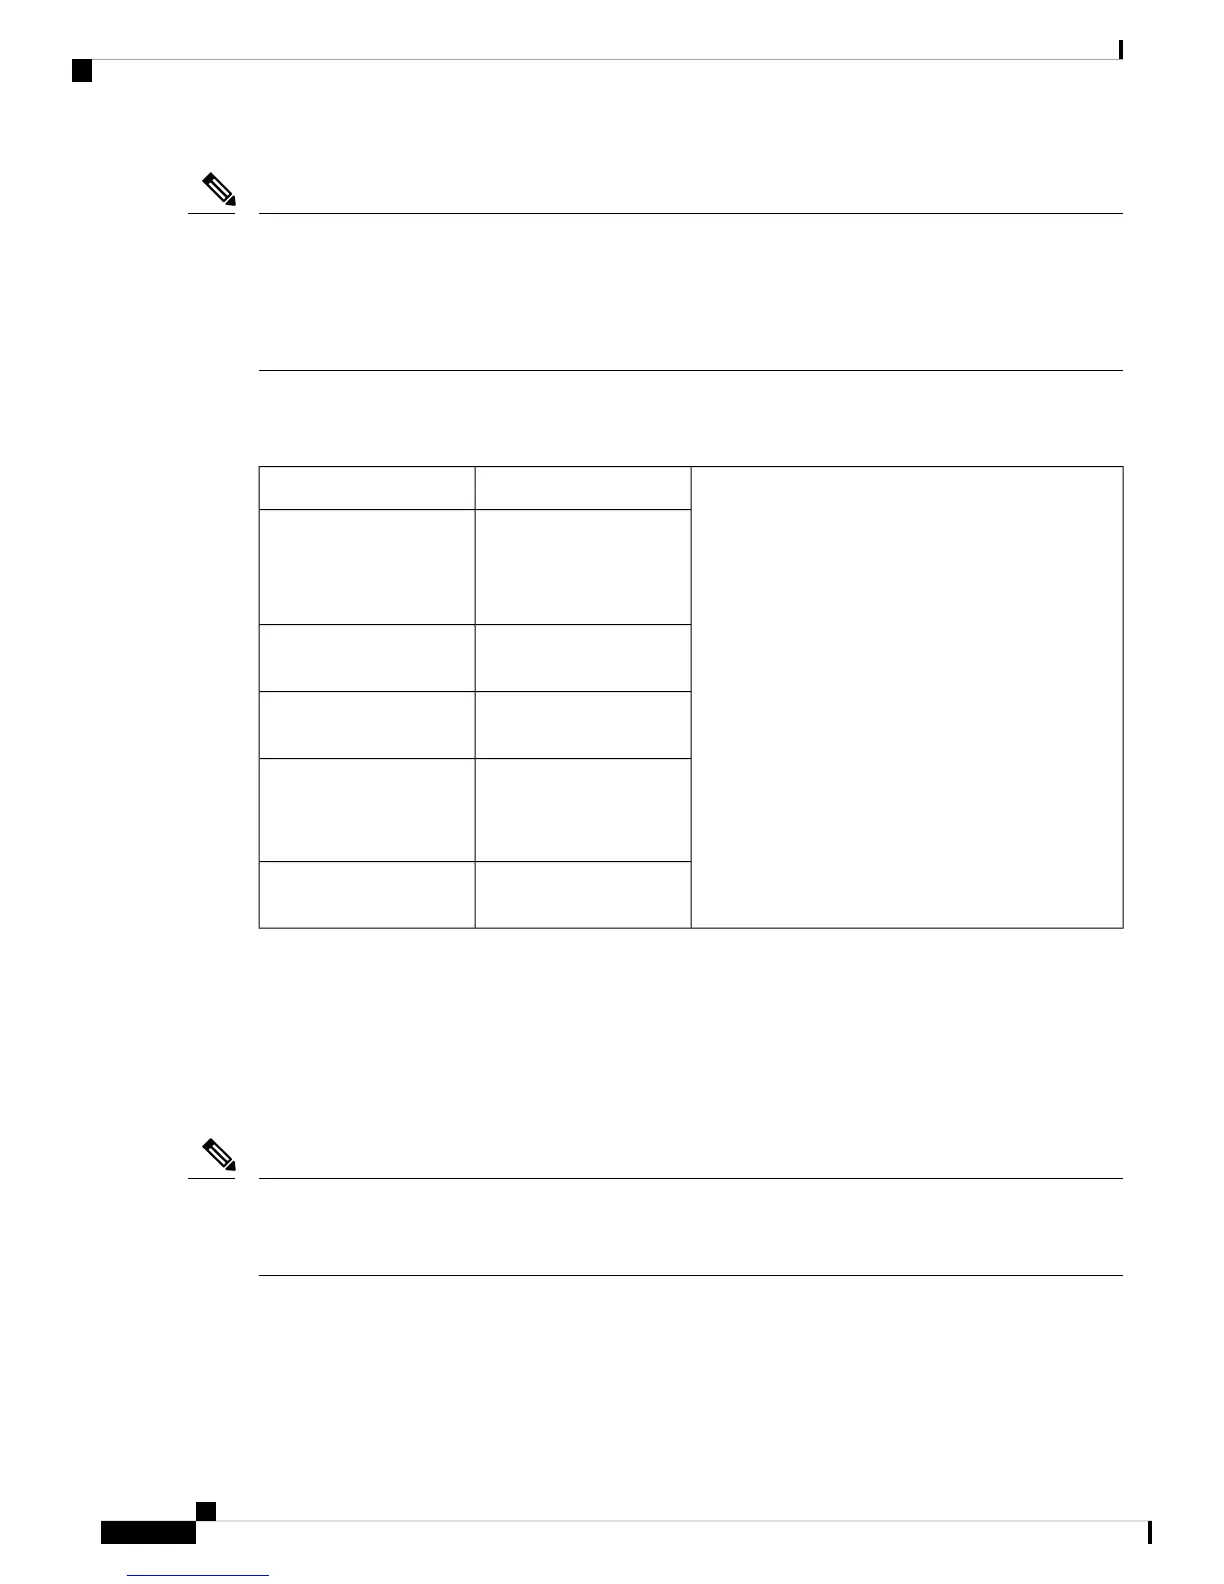
Table 6: Models and Mounting Options
Mounting OptionsModel
Desktop, Rack Mount,
Wall Mount Using
Key-hole Slots, Wall
Mount using-Din-Rail
C111x and C1111X
Desktop, Wall Mount
Using Key-hole Slots
C1101-4P
Desktop, Wall Mount
Using Key-Hole Slots
C1101-4PLTEPWx
Desktop, Wall Mount
Using Key-Hole Slots,
Ceiling Mount
C1109-2PLTExx
Desktop, Wall Mount
Using Key-Hole Slots
C1109-4PLTEPWx
If you choose to setup the router on a desktop, you can place the router on a desktop, bench top or shelf, and
up on a ceiling
Rack Mount
The router is shipped with rack mounting brackets that are to be secured on the sides of the chassis. You must
first secure rack mounting brackets on the chassis before you set up the chassis on the rack.
When stacking multiple Cisco 1000 ISRs, ensure that there is ample surrounding space. Ample space, in turn,
ensures more heat removal to enable the surrounding air temperature to stay within the specified operating
conditions.
Note
Attach the Brackets
This procedure describes how to attach the brackets on the router chassis:
Hardware Installation Guide for the Cisco 1000 Series Integrated Services Router
24
Install and Connect the Router
Rack Mount
 Loading...